


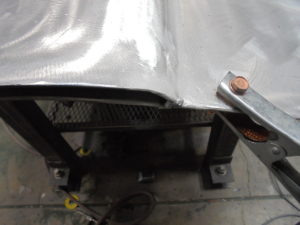
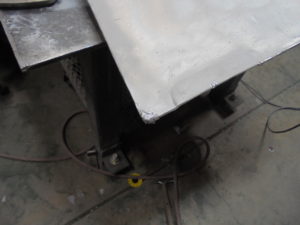

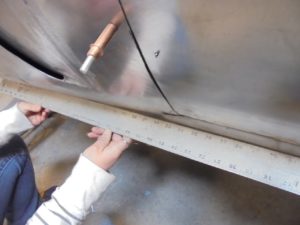

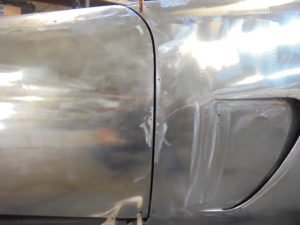
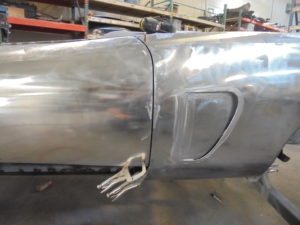


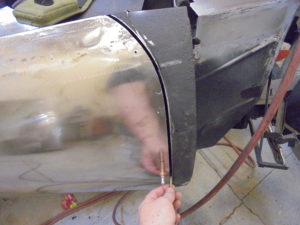
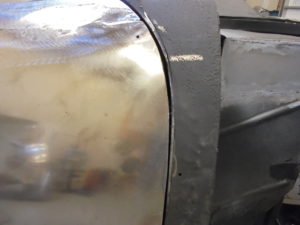
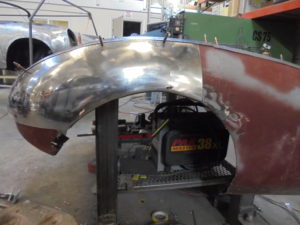
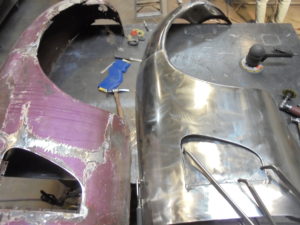
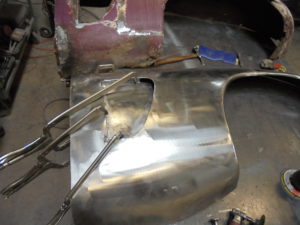
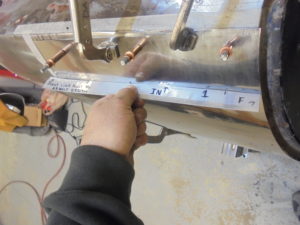
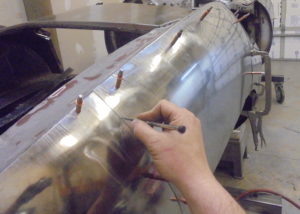
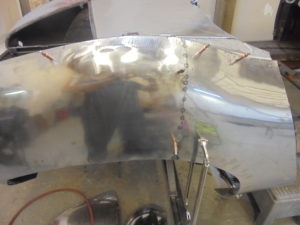
Gapping procedure
Gapping to original fender edge then fit fender and gap the new fender
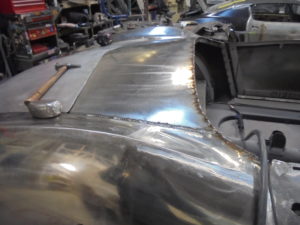
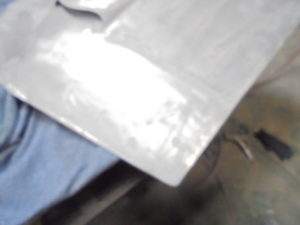
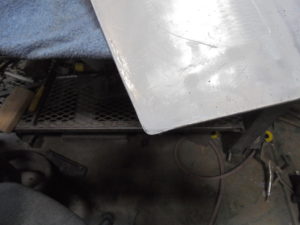
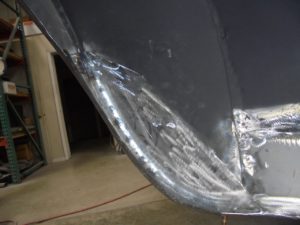
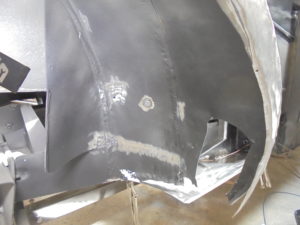
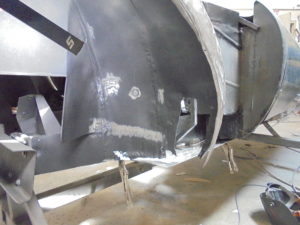
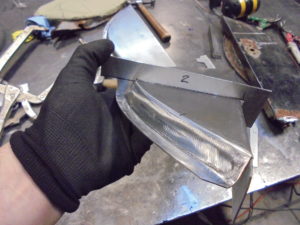
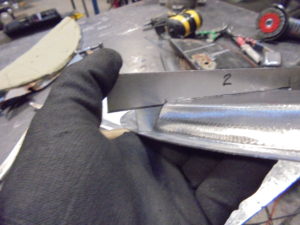
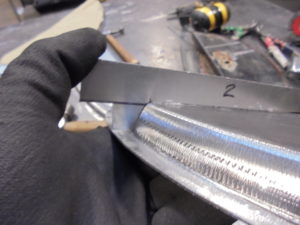
 Finish weld and planish of the doorskin

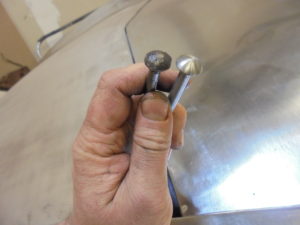
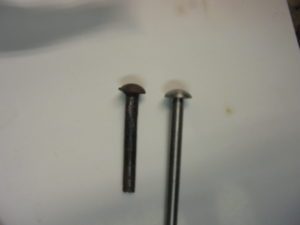
Door hinge pins
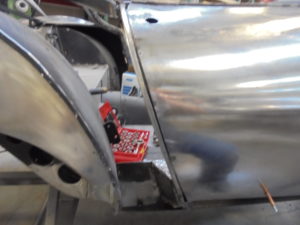
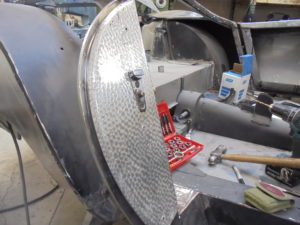
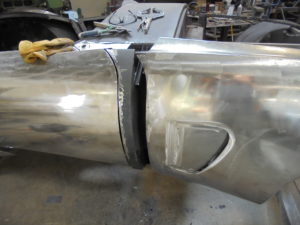
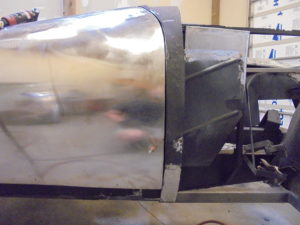
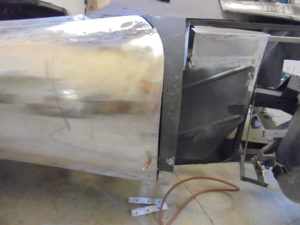
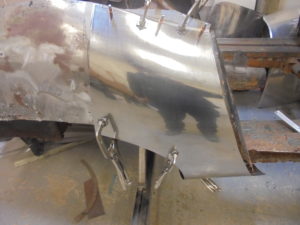
Start of panel alignment and gap adjustments
(not welded )
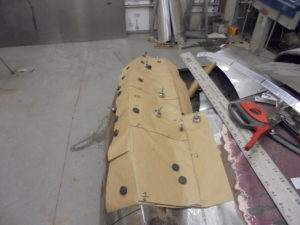
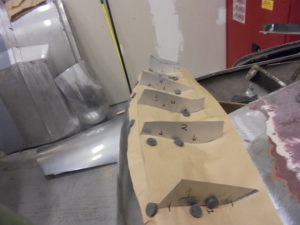
Prep and prime of inner door frame for skin install
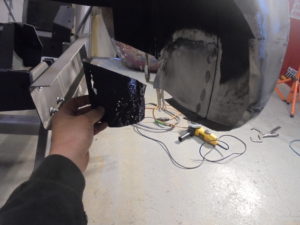
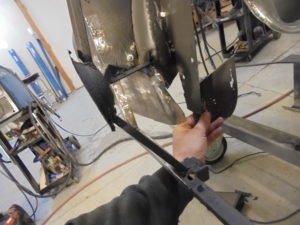
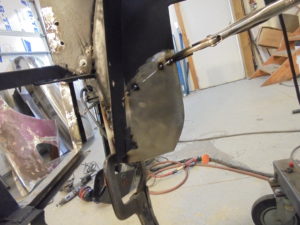
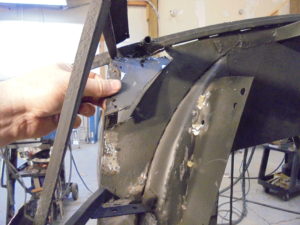


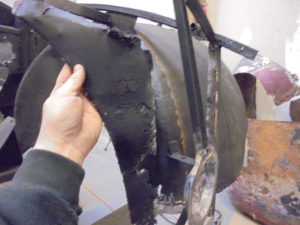
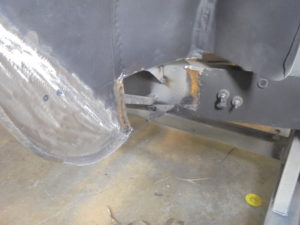
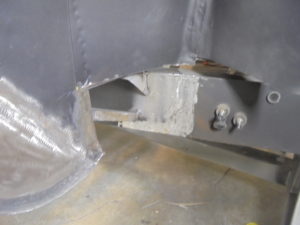
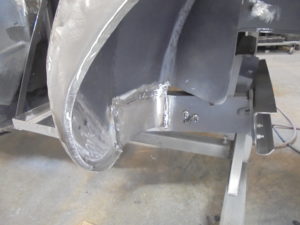
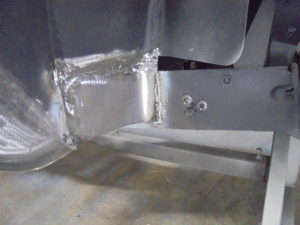
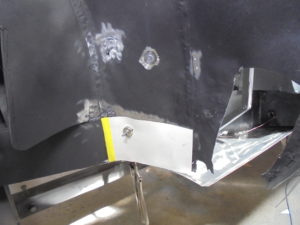
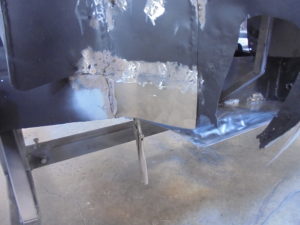
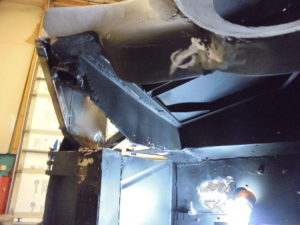
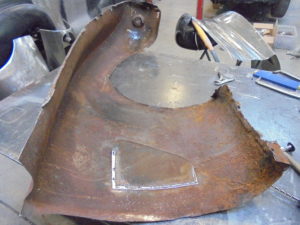
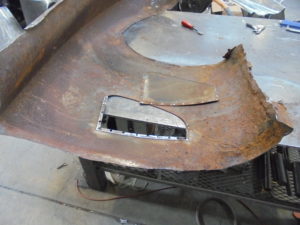
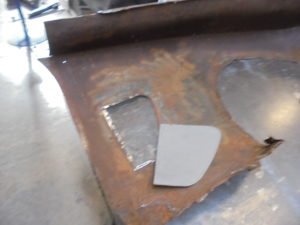
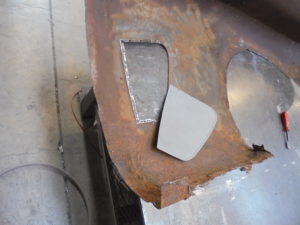
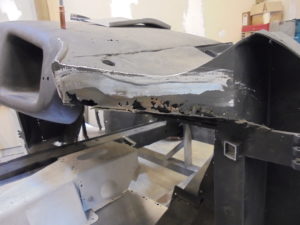
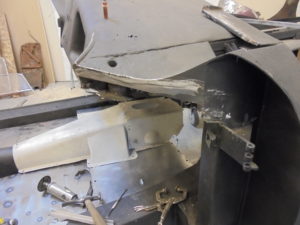
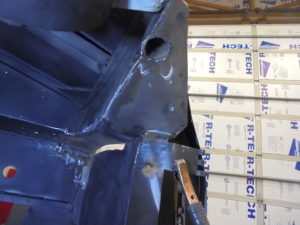
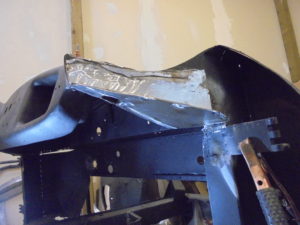
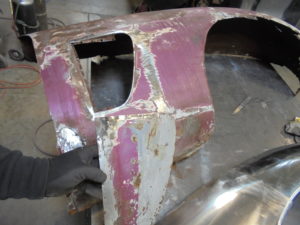
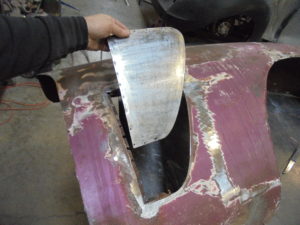
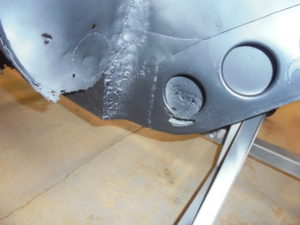
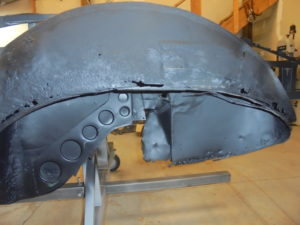
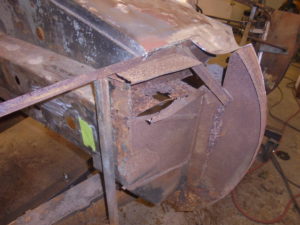
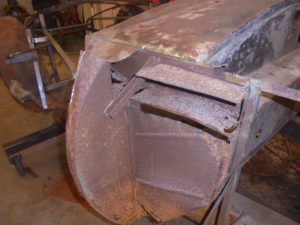
 Rt. Front inner fender repair

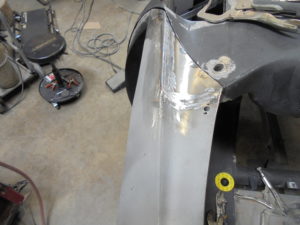
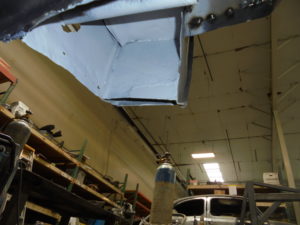
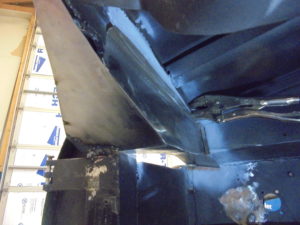
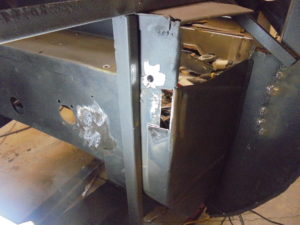
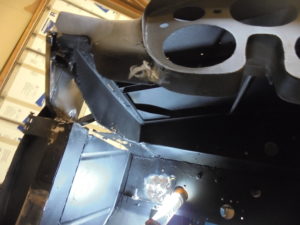
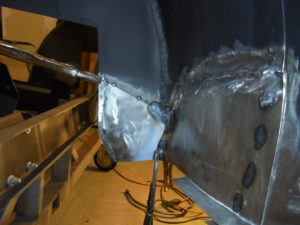
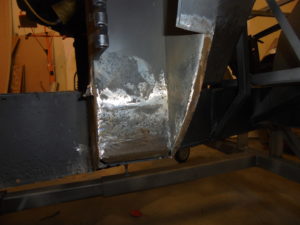
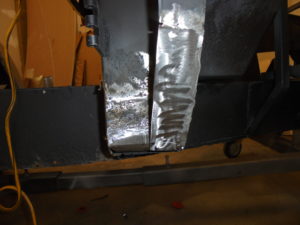
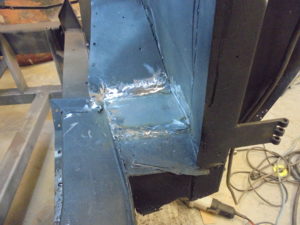
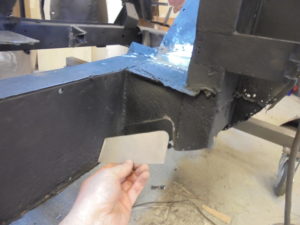
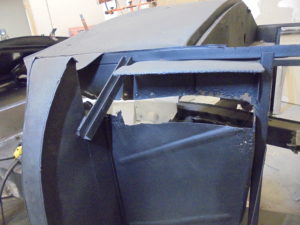
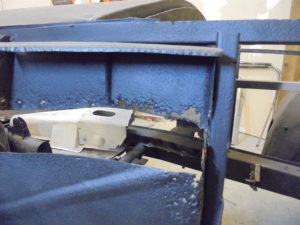
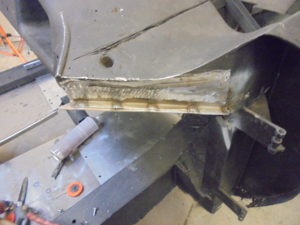
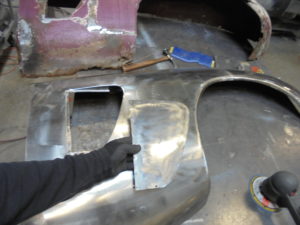
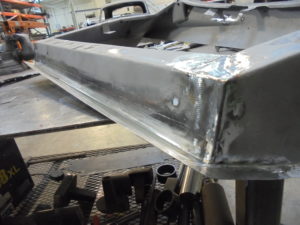
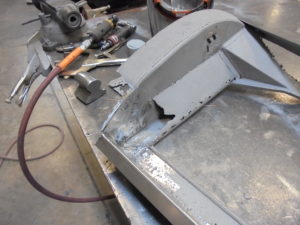
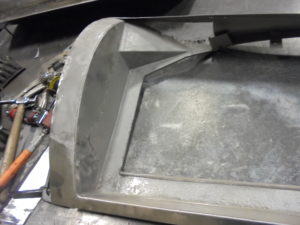
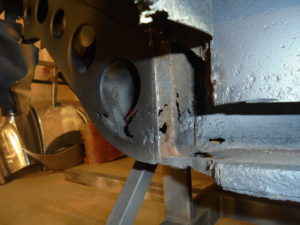
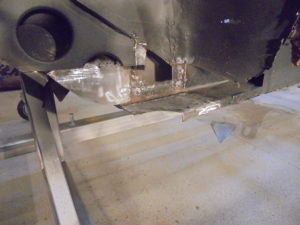
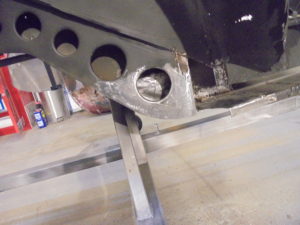
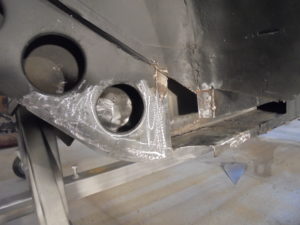
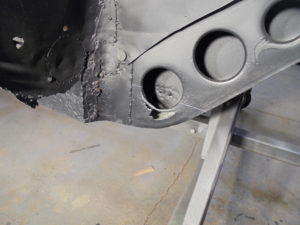
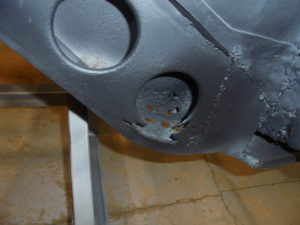
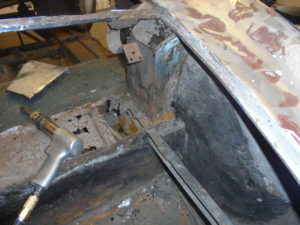
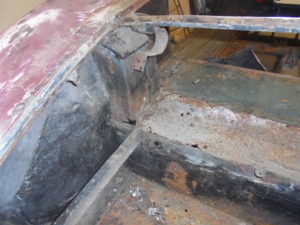
Completion of the rust repair at the right A pillar
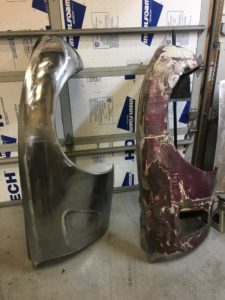
Left Fender

Checking symmetry
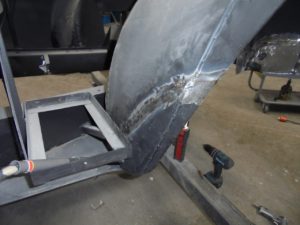
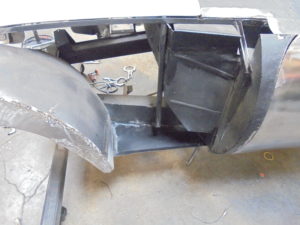
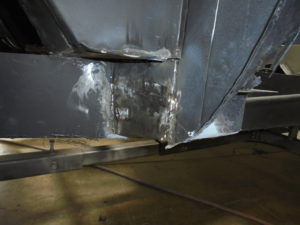
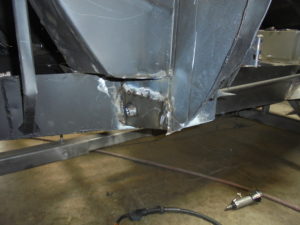
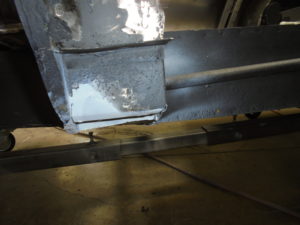
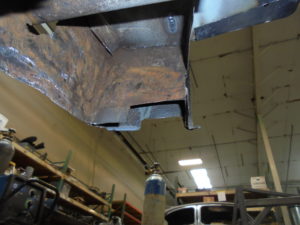
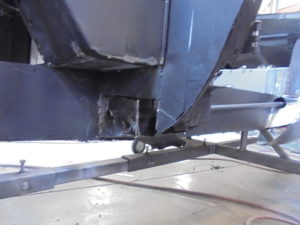
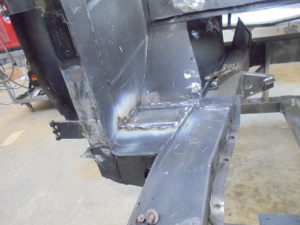
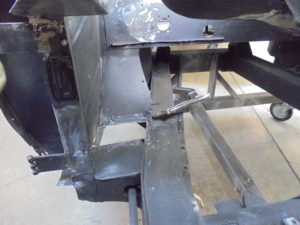
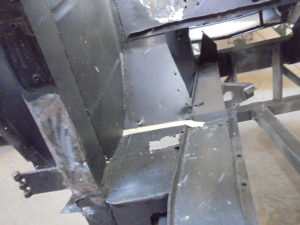
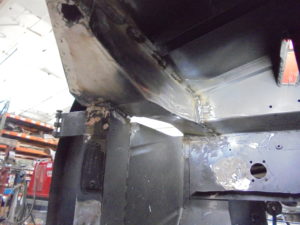
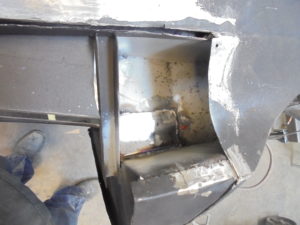
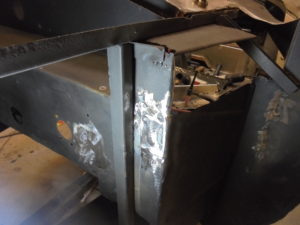
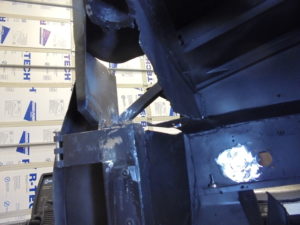
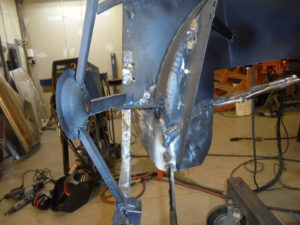
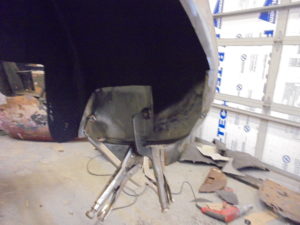
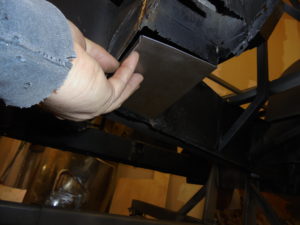
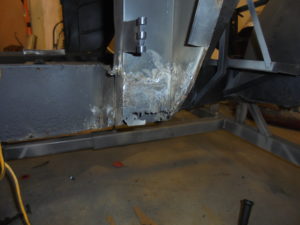
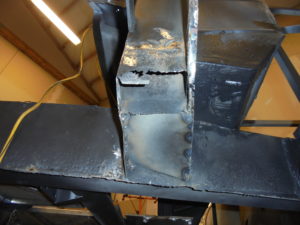
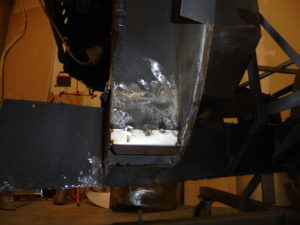
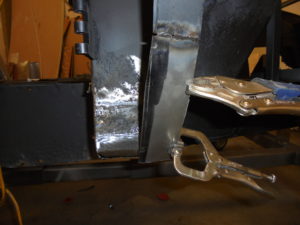
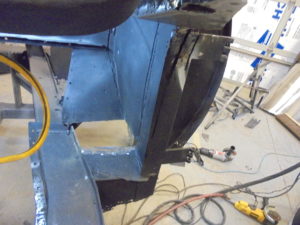
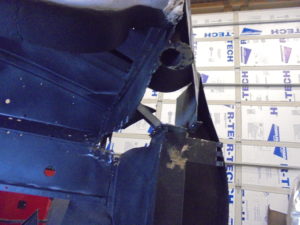
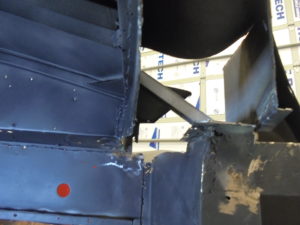
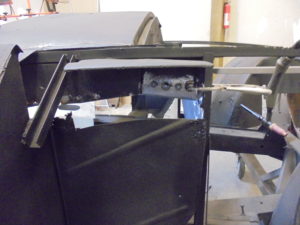
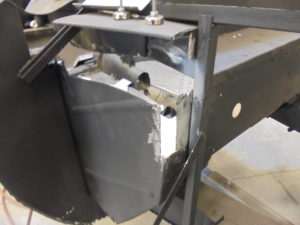
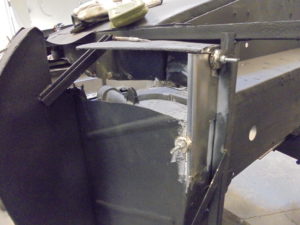
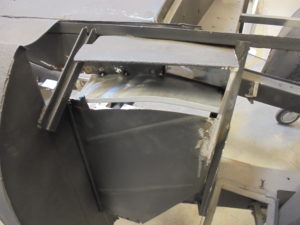
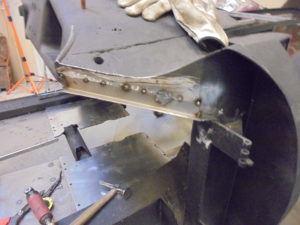
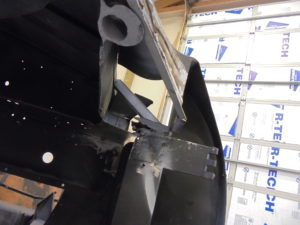
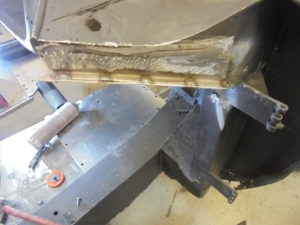
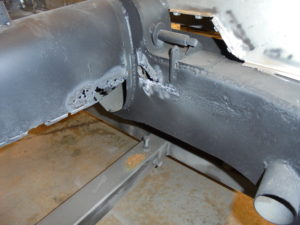
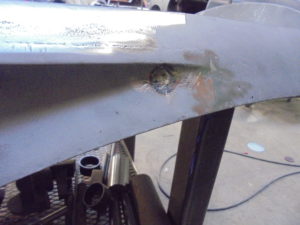
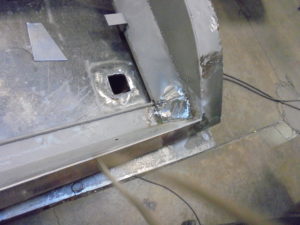
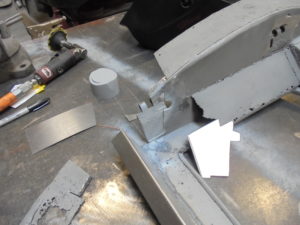
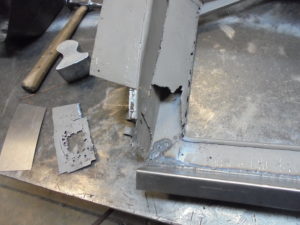
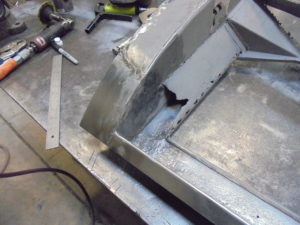
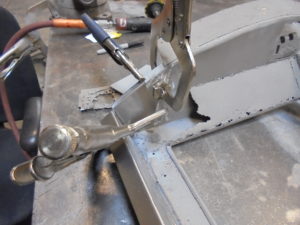
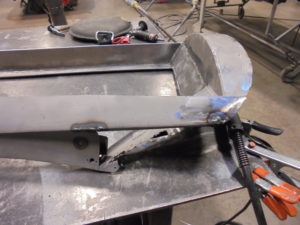
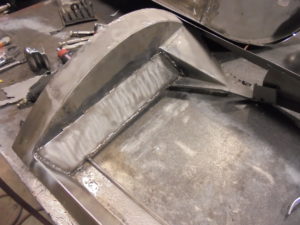
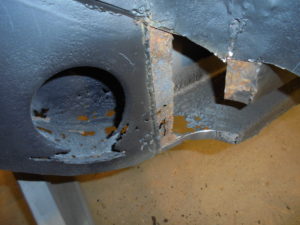
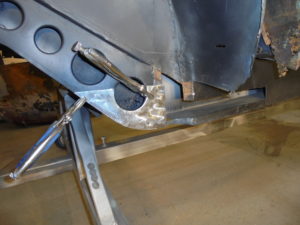
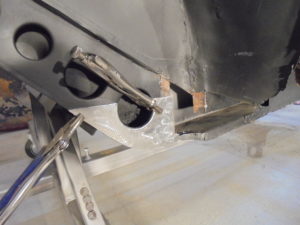
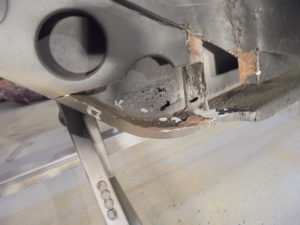
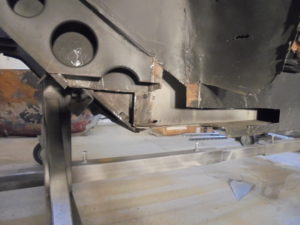
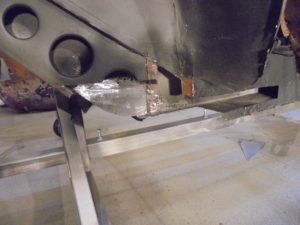
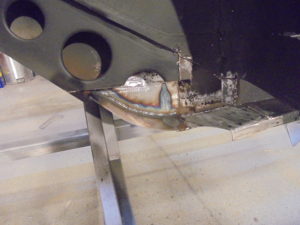
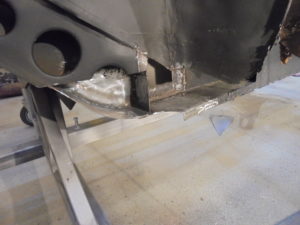
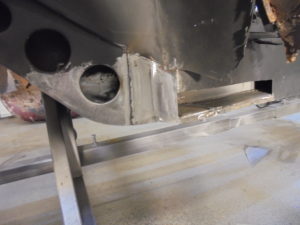
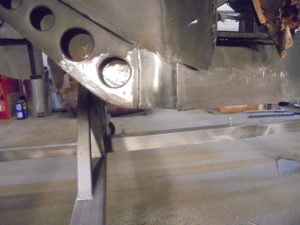
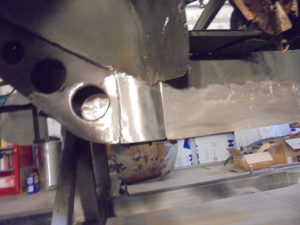
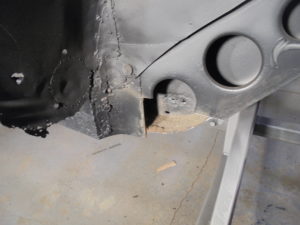
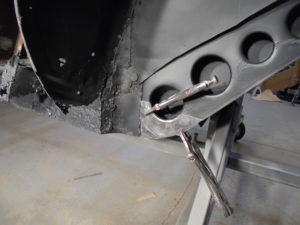
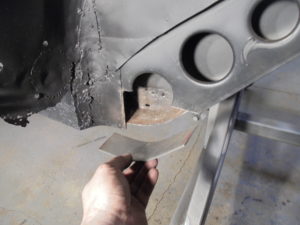
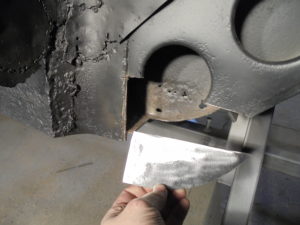
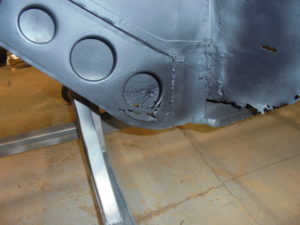
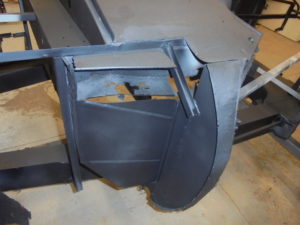
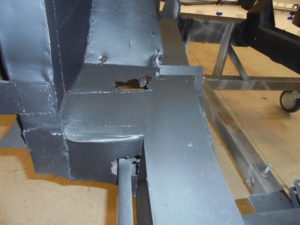
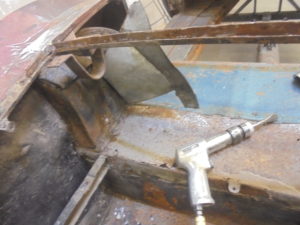
Right A pillar bottom and to floor repair
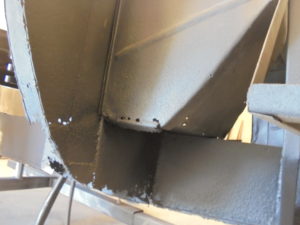

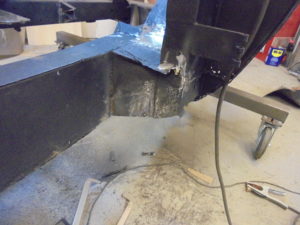
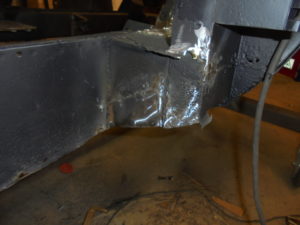
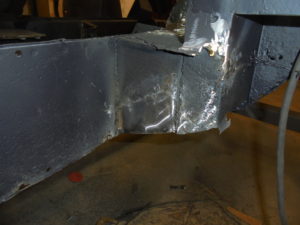
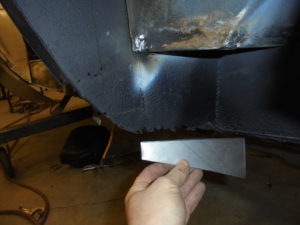
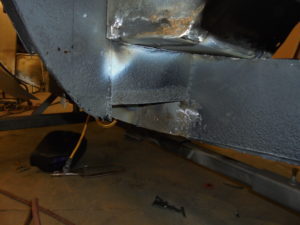
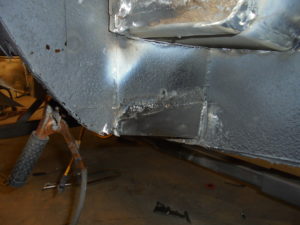
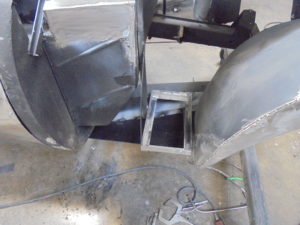
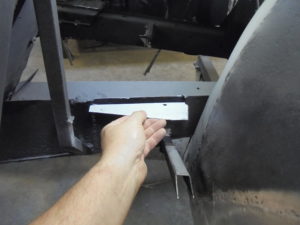
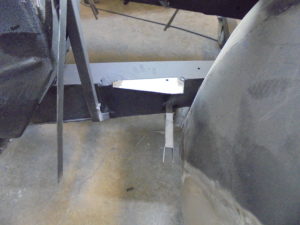
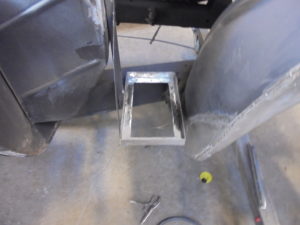
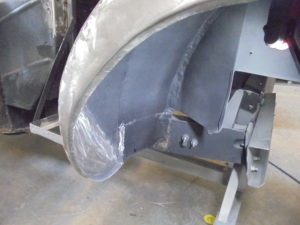
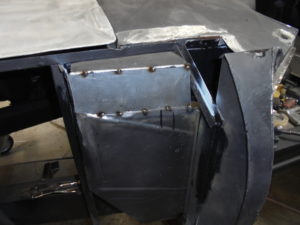
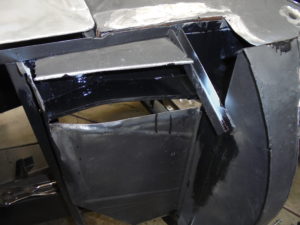
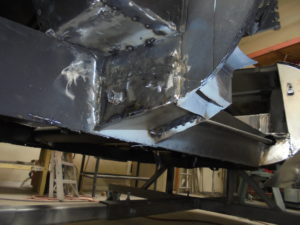
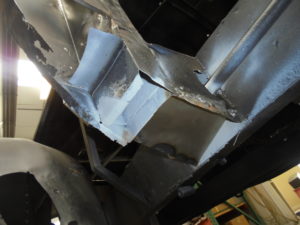
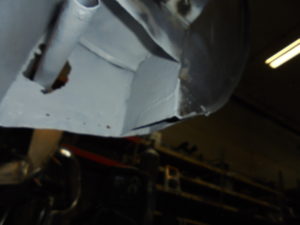
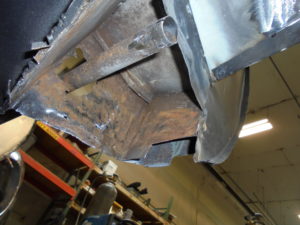
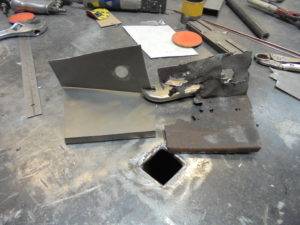
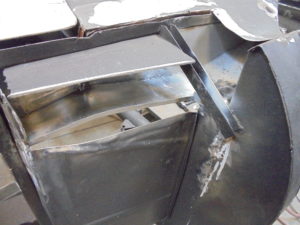
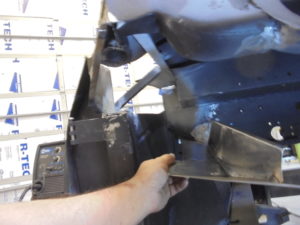
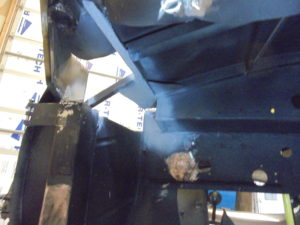
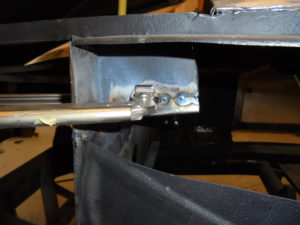
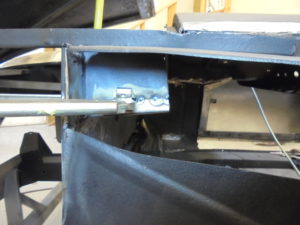
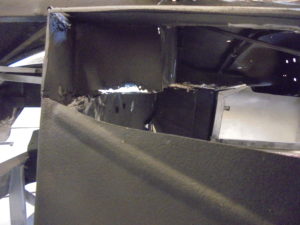
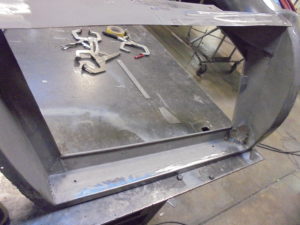
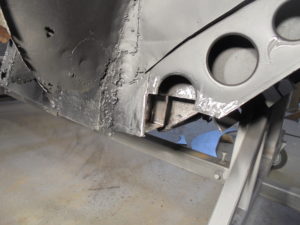
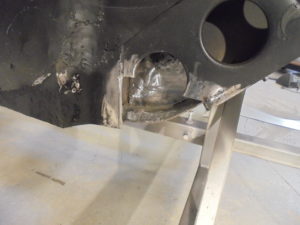
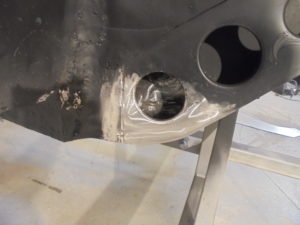
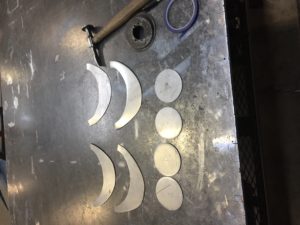
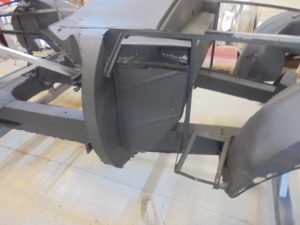
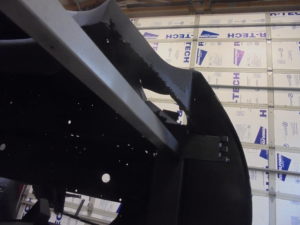
Right cowl inner structure repair
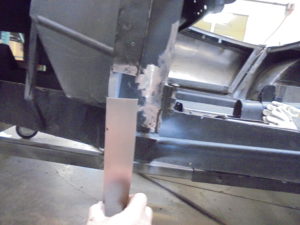
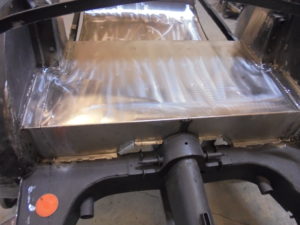
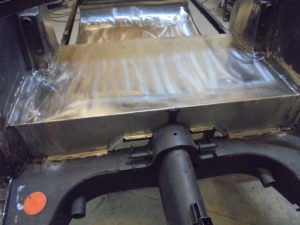
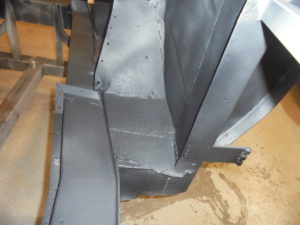
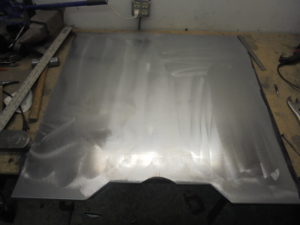
Floorboard Fabrication
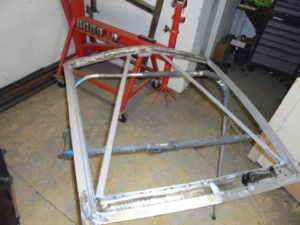
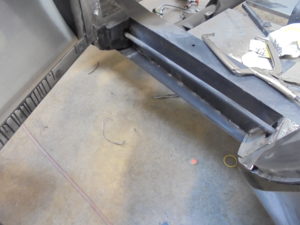
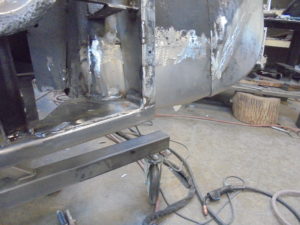
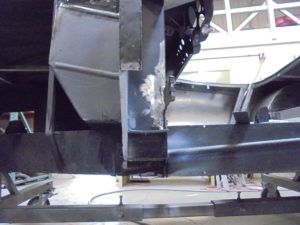
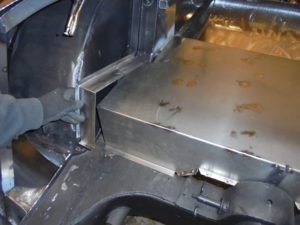
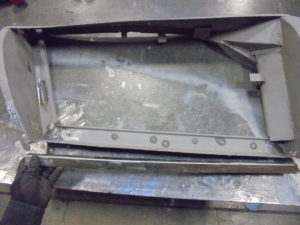
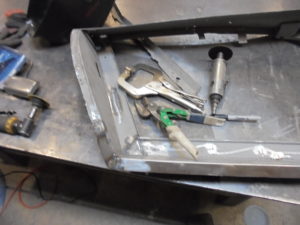
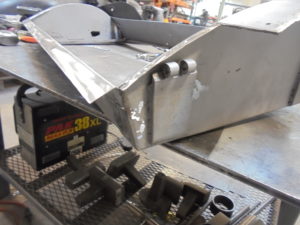
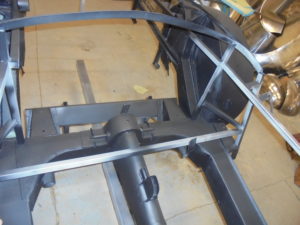
 Frame and trans tunnel

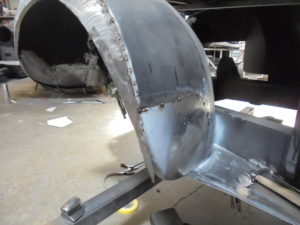
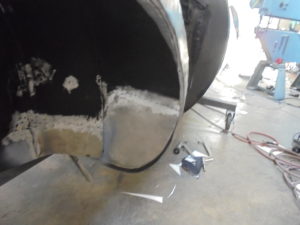
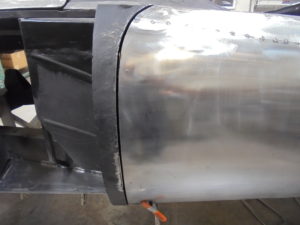
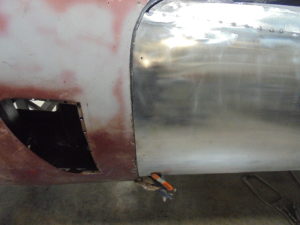
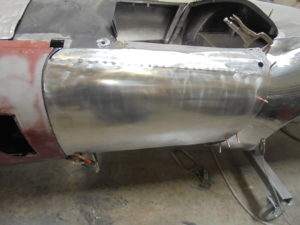
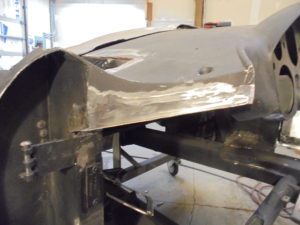
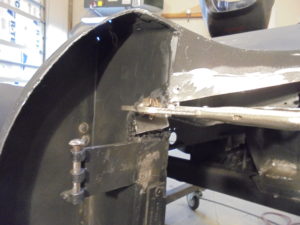
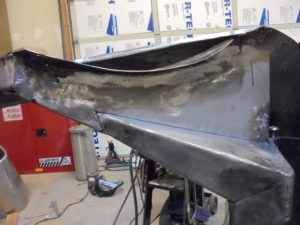
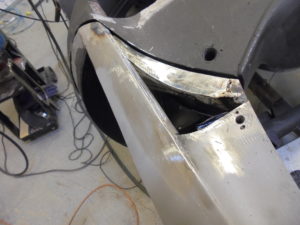
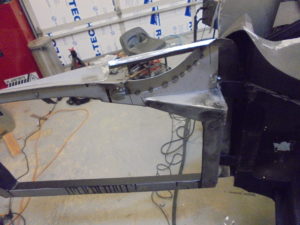
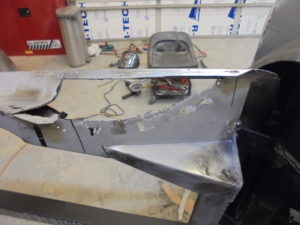
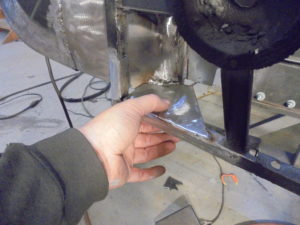
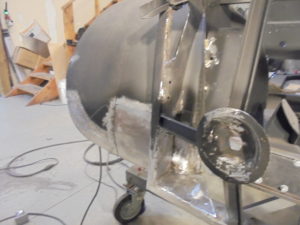
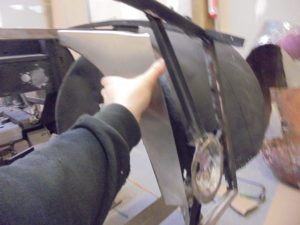
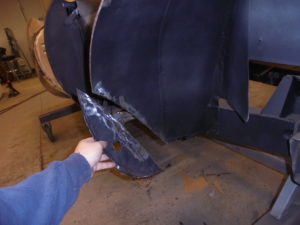
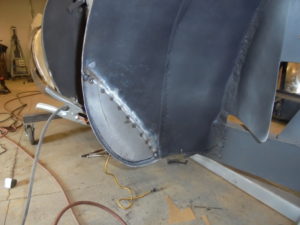
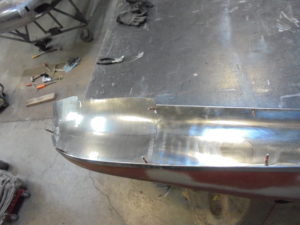
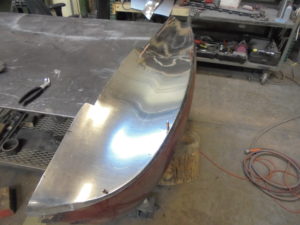
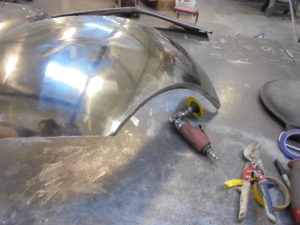
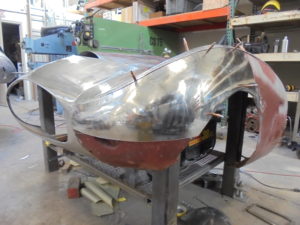
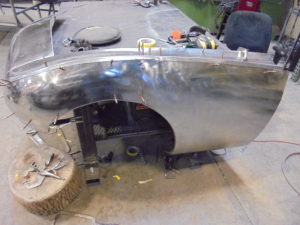
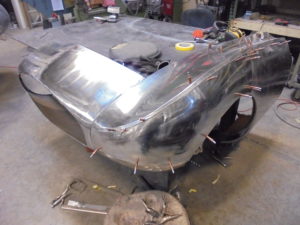
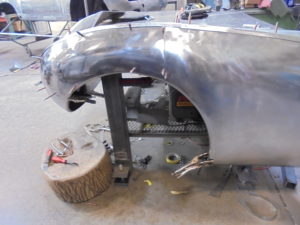
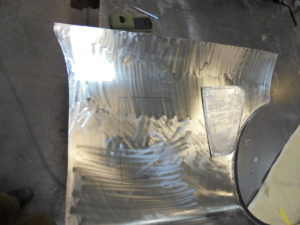
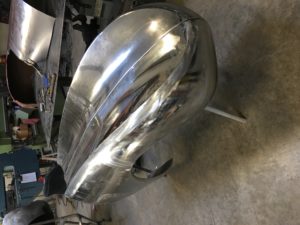
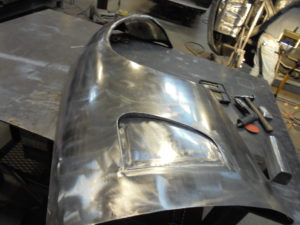
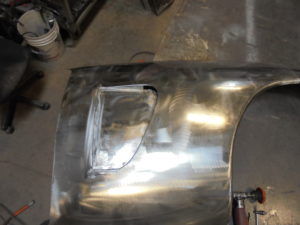
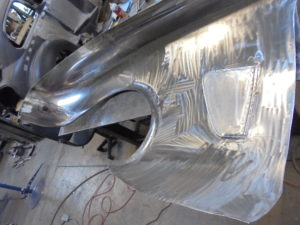
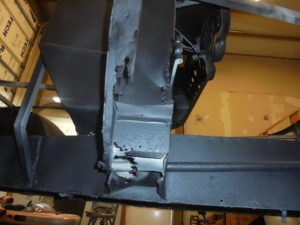
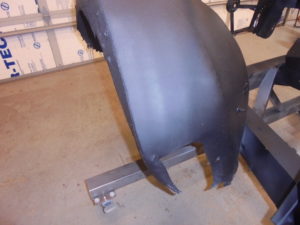
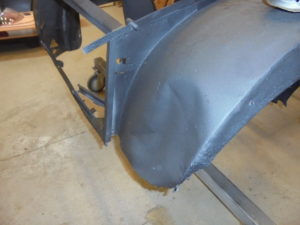
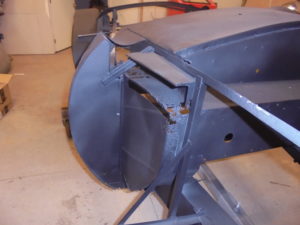
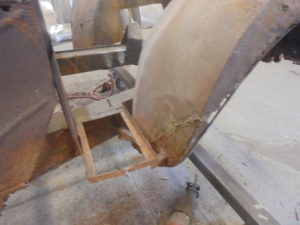
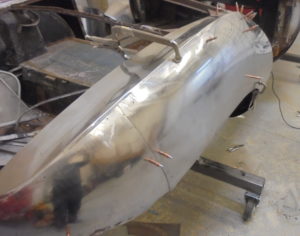
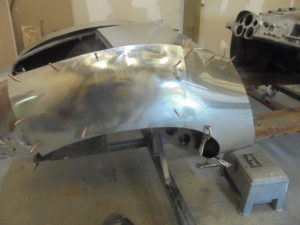
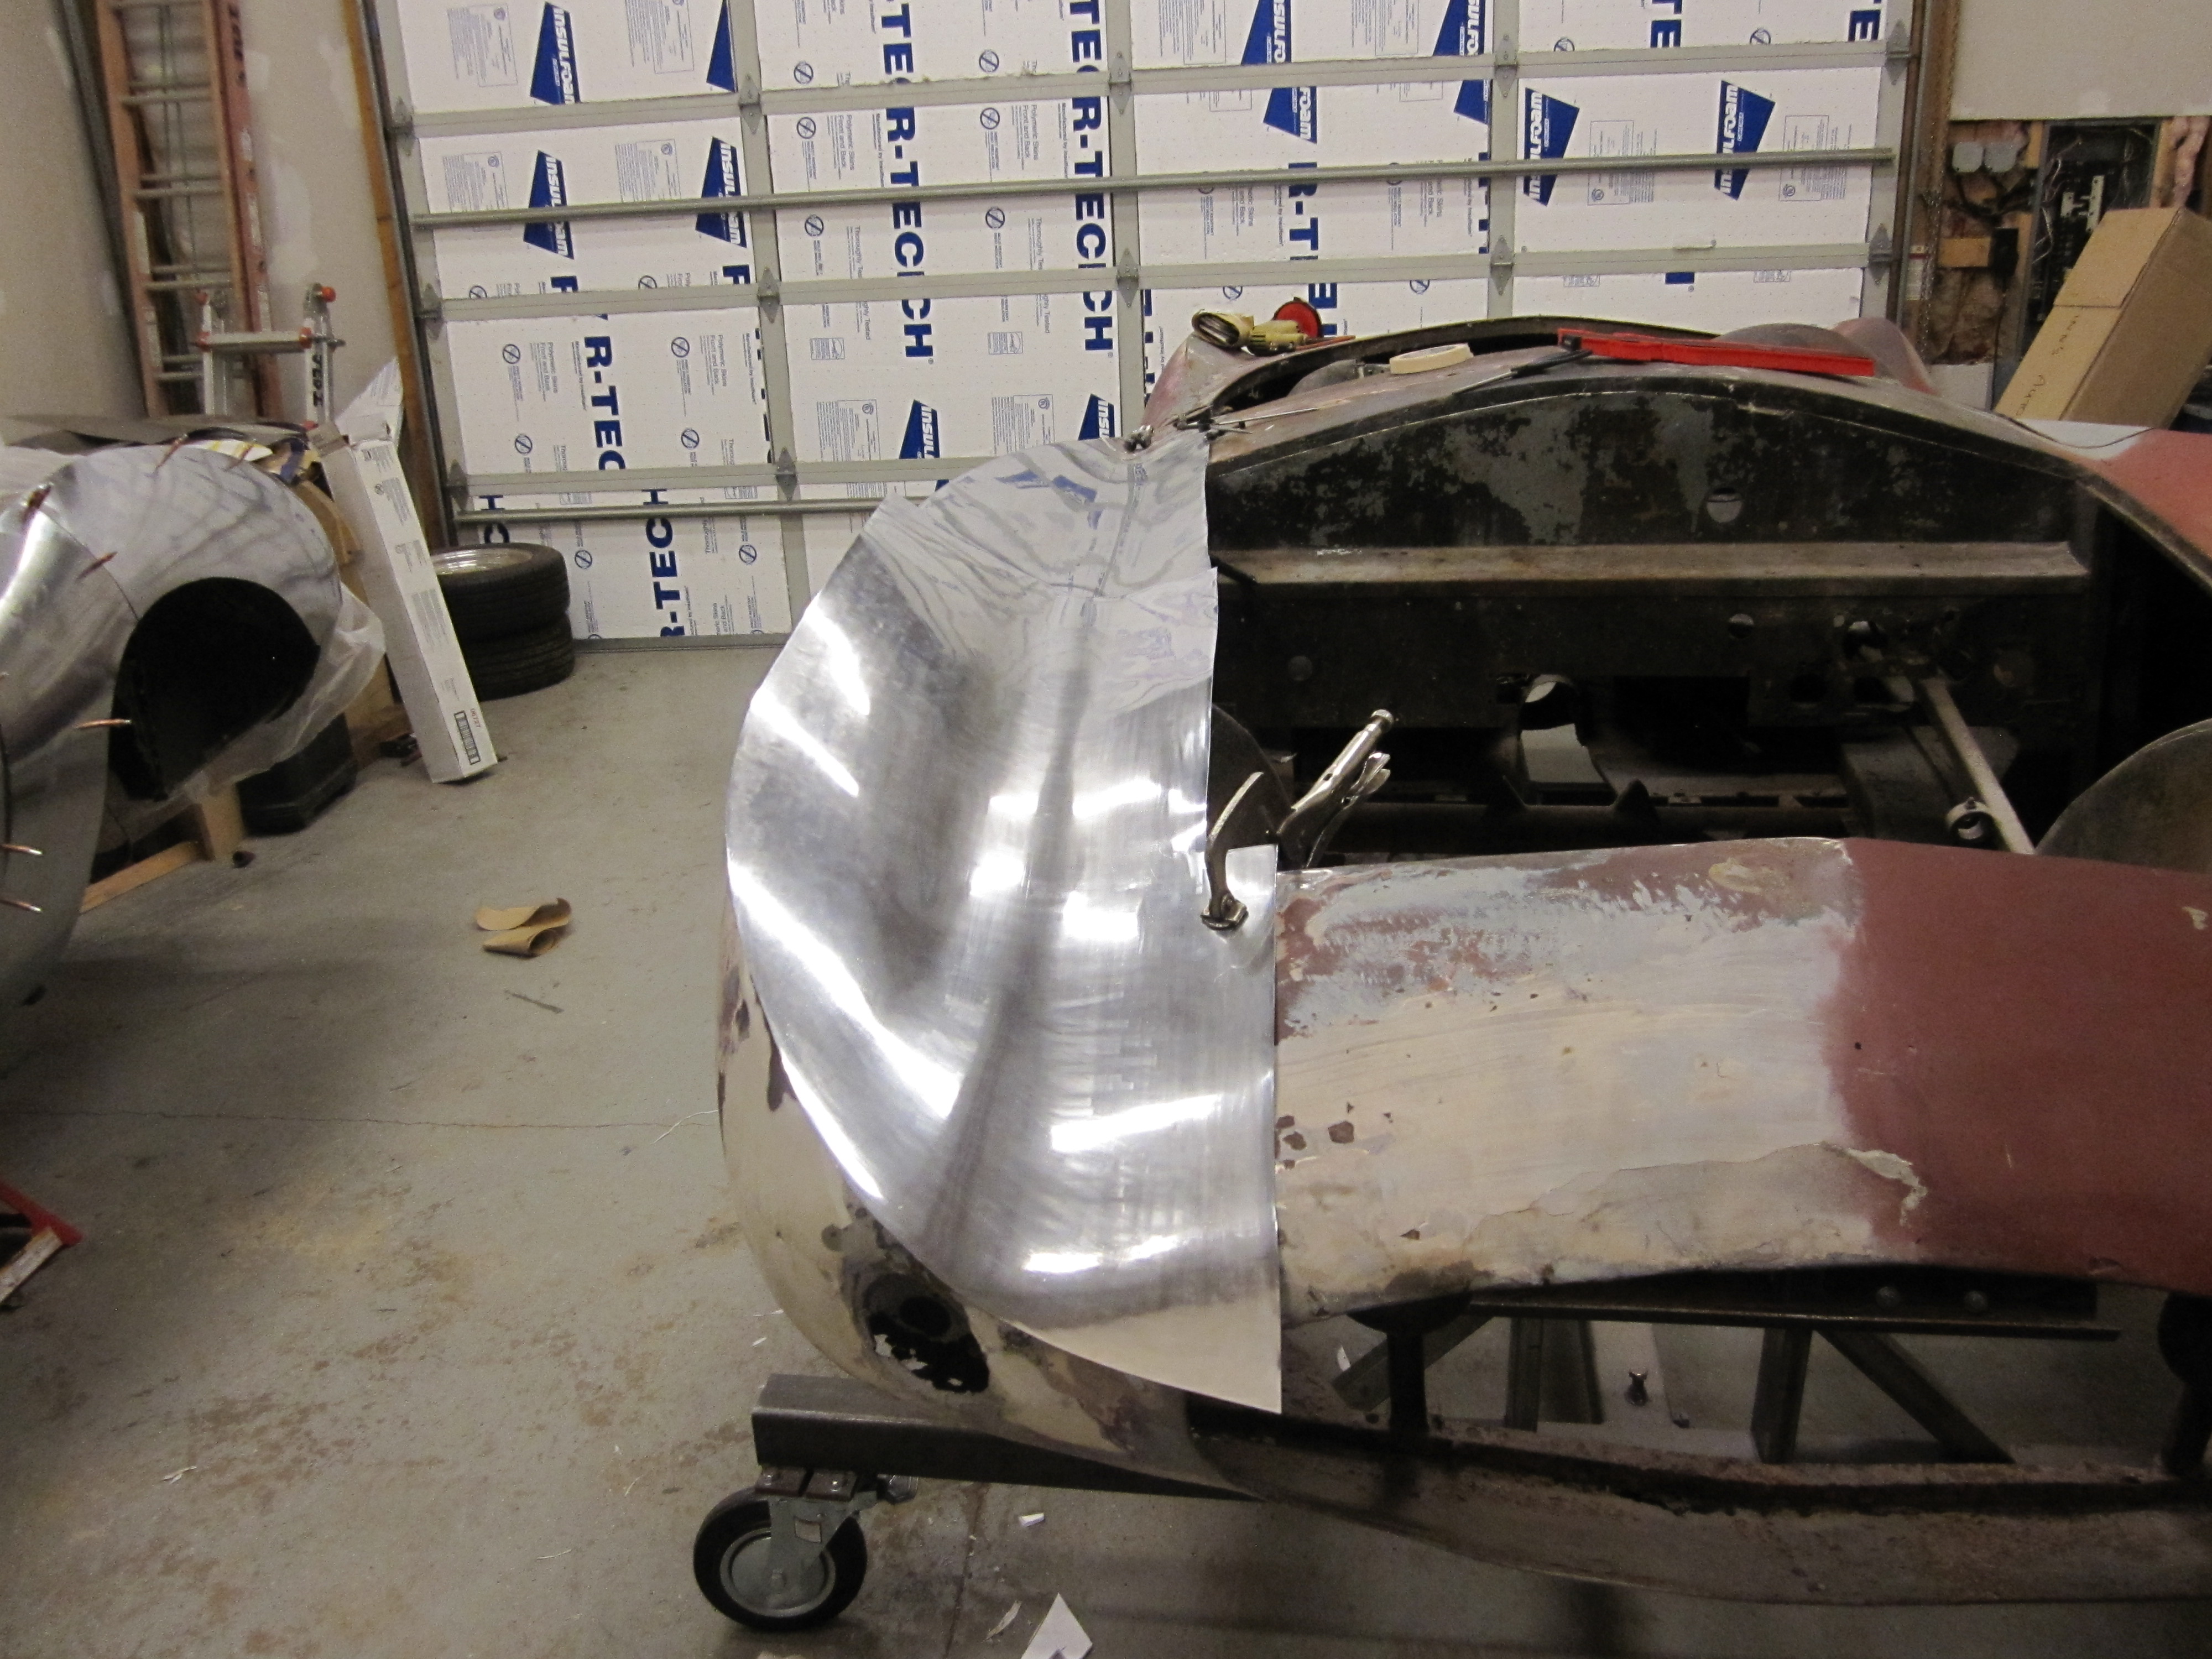
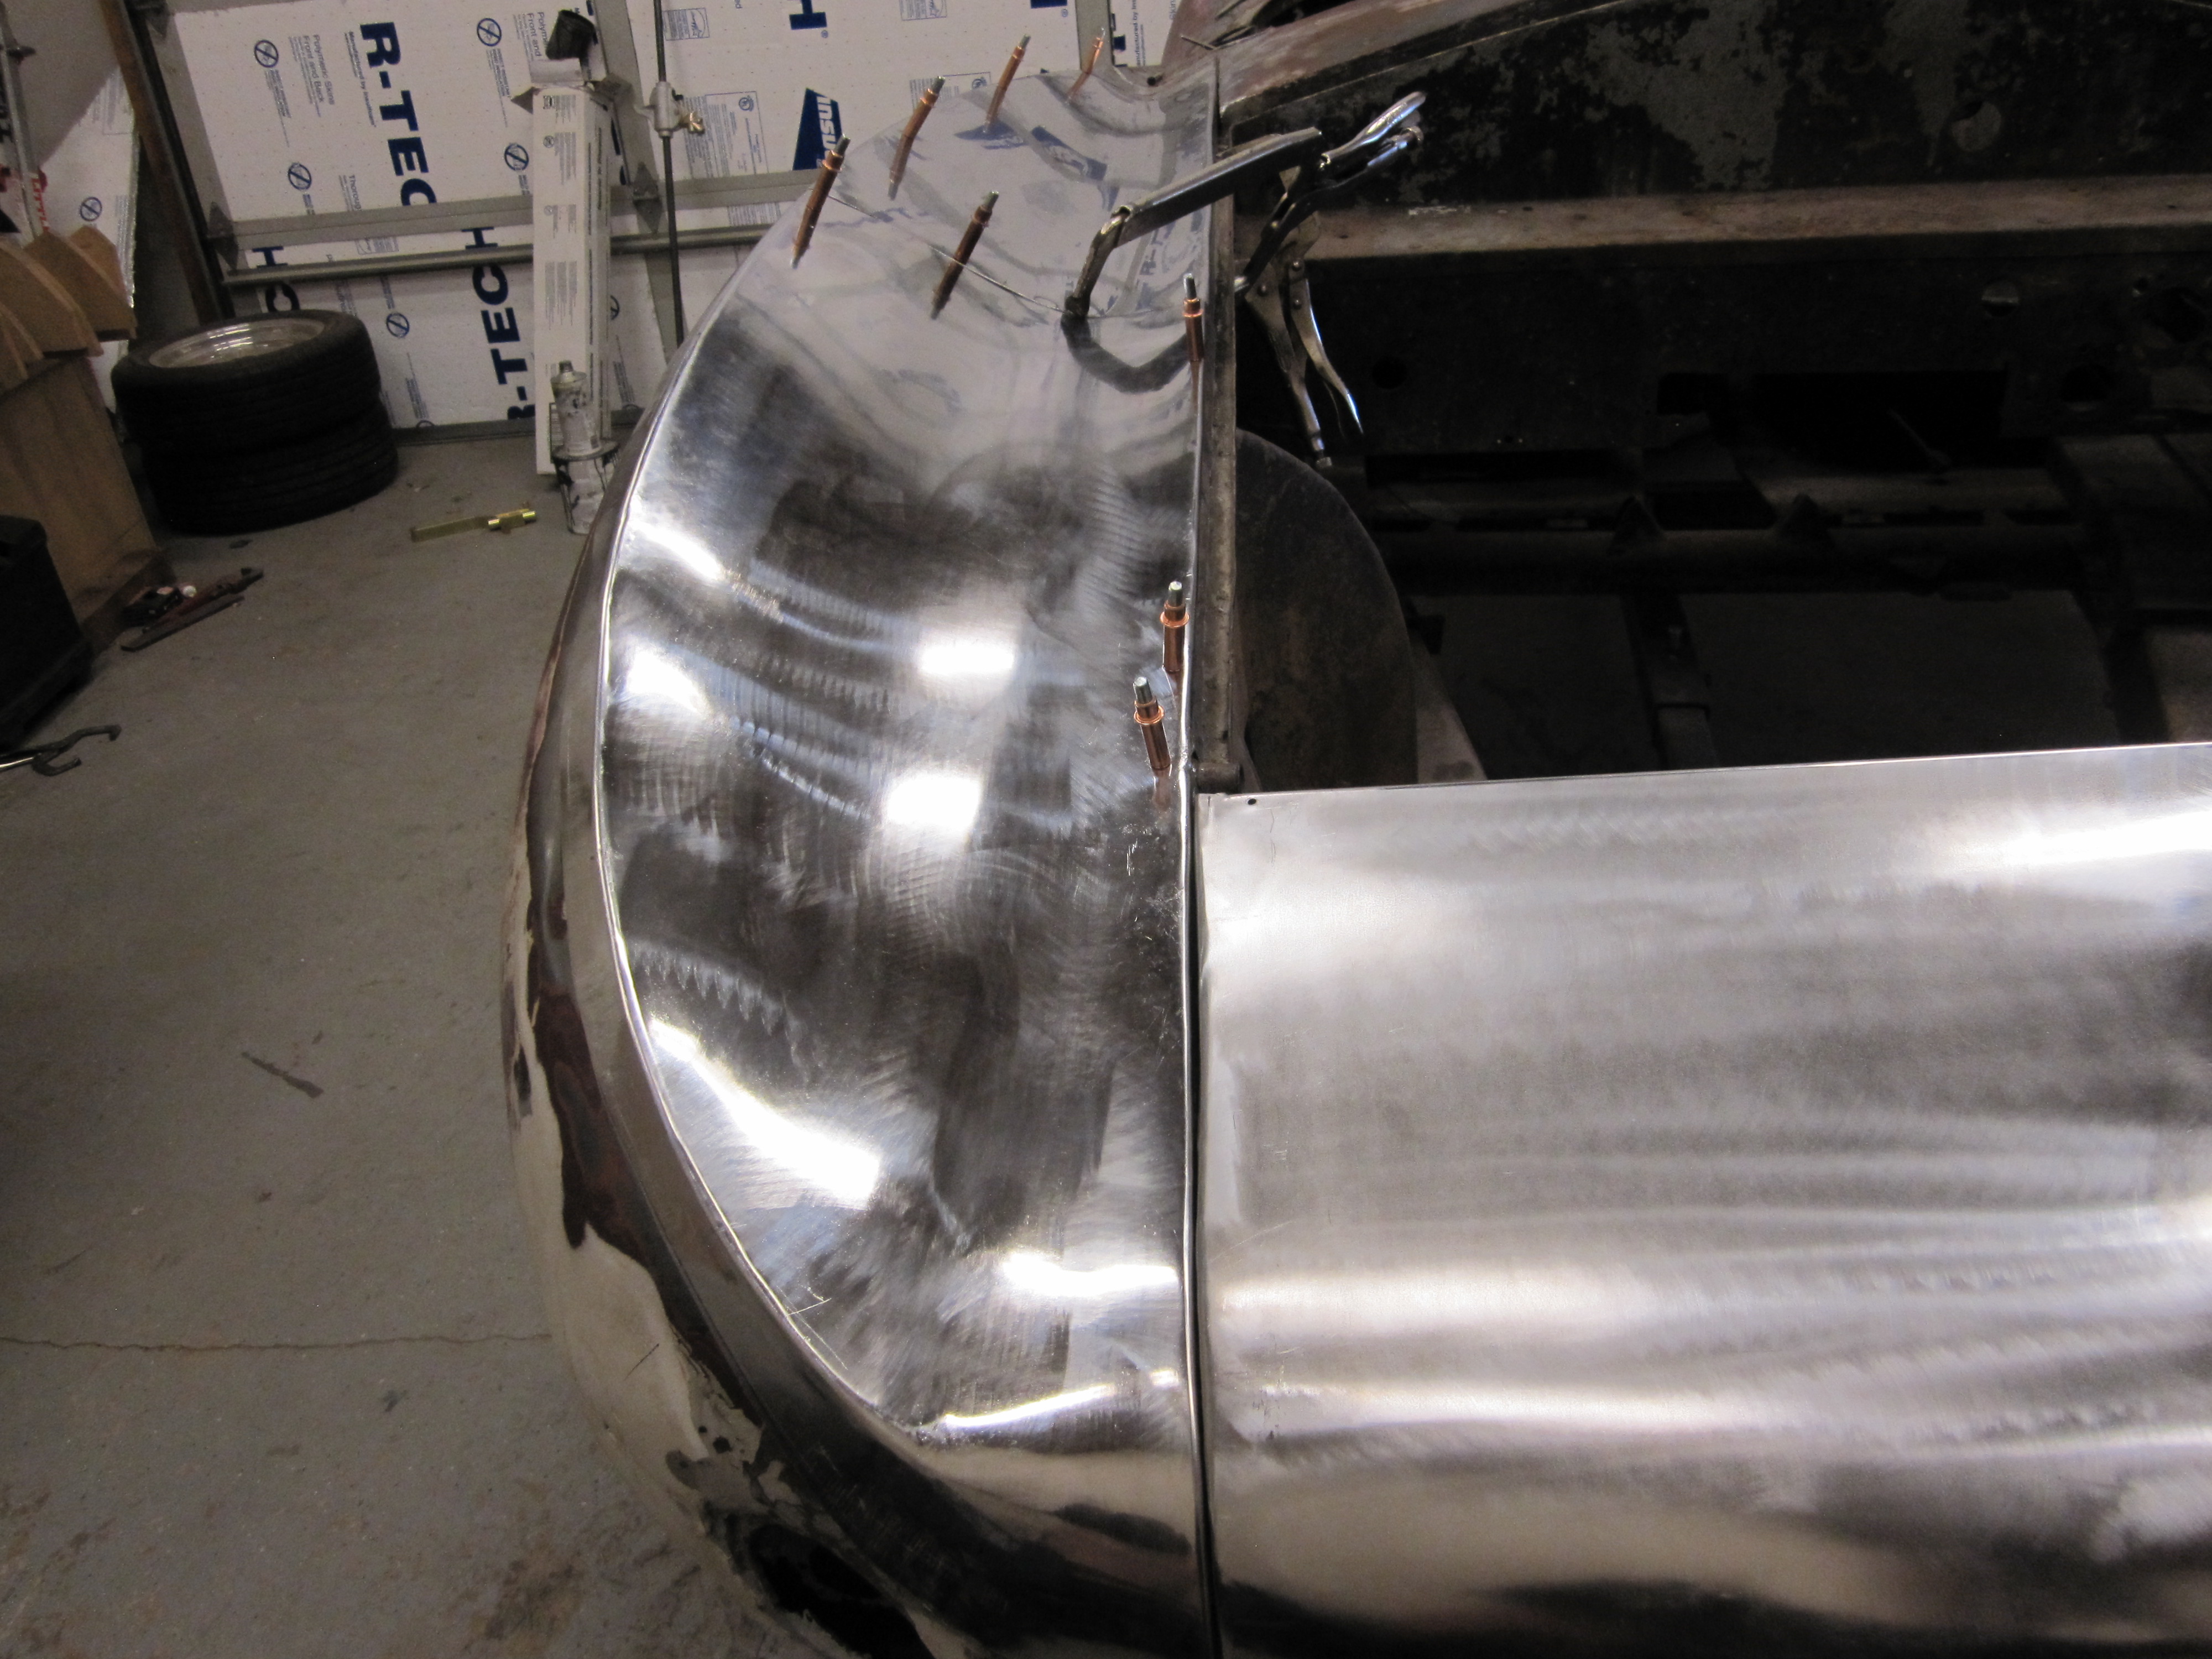
 Rt. front fender finish fab.


Mid floor fab and install
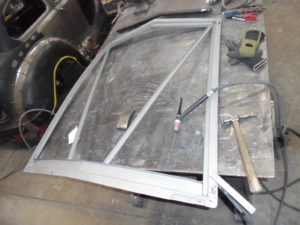
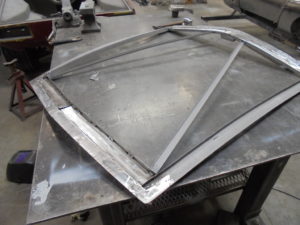
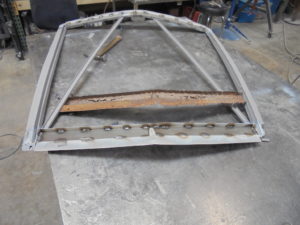
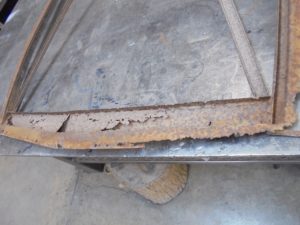
Door frame repairs


++++++++++++++++++++++++++++++++++++++++++++++++++
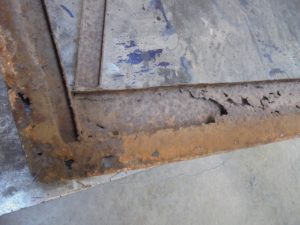
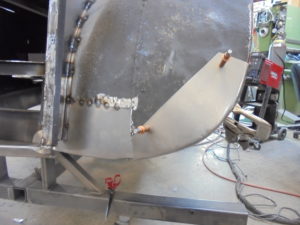
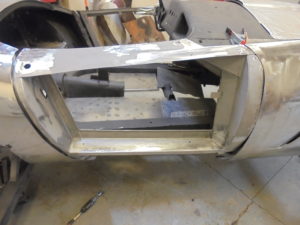
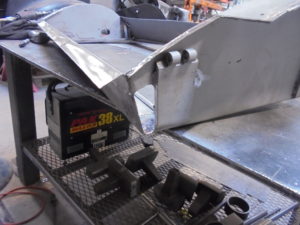
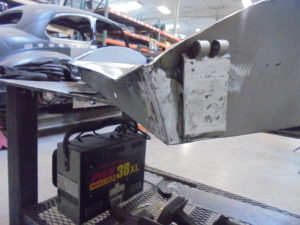
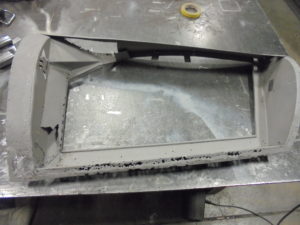
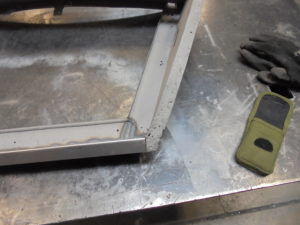
Start of fit and moving of edges of skins to correct gaps.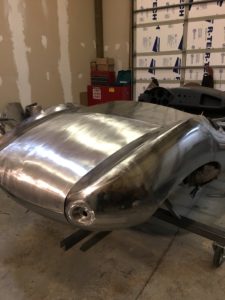 Repairing Trunk jamb/inner structure
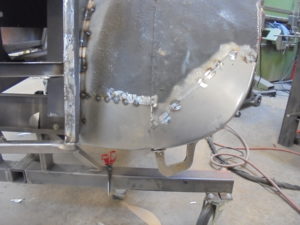
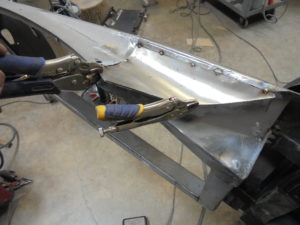
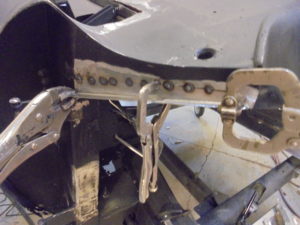
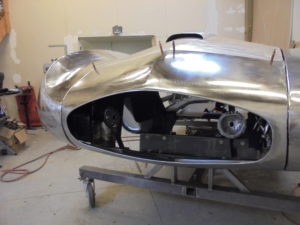
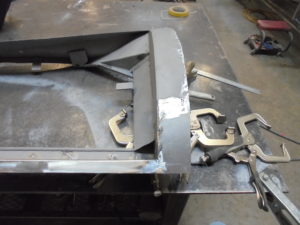
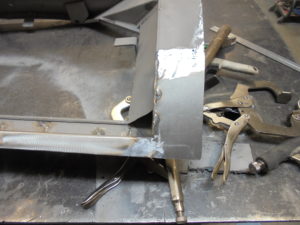
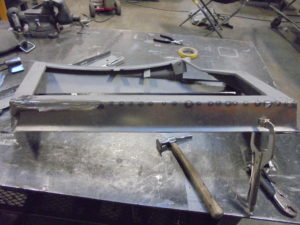
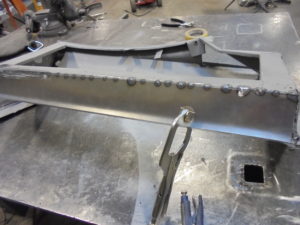
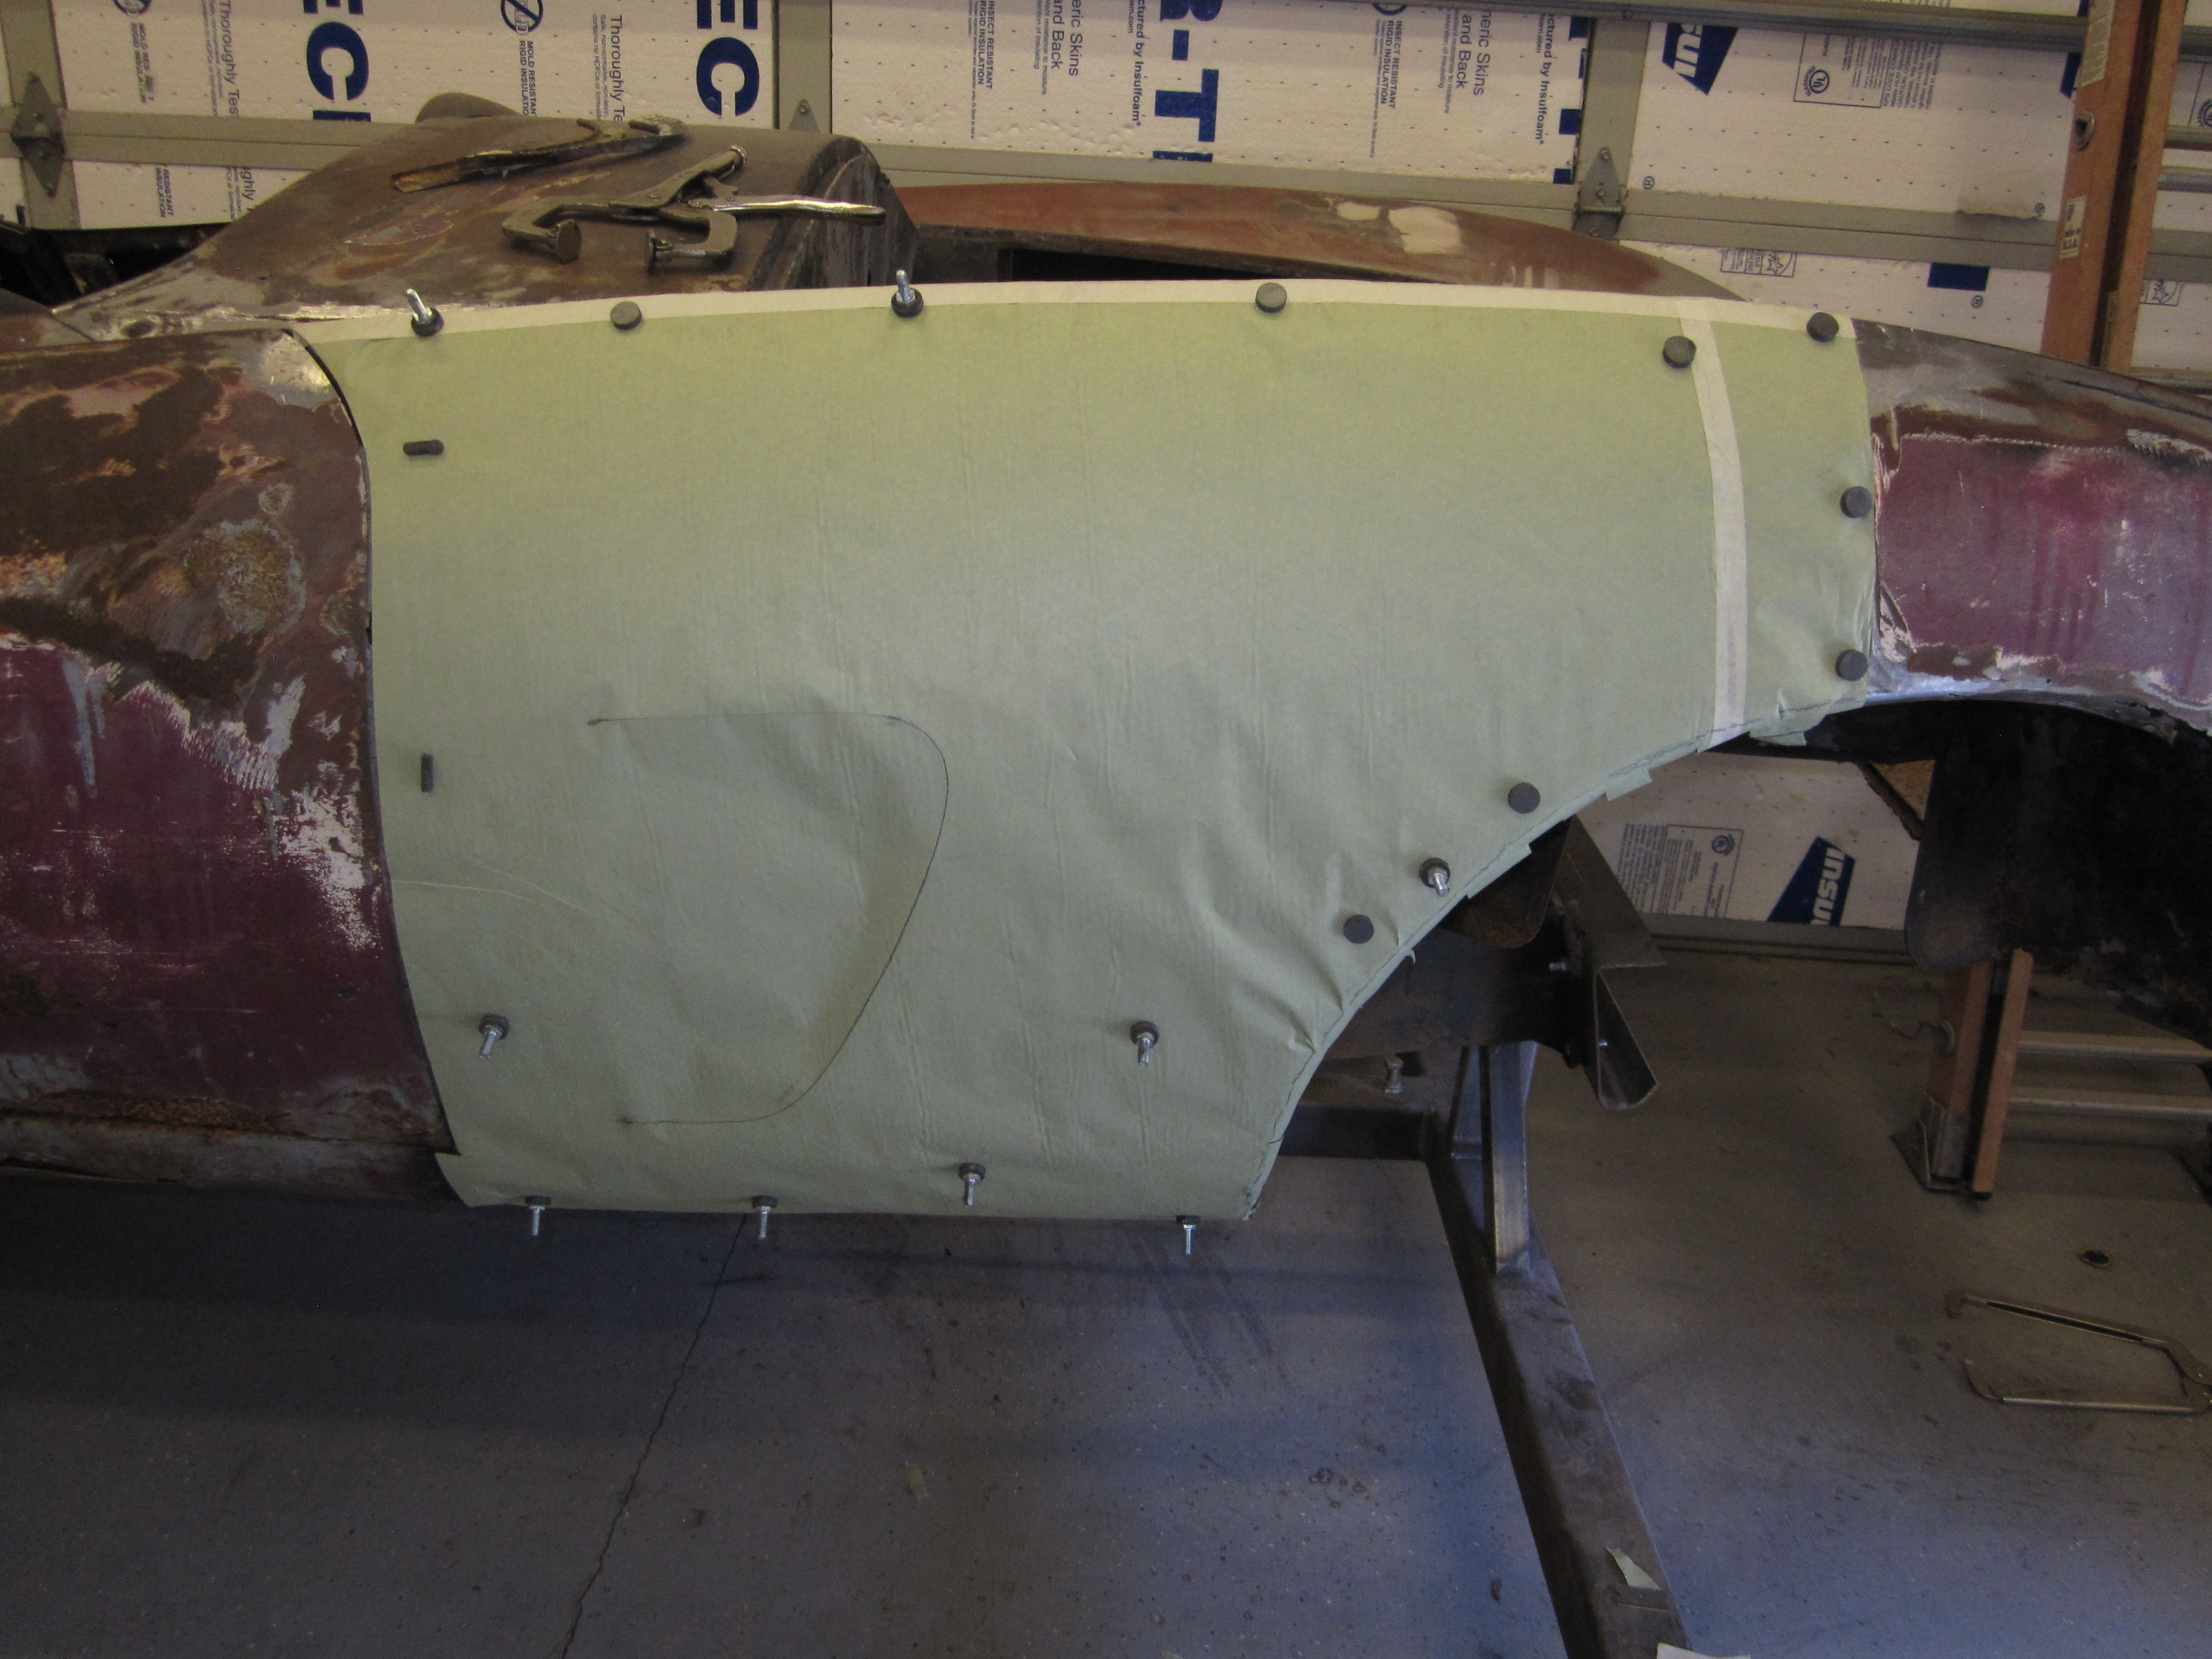
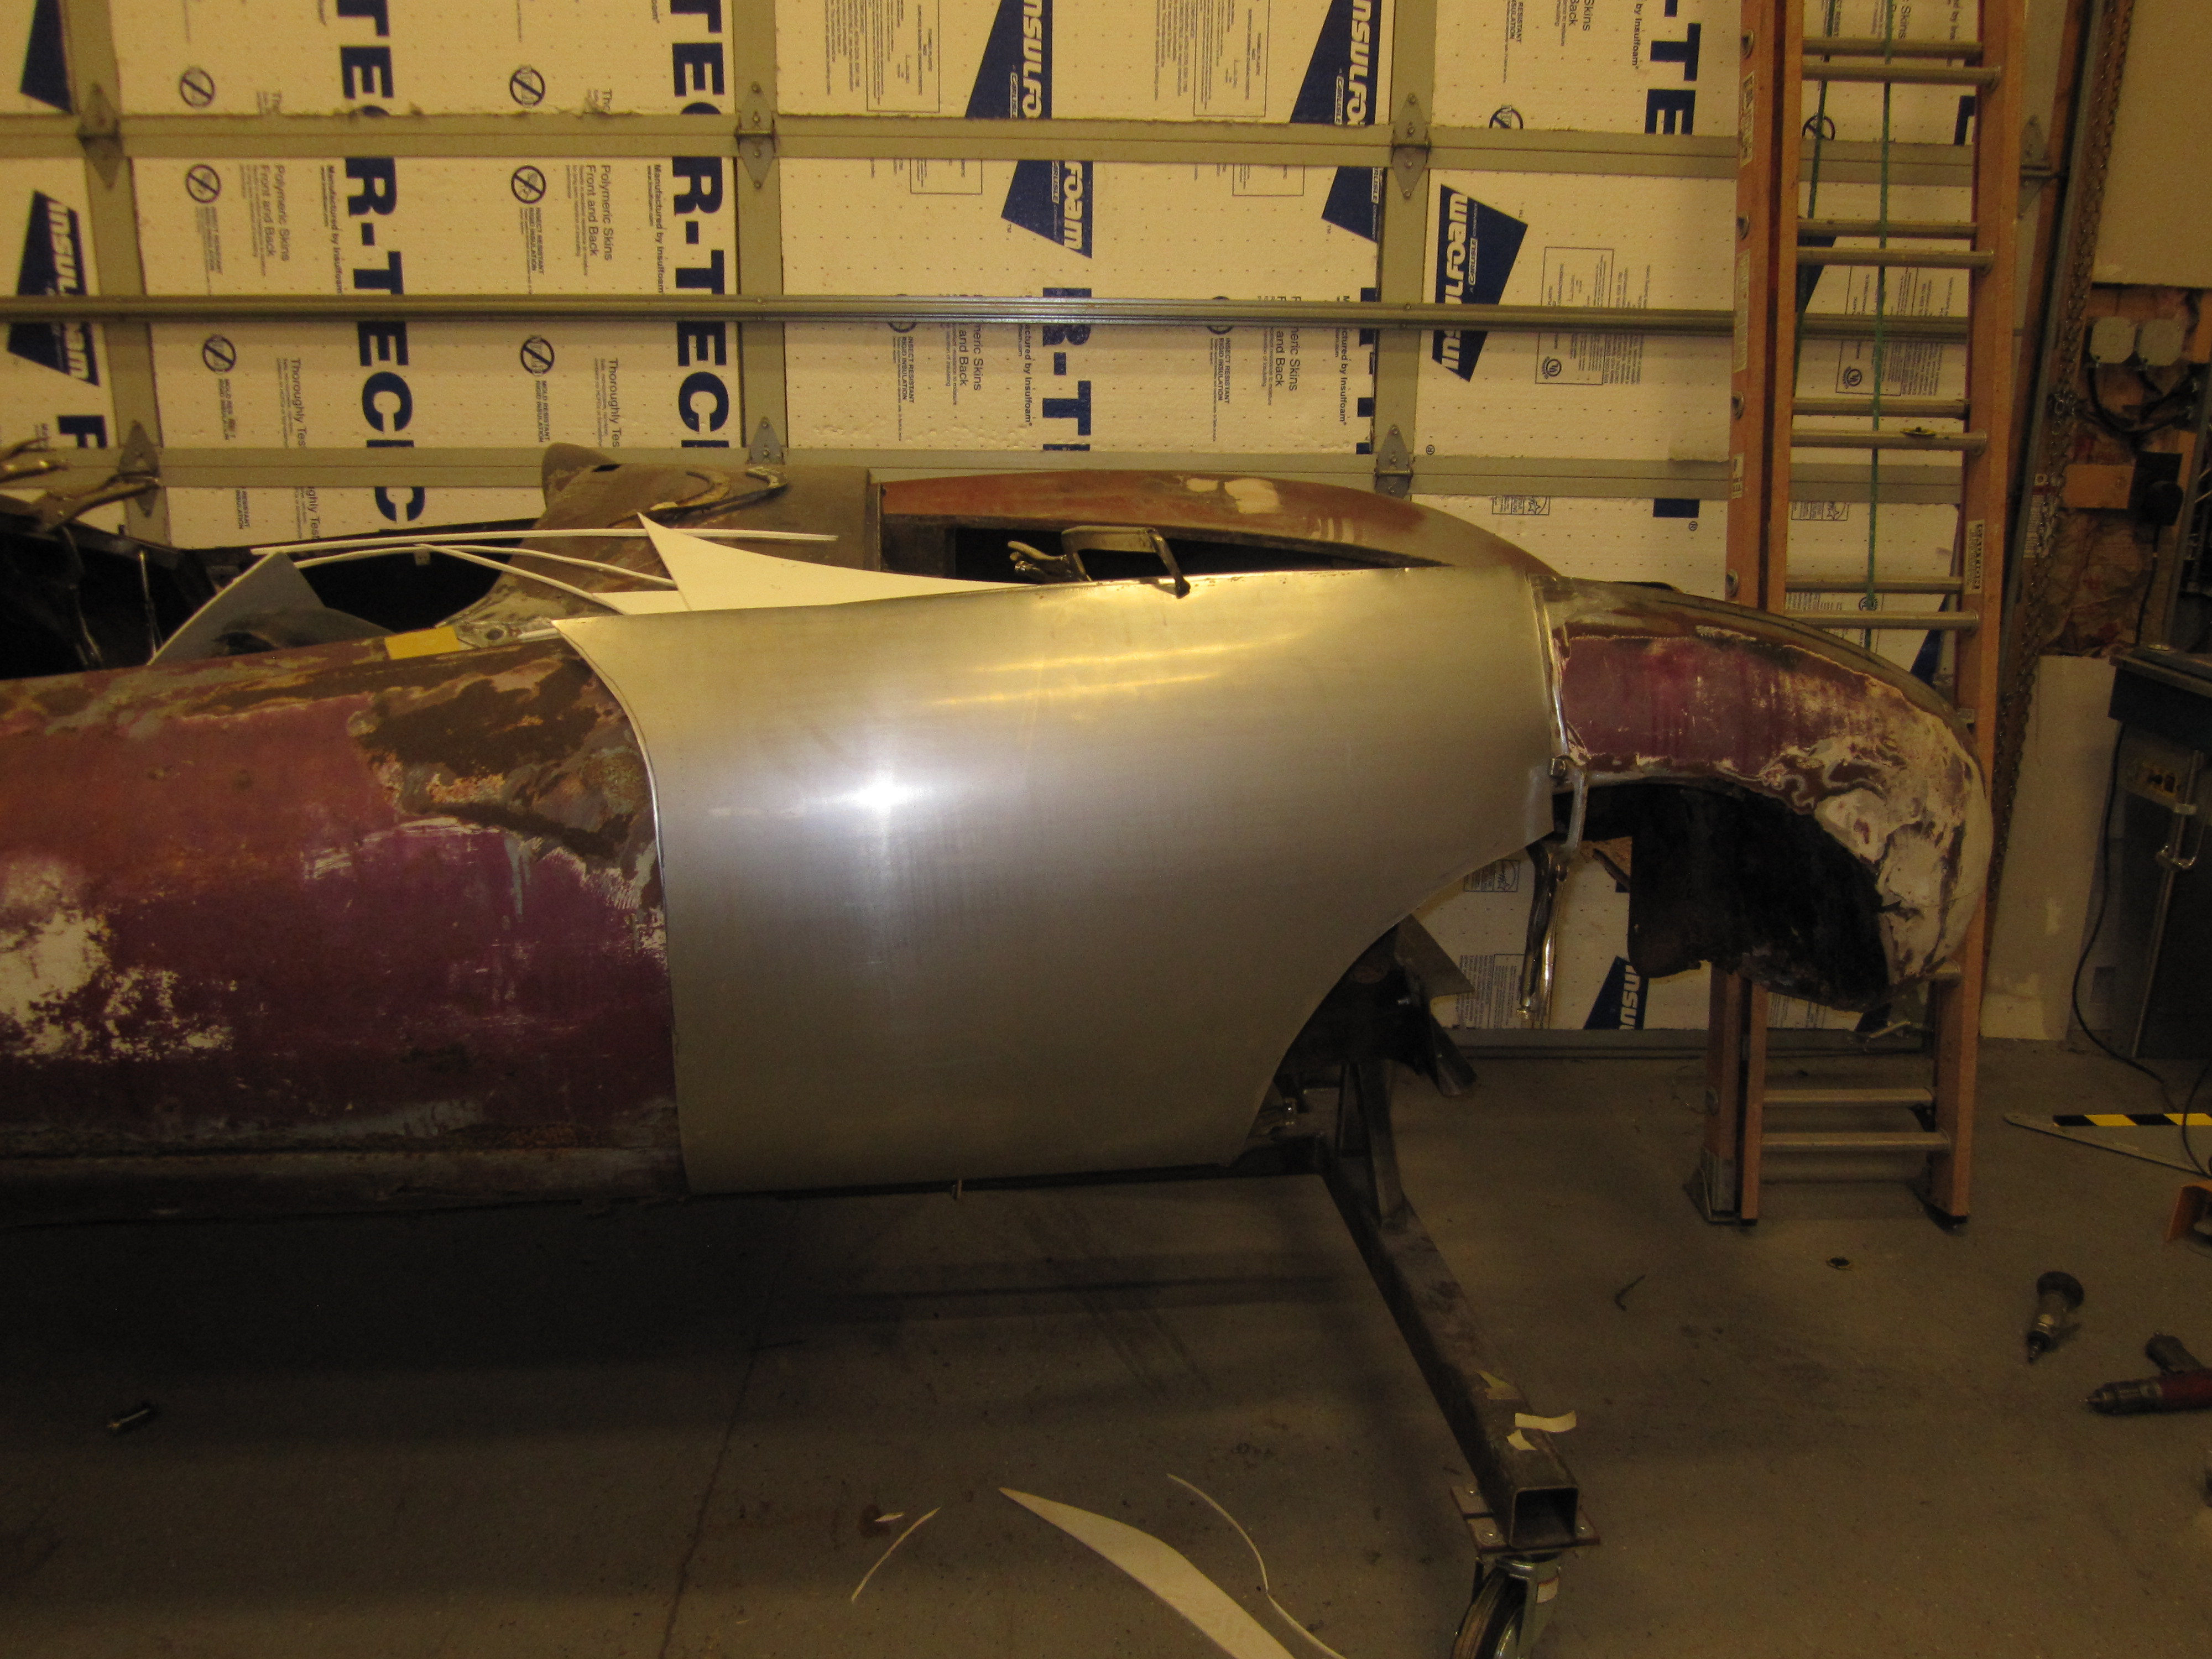
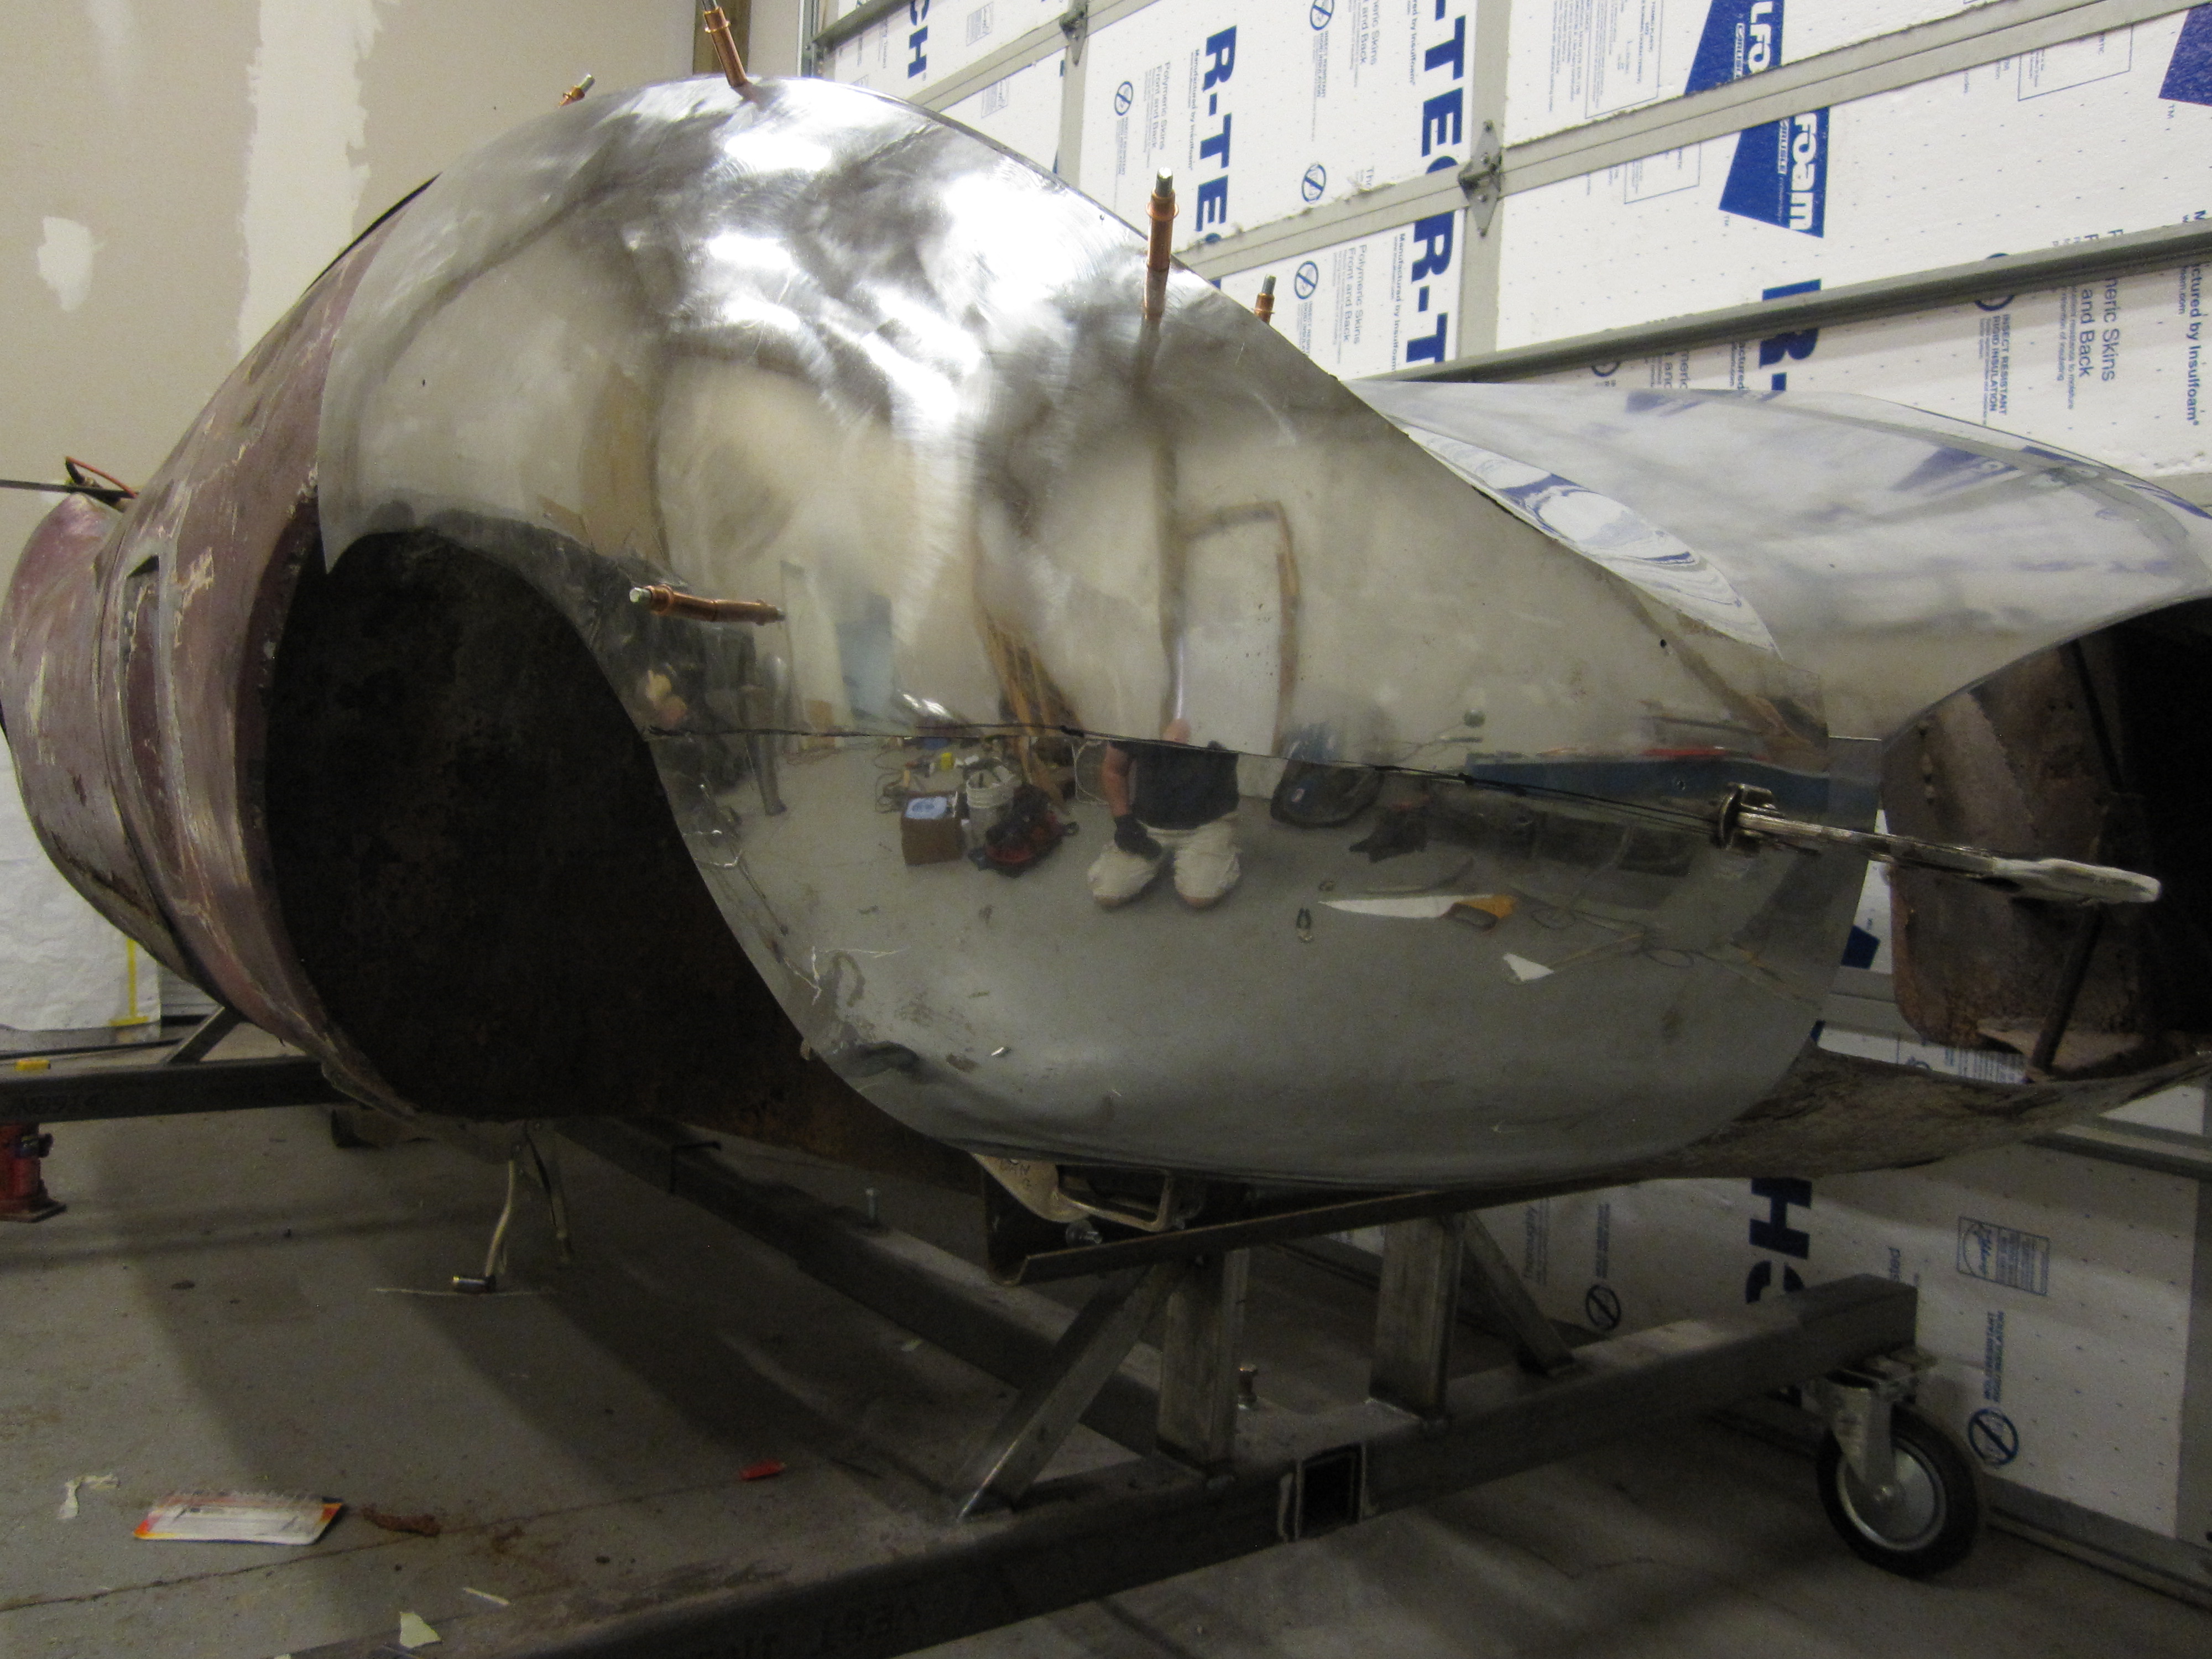
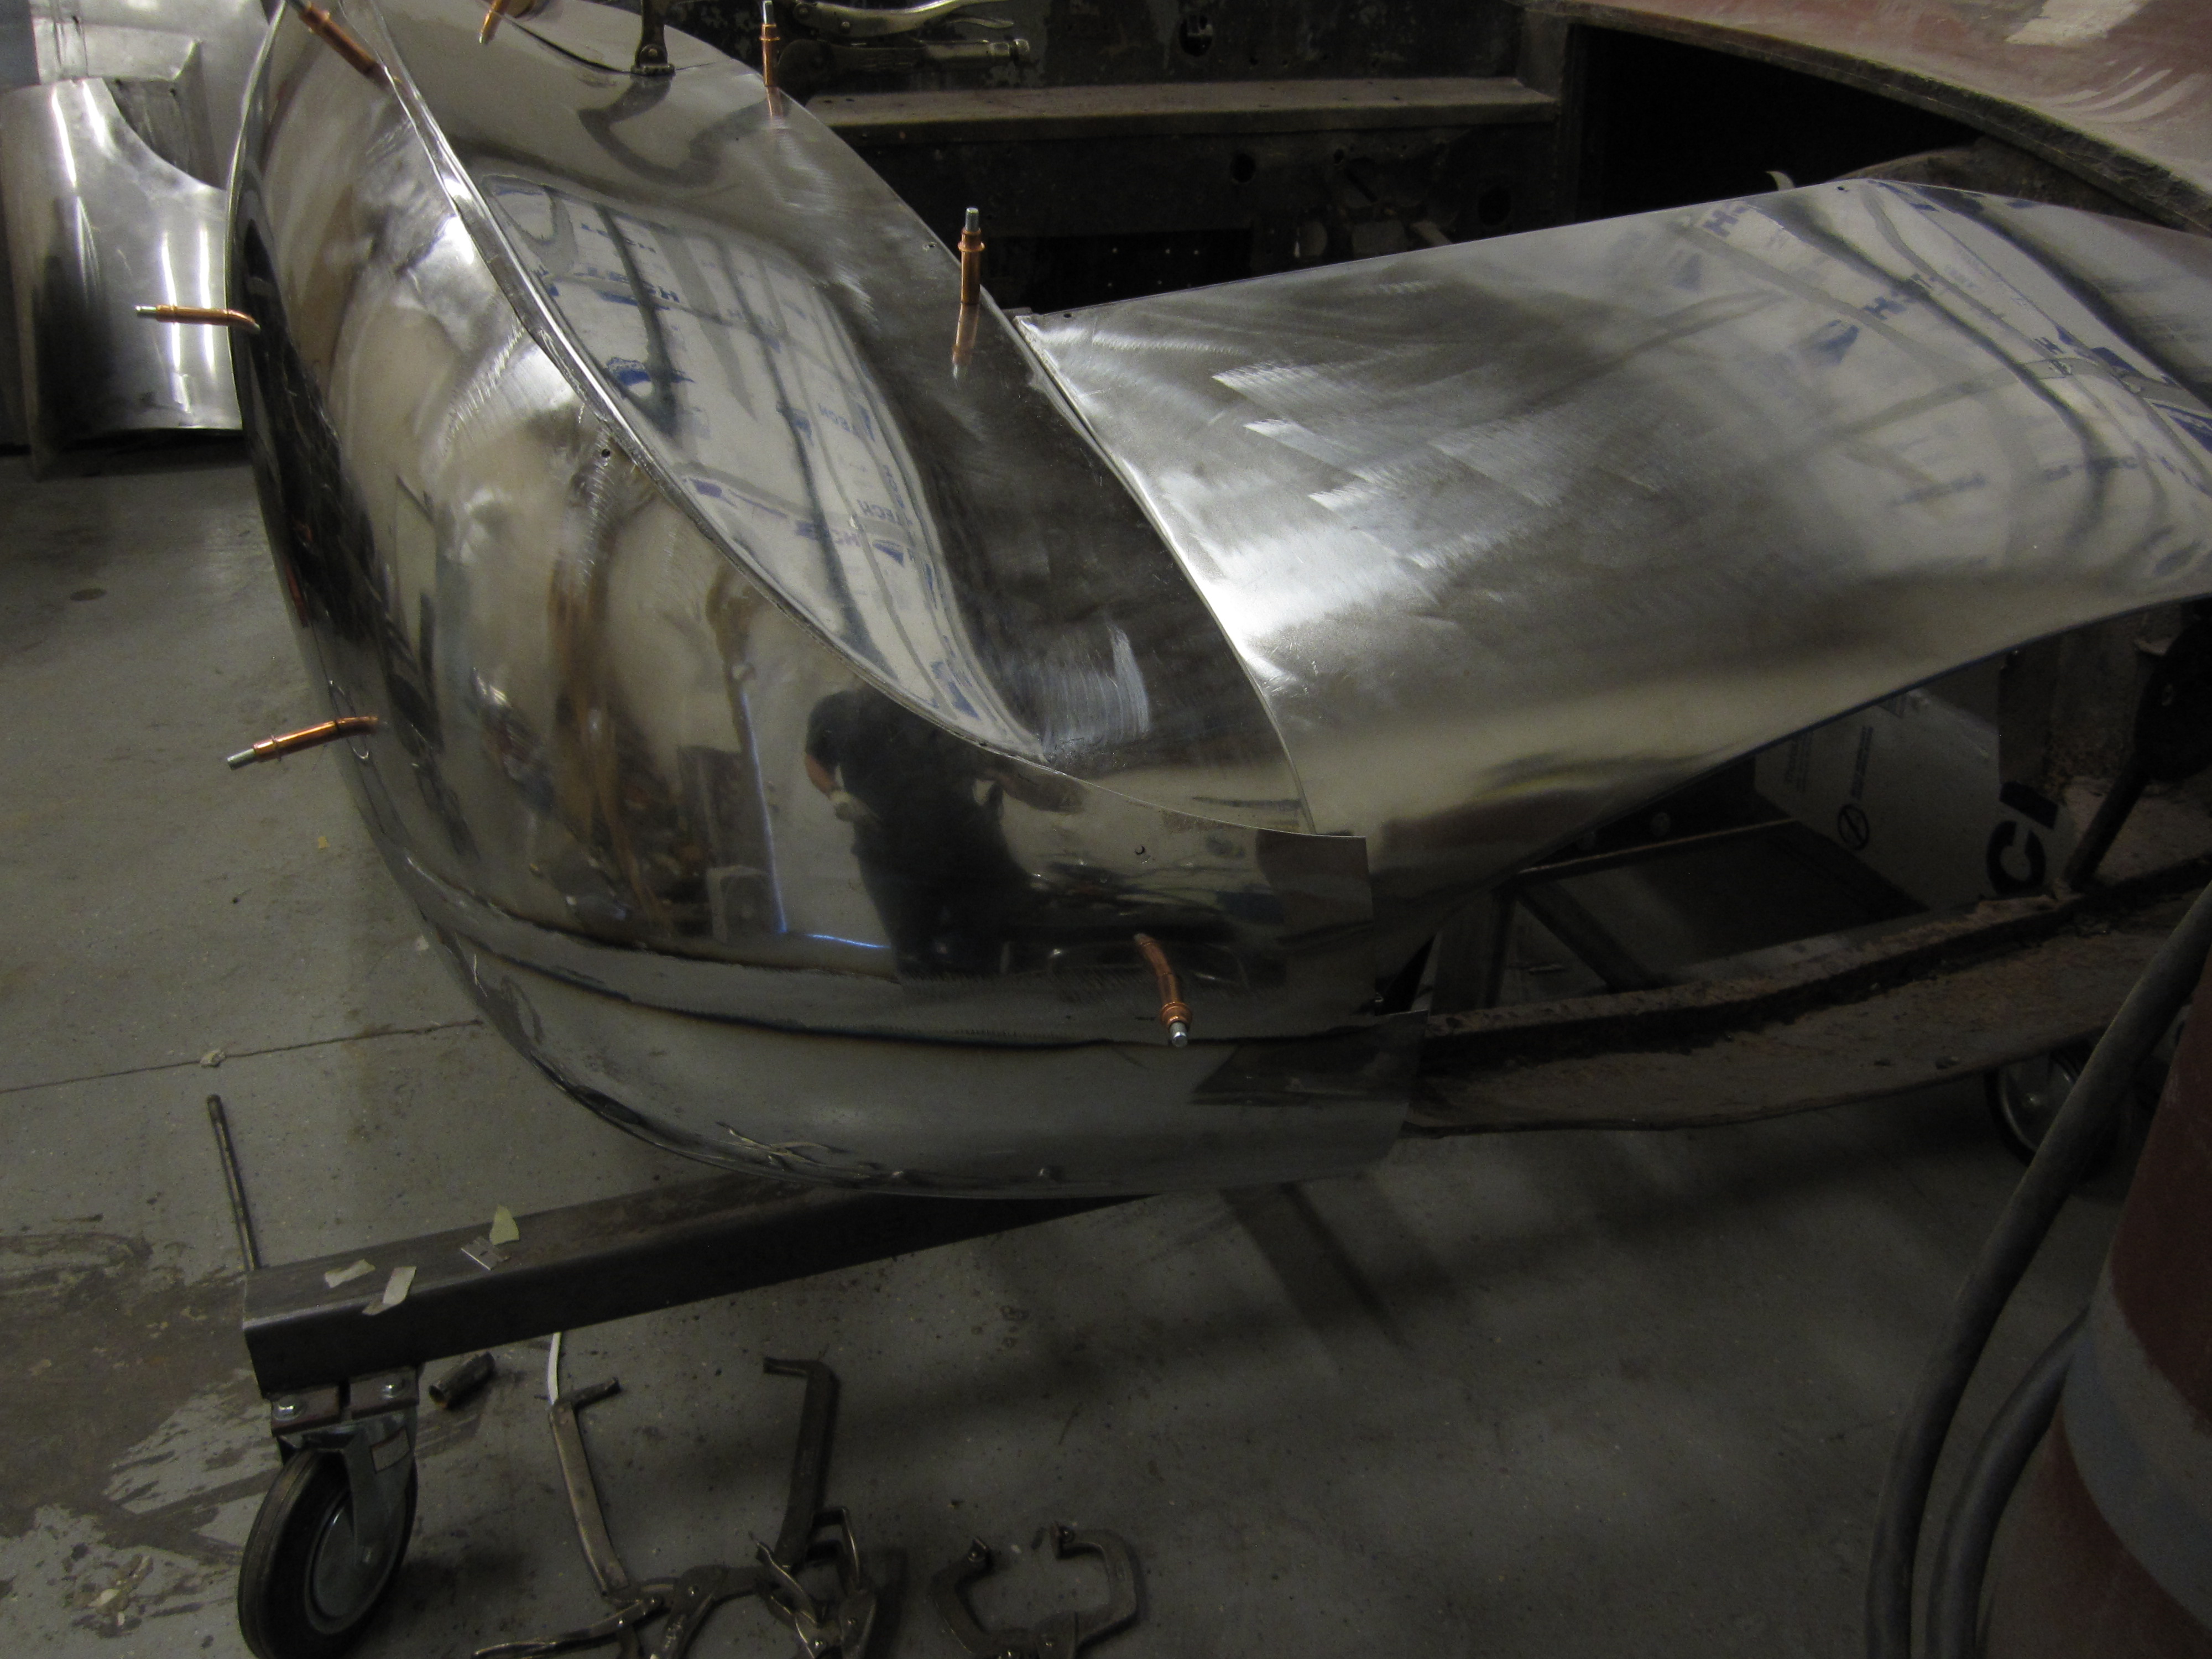
 Skin being attached to frame
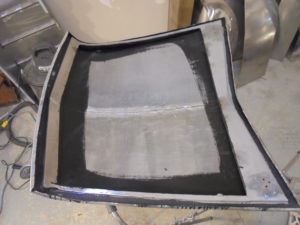
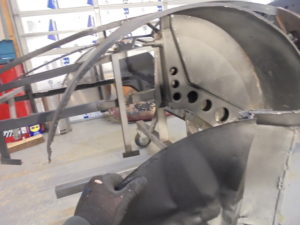
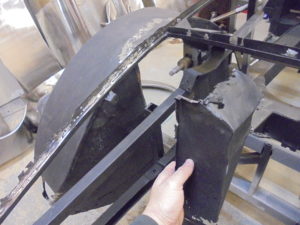
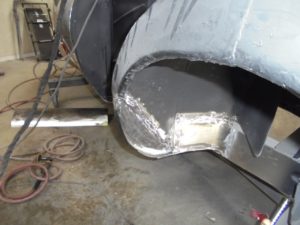
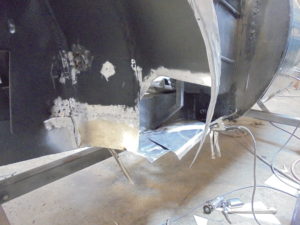
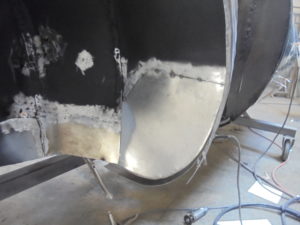
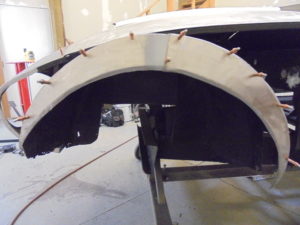
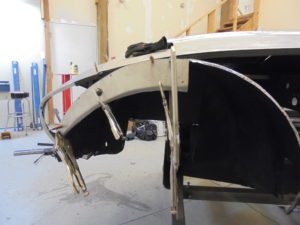
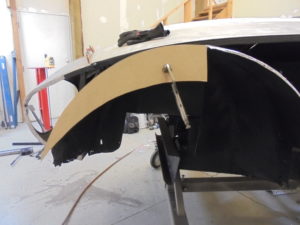
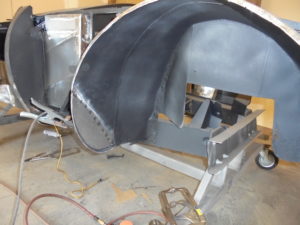
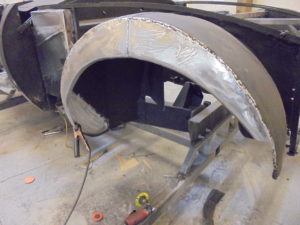
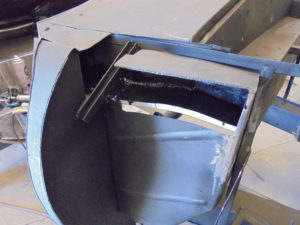
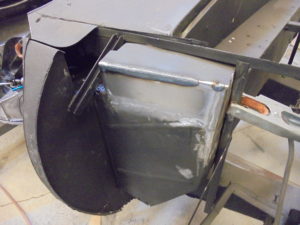
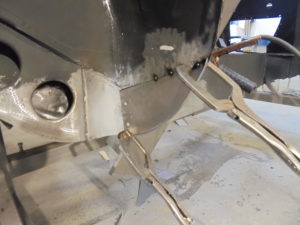
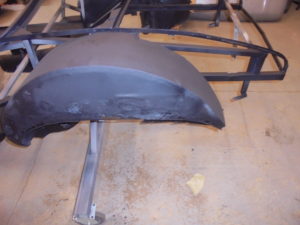
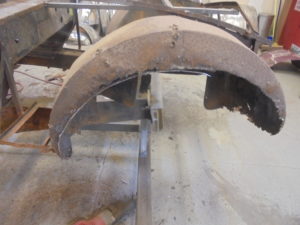
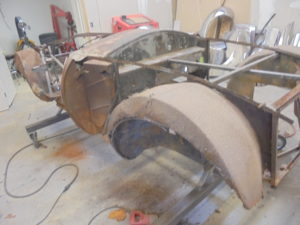
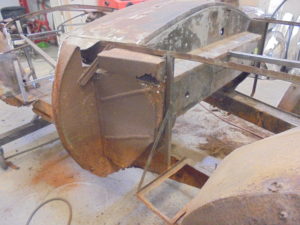
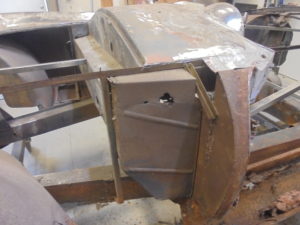
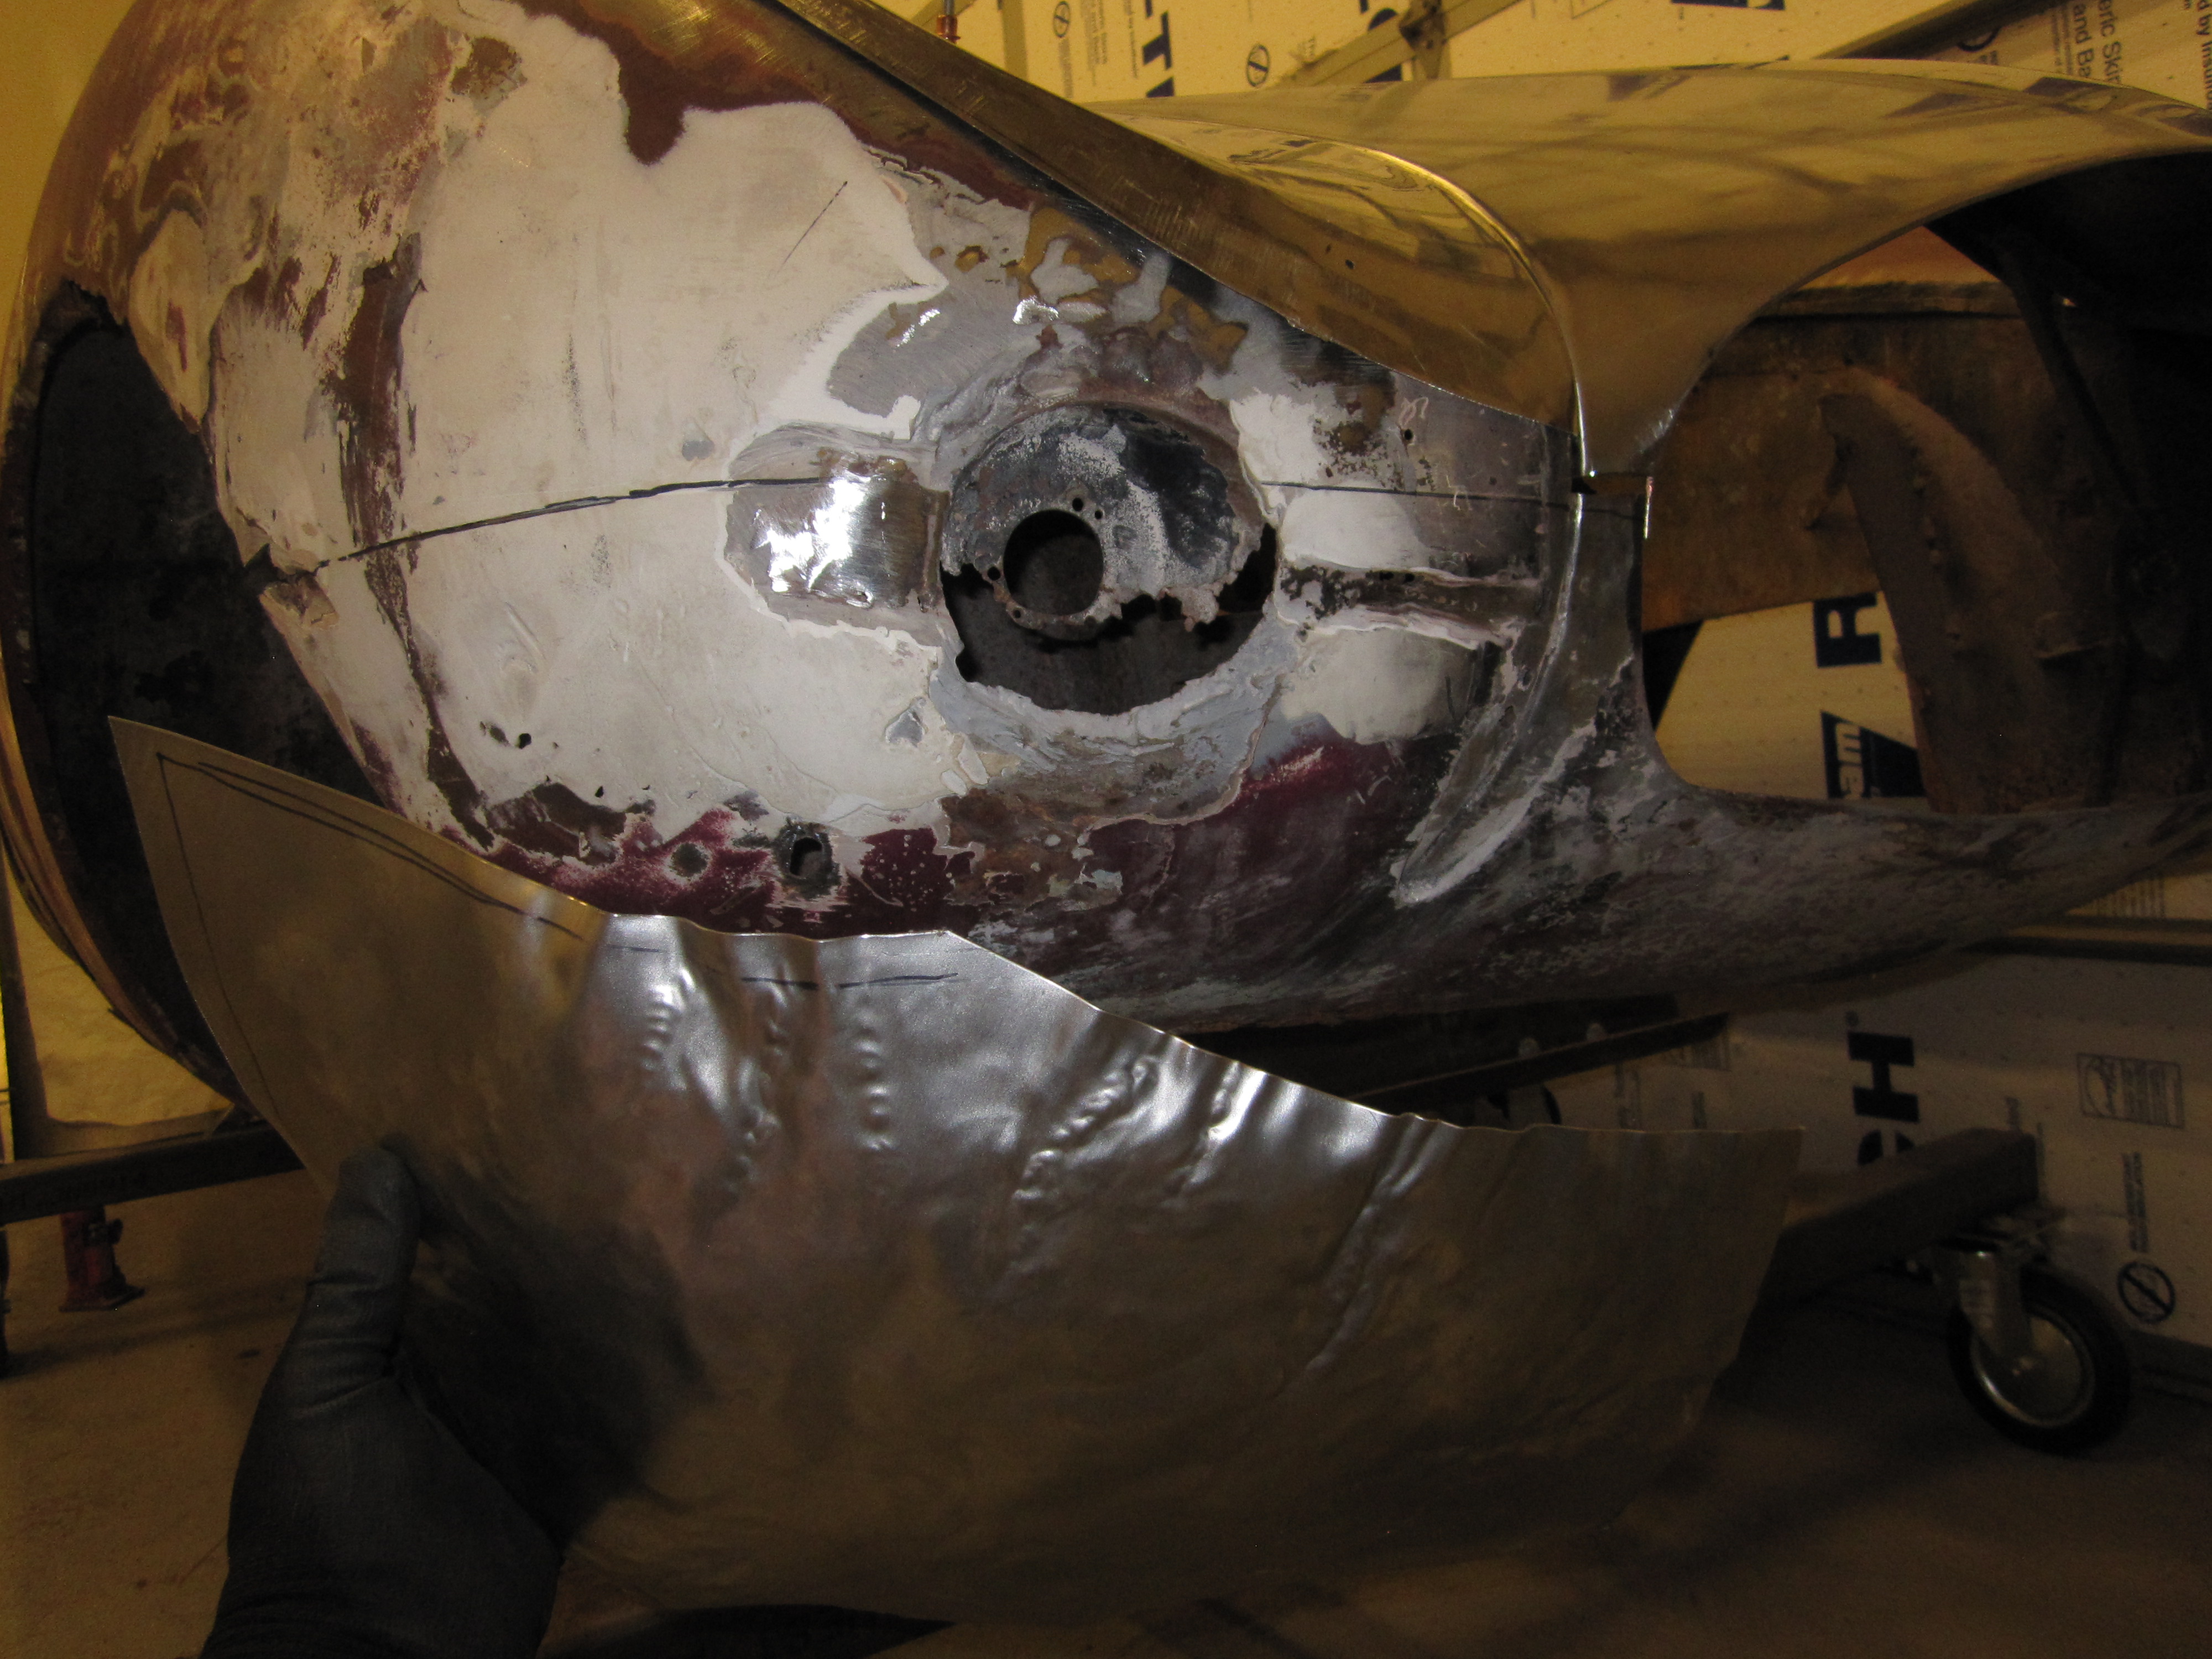
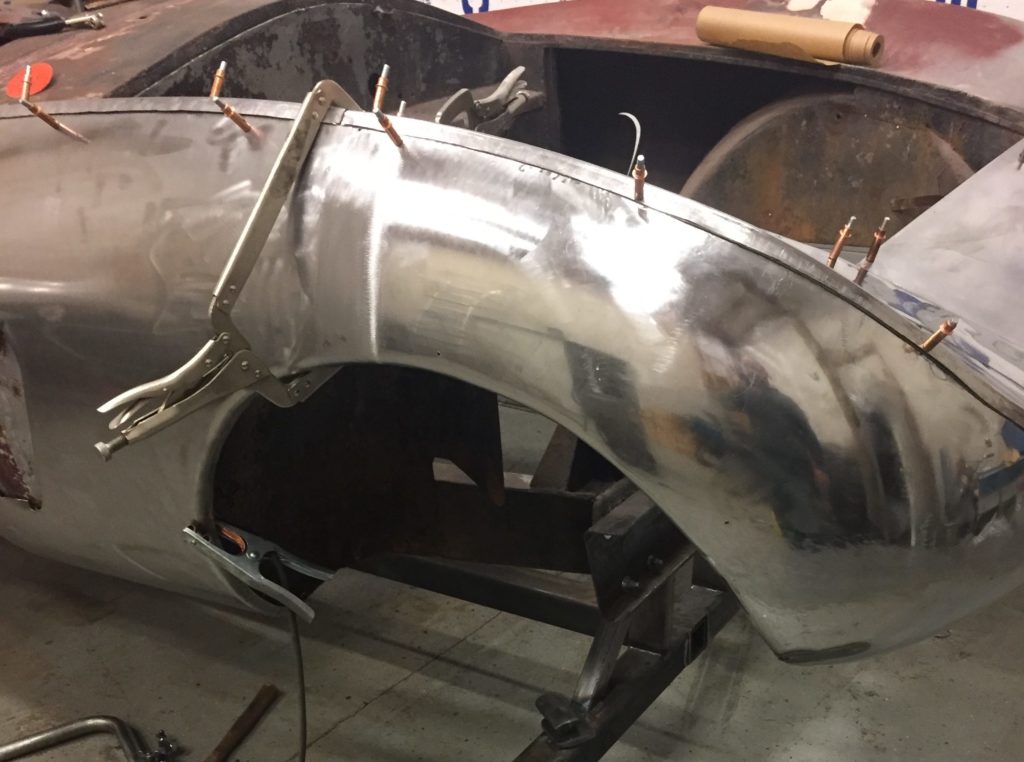
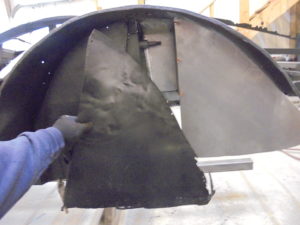 Right wheel house
Left wheel house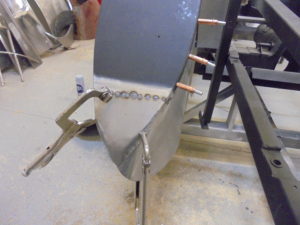
++++++++++++++++++++++++++++++++++++++++++++++++++++
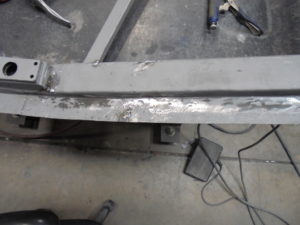
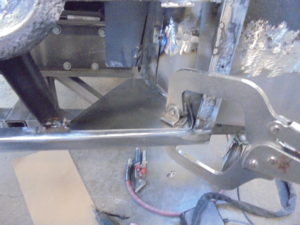
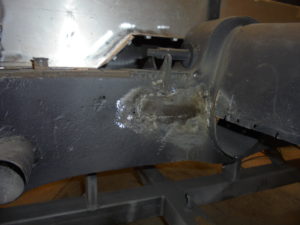
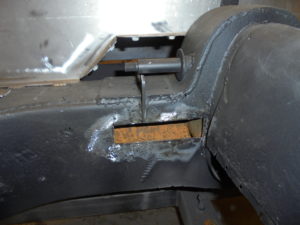
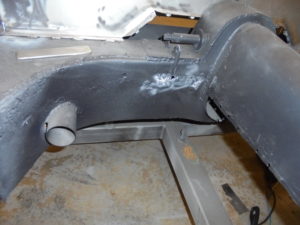
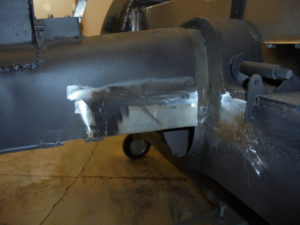
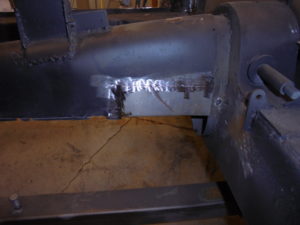
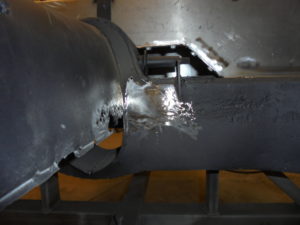
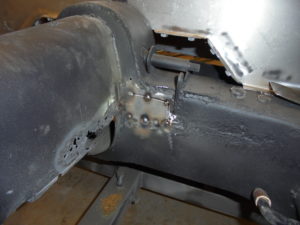
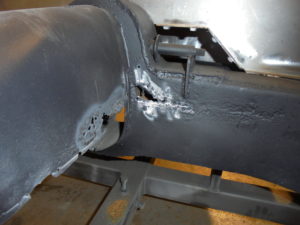
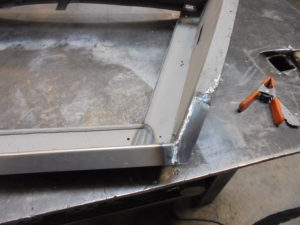
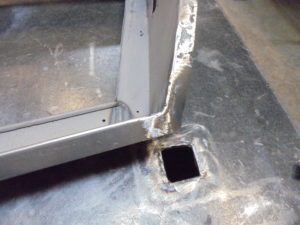
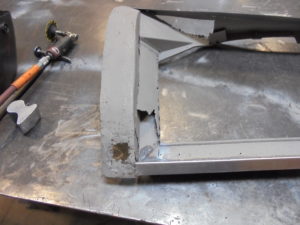
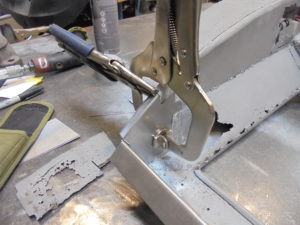
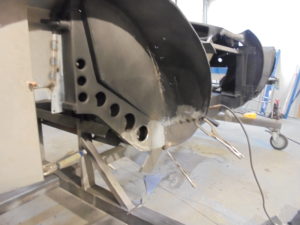
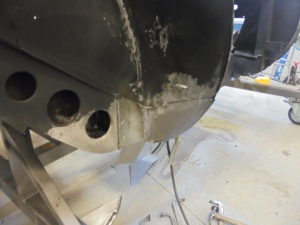
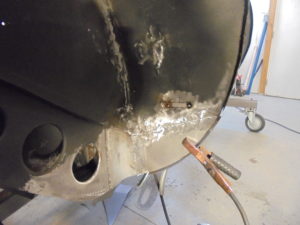
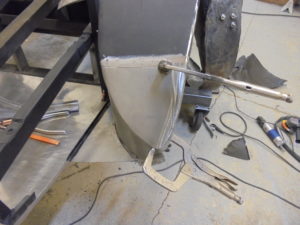
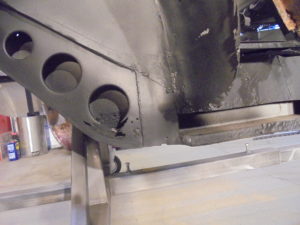
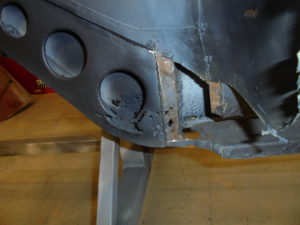
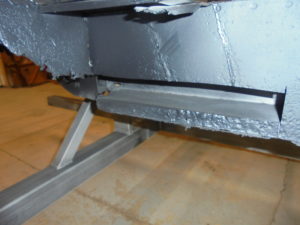
Right Framerail Repair
Left Framerail Repair
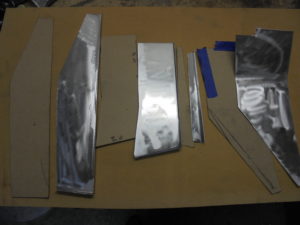
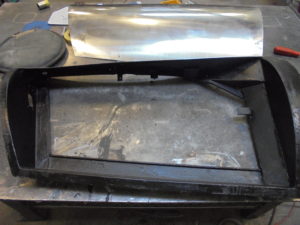
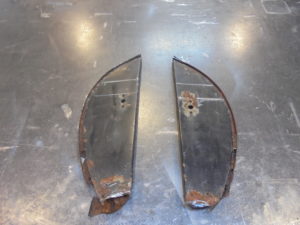
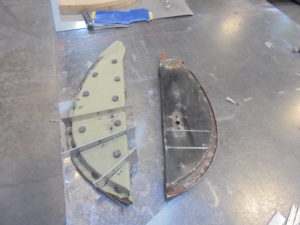
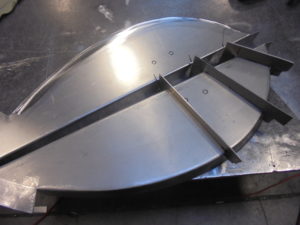
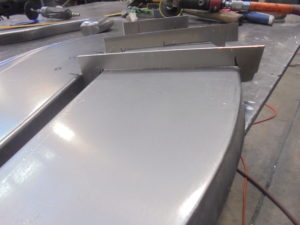
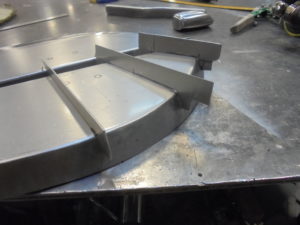
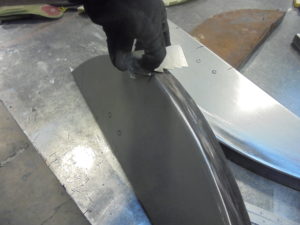
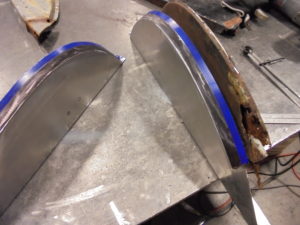
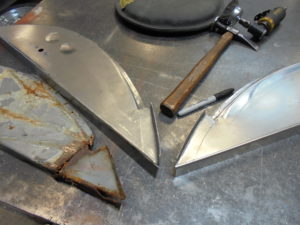
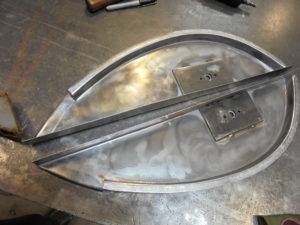
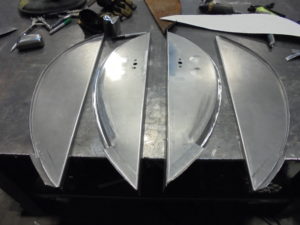
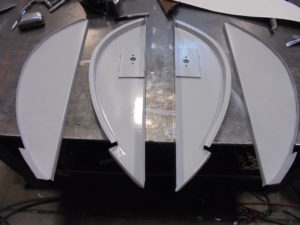
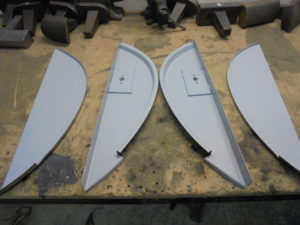
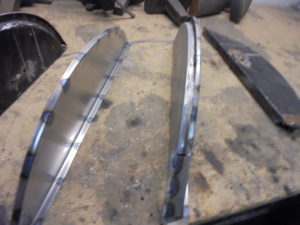
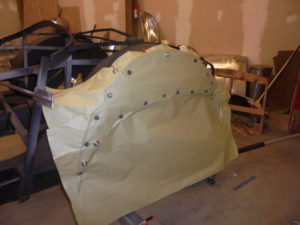
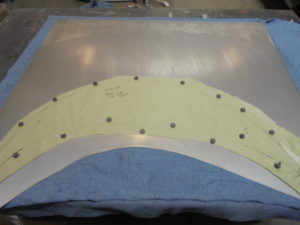
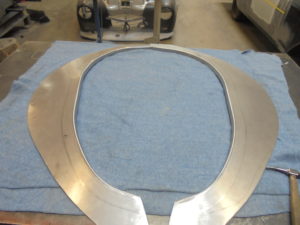
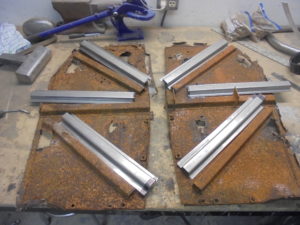
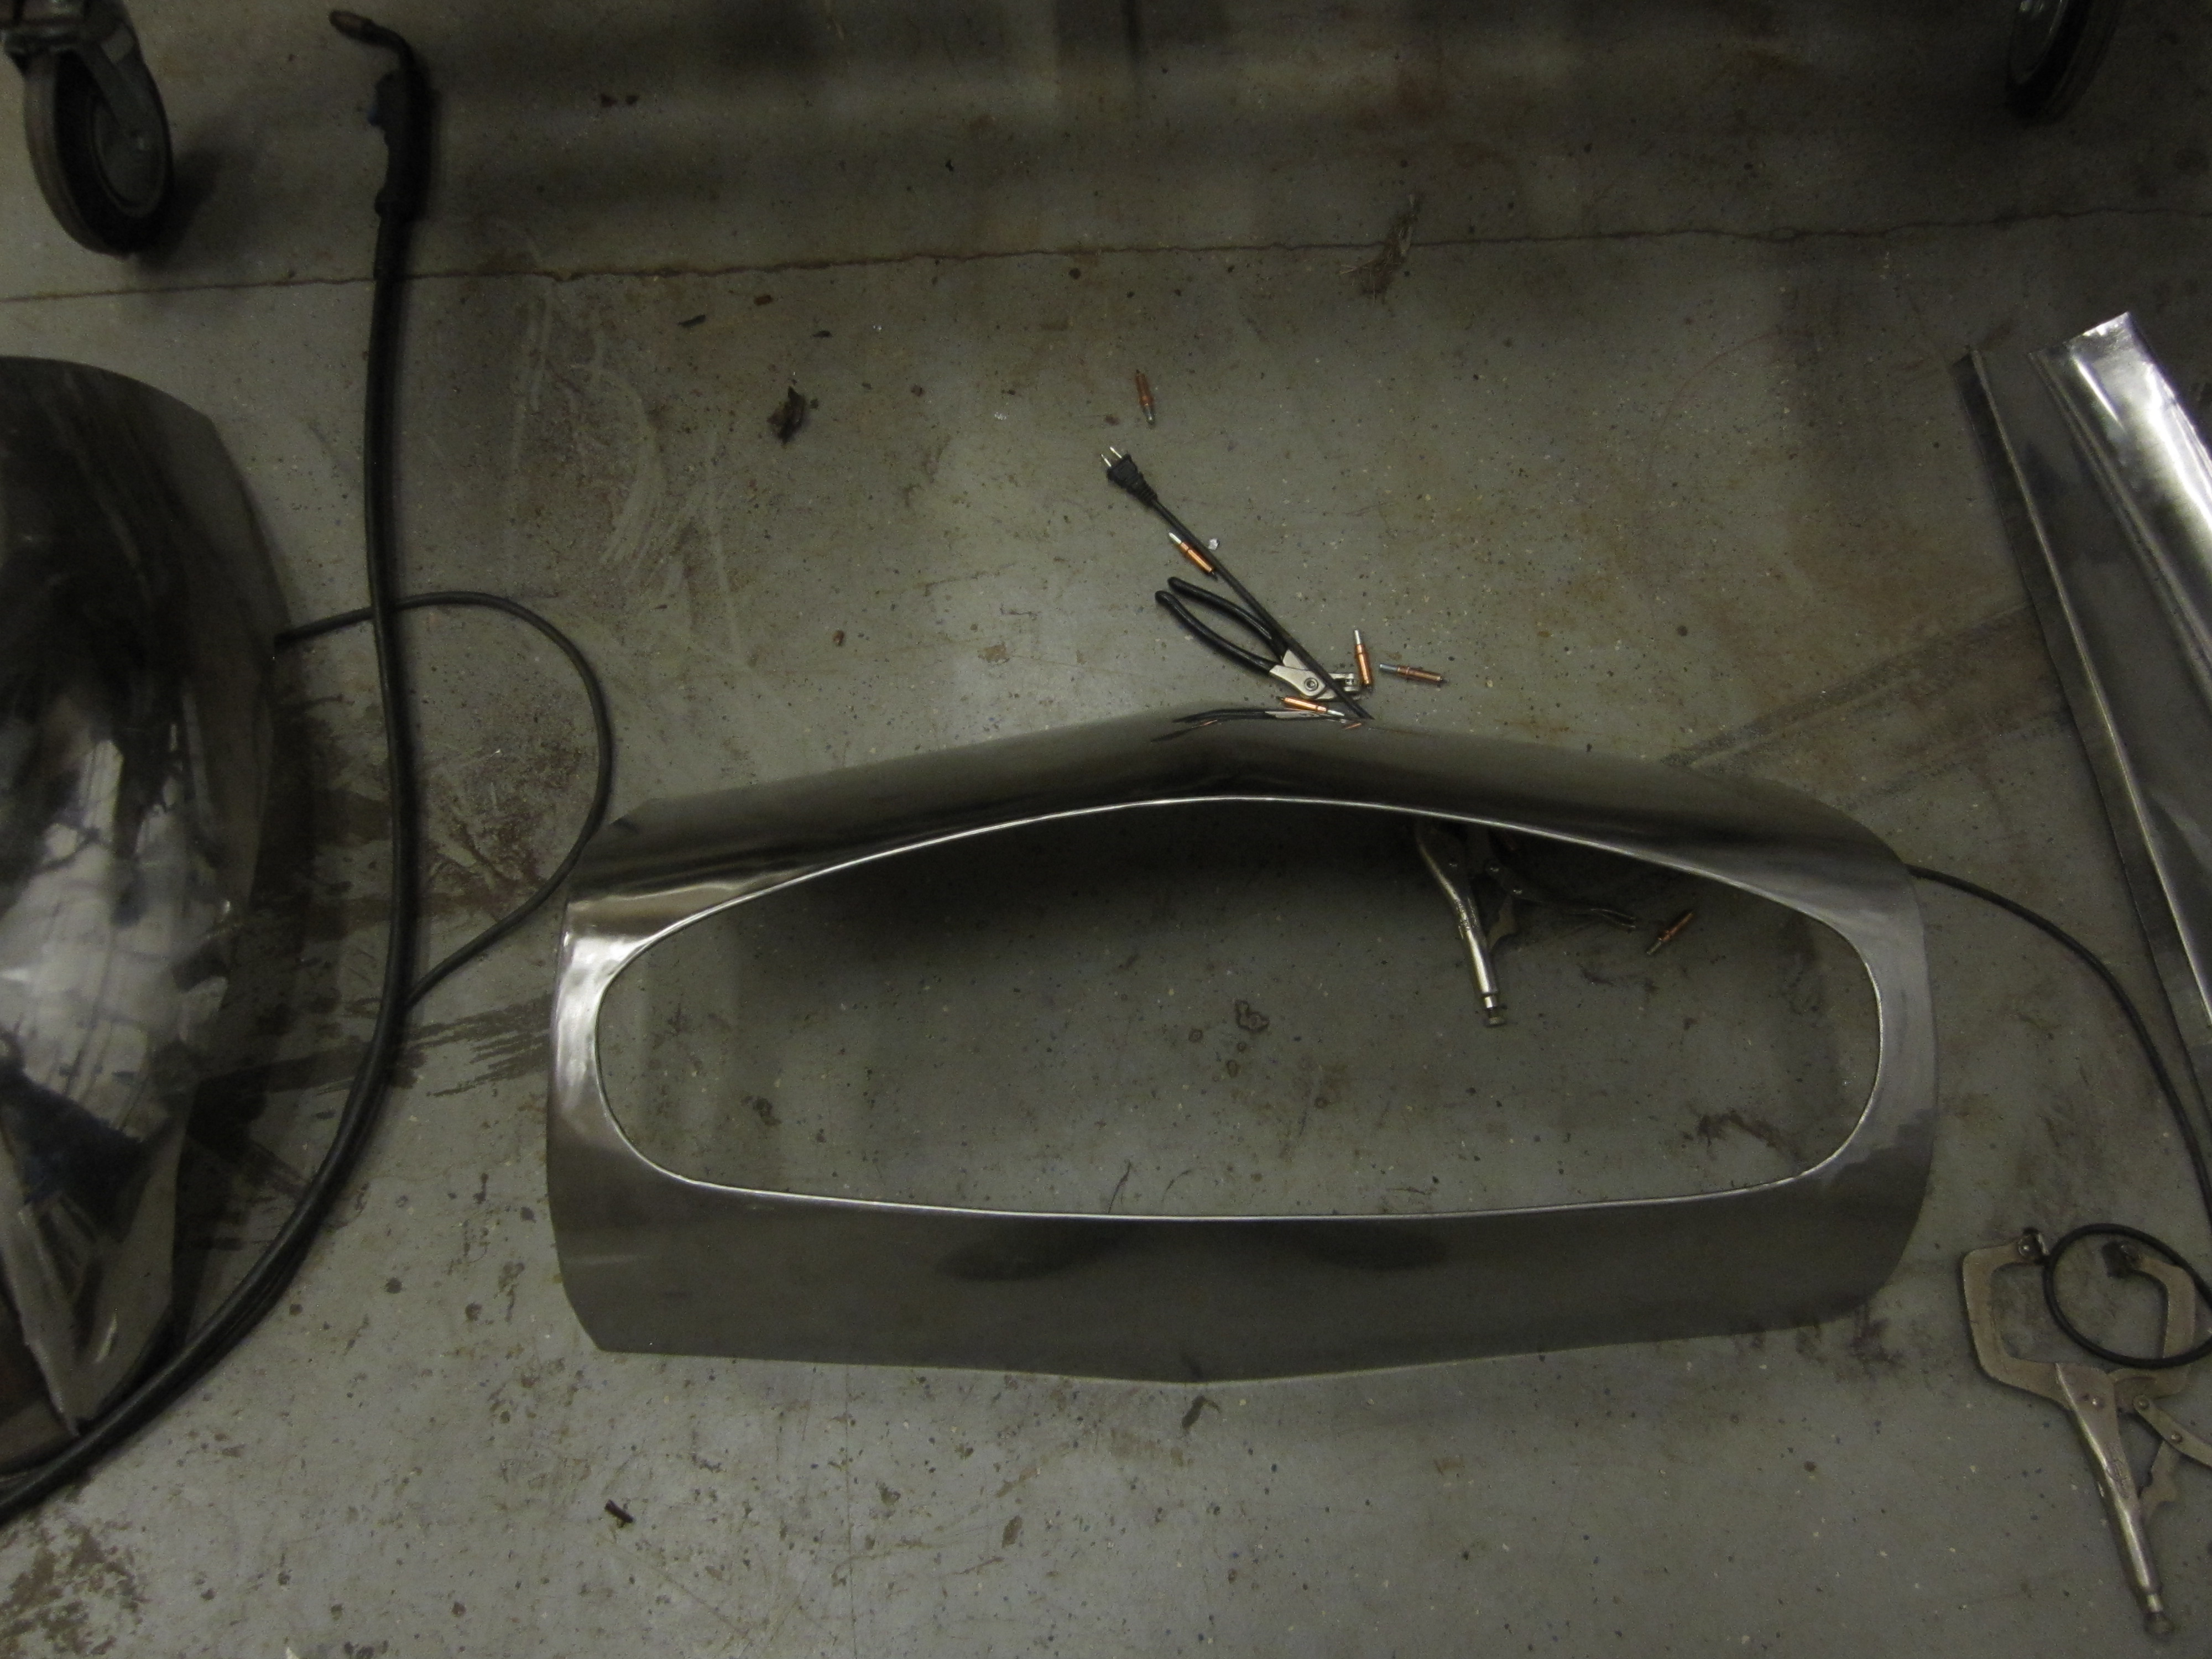
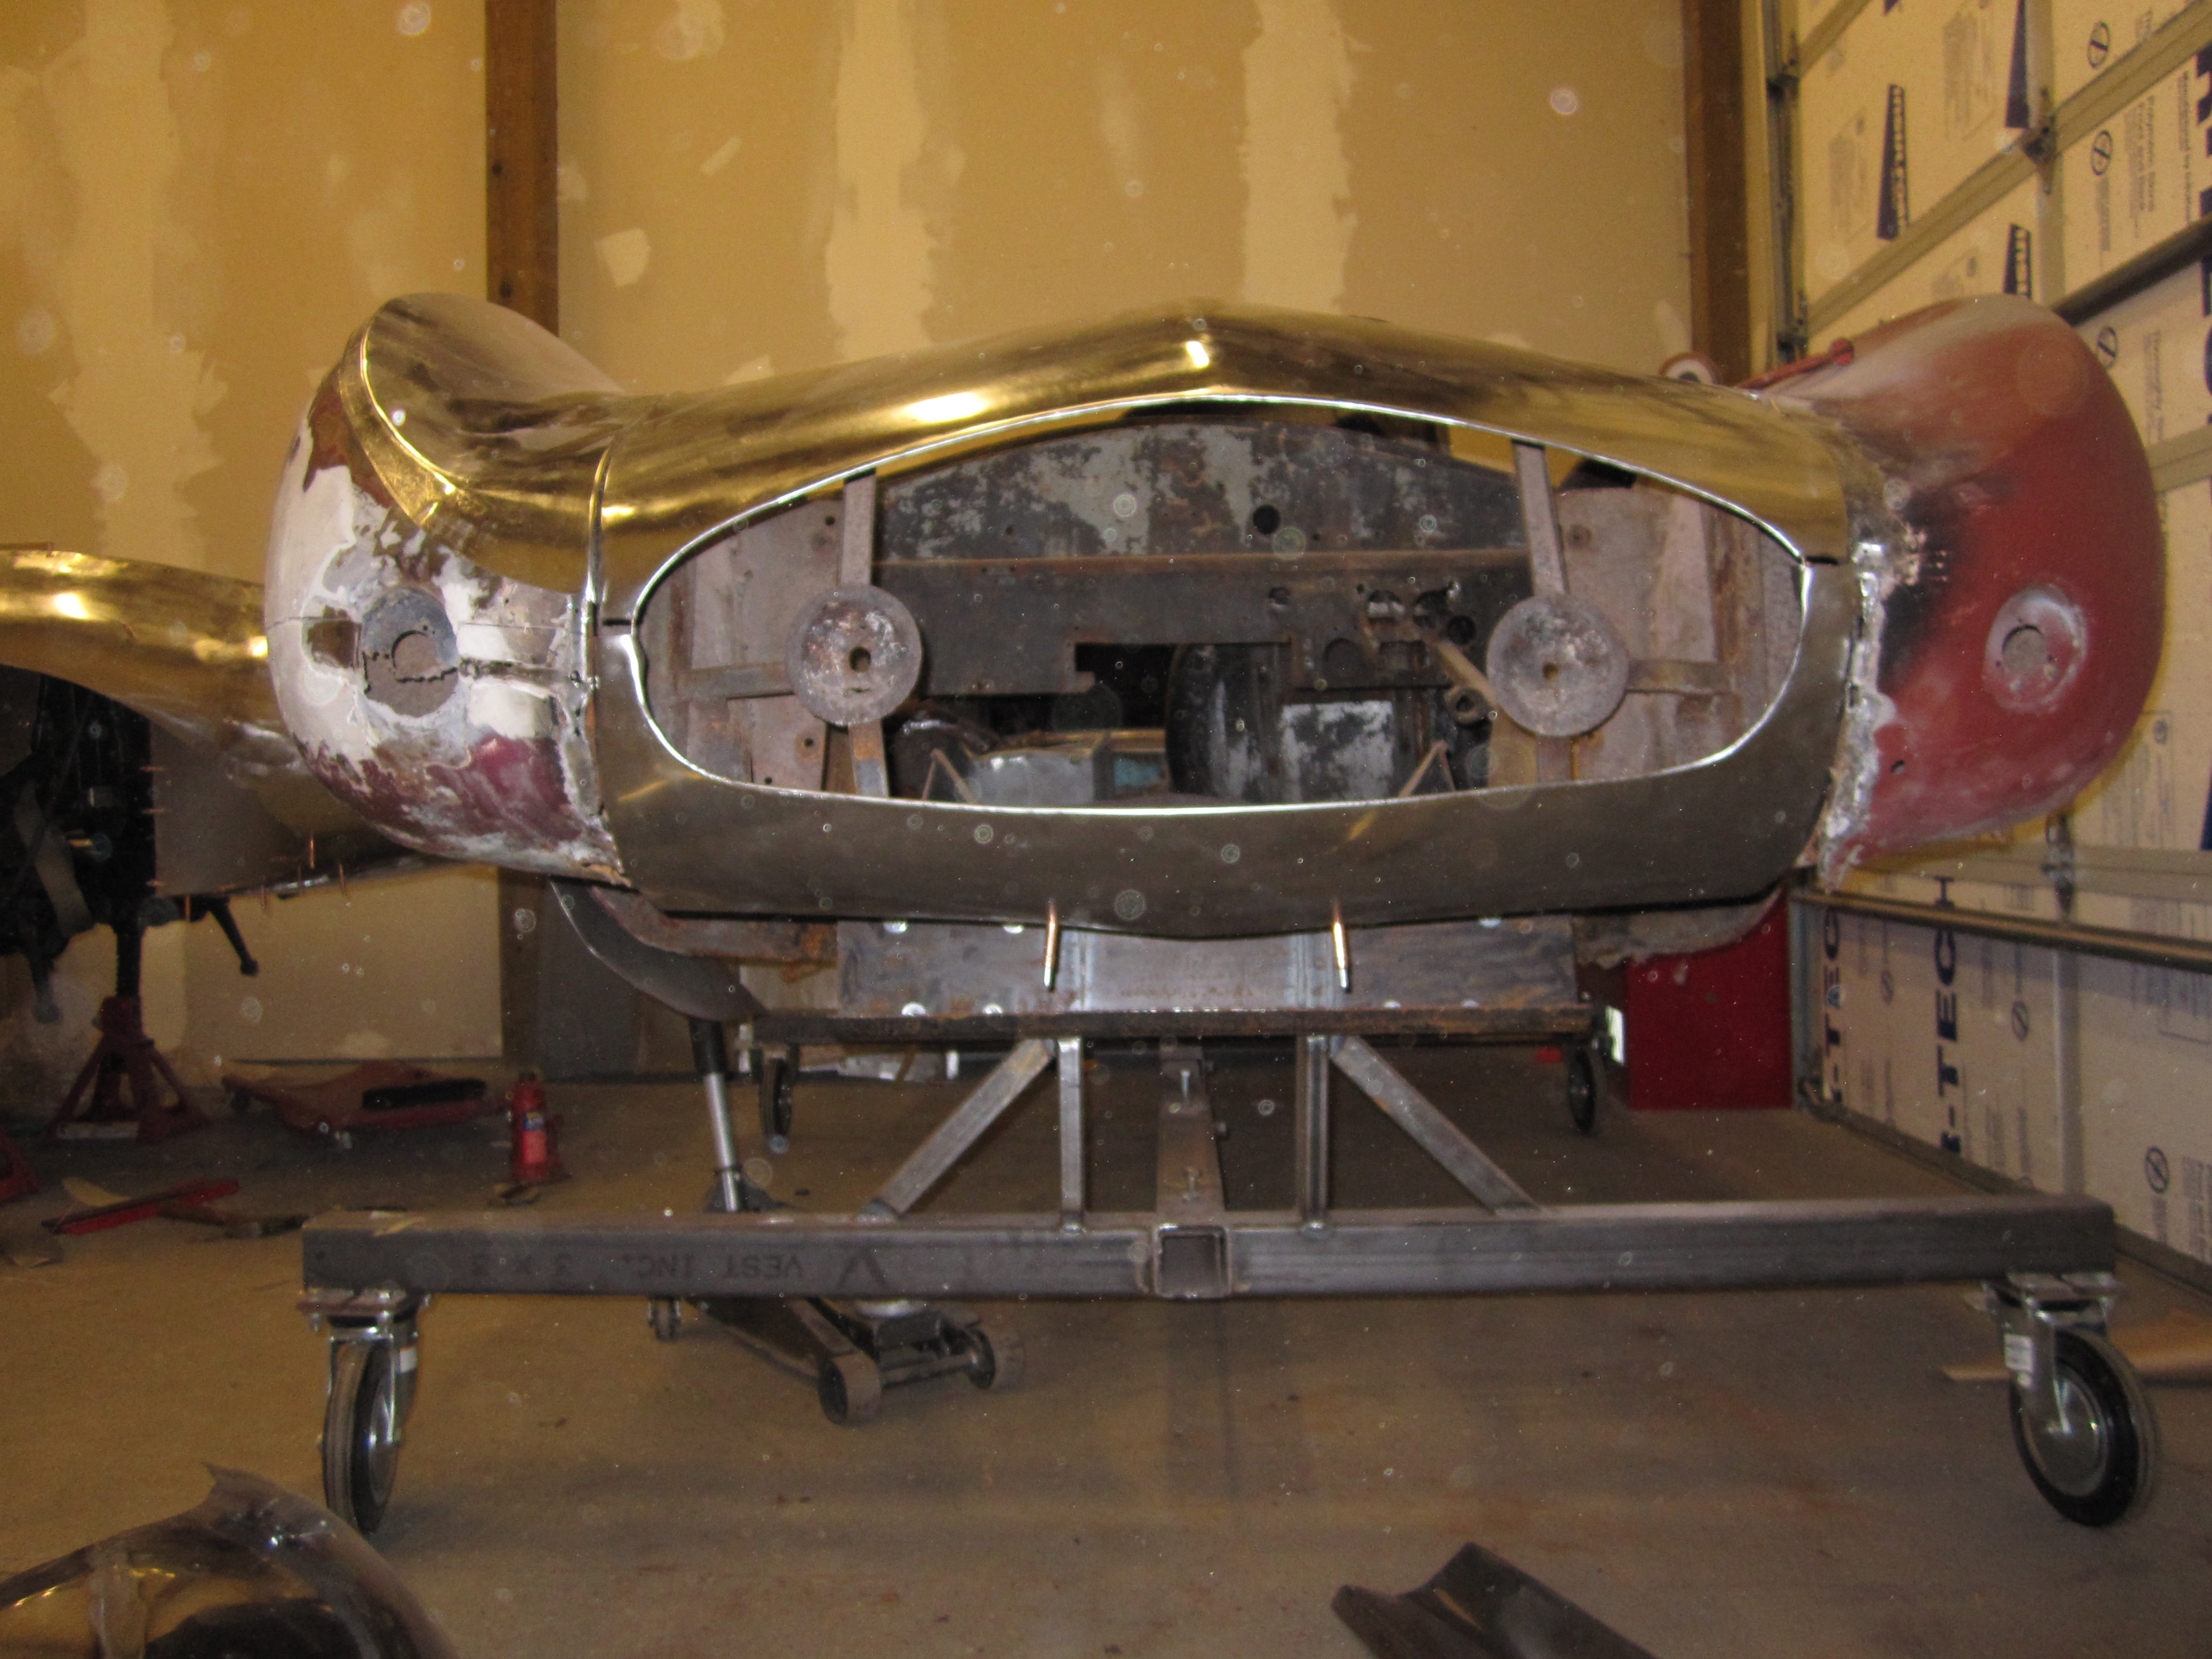
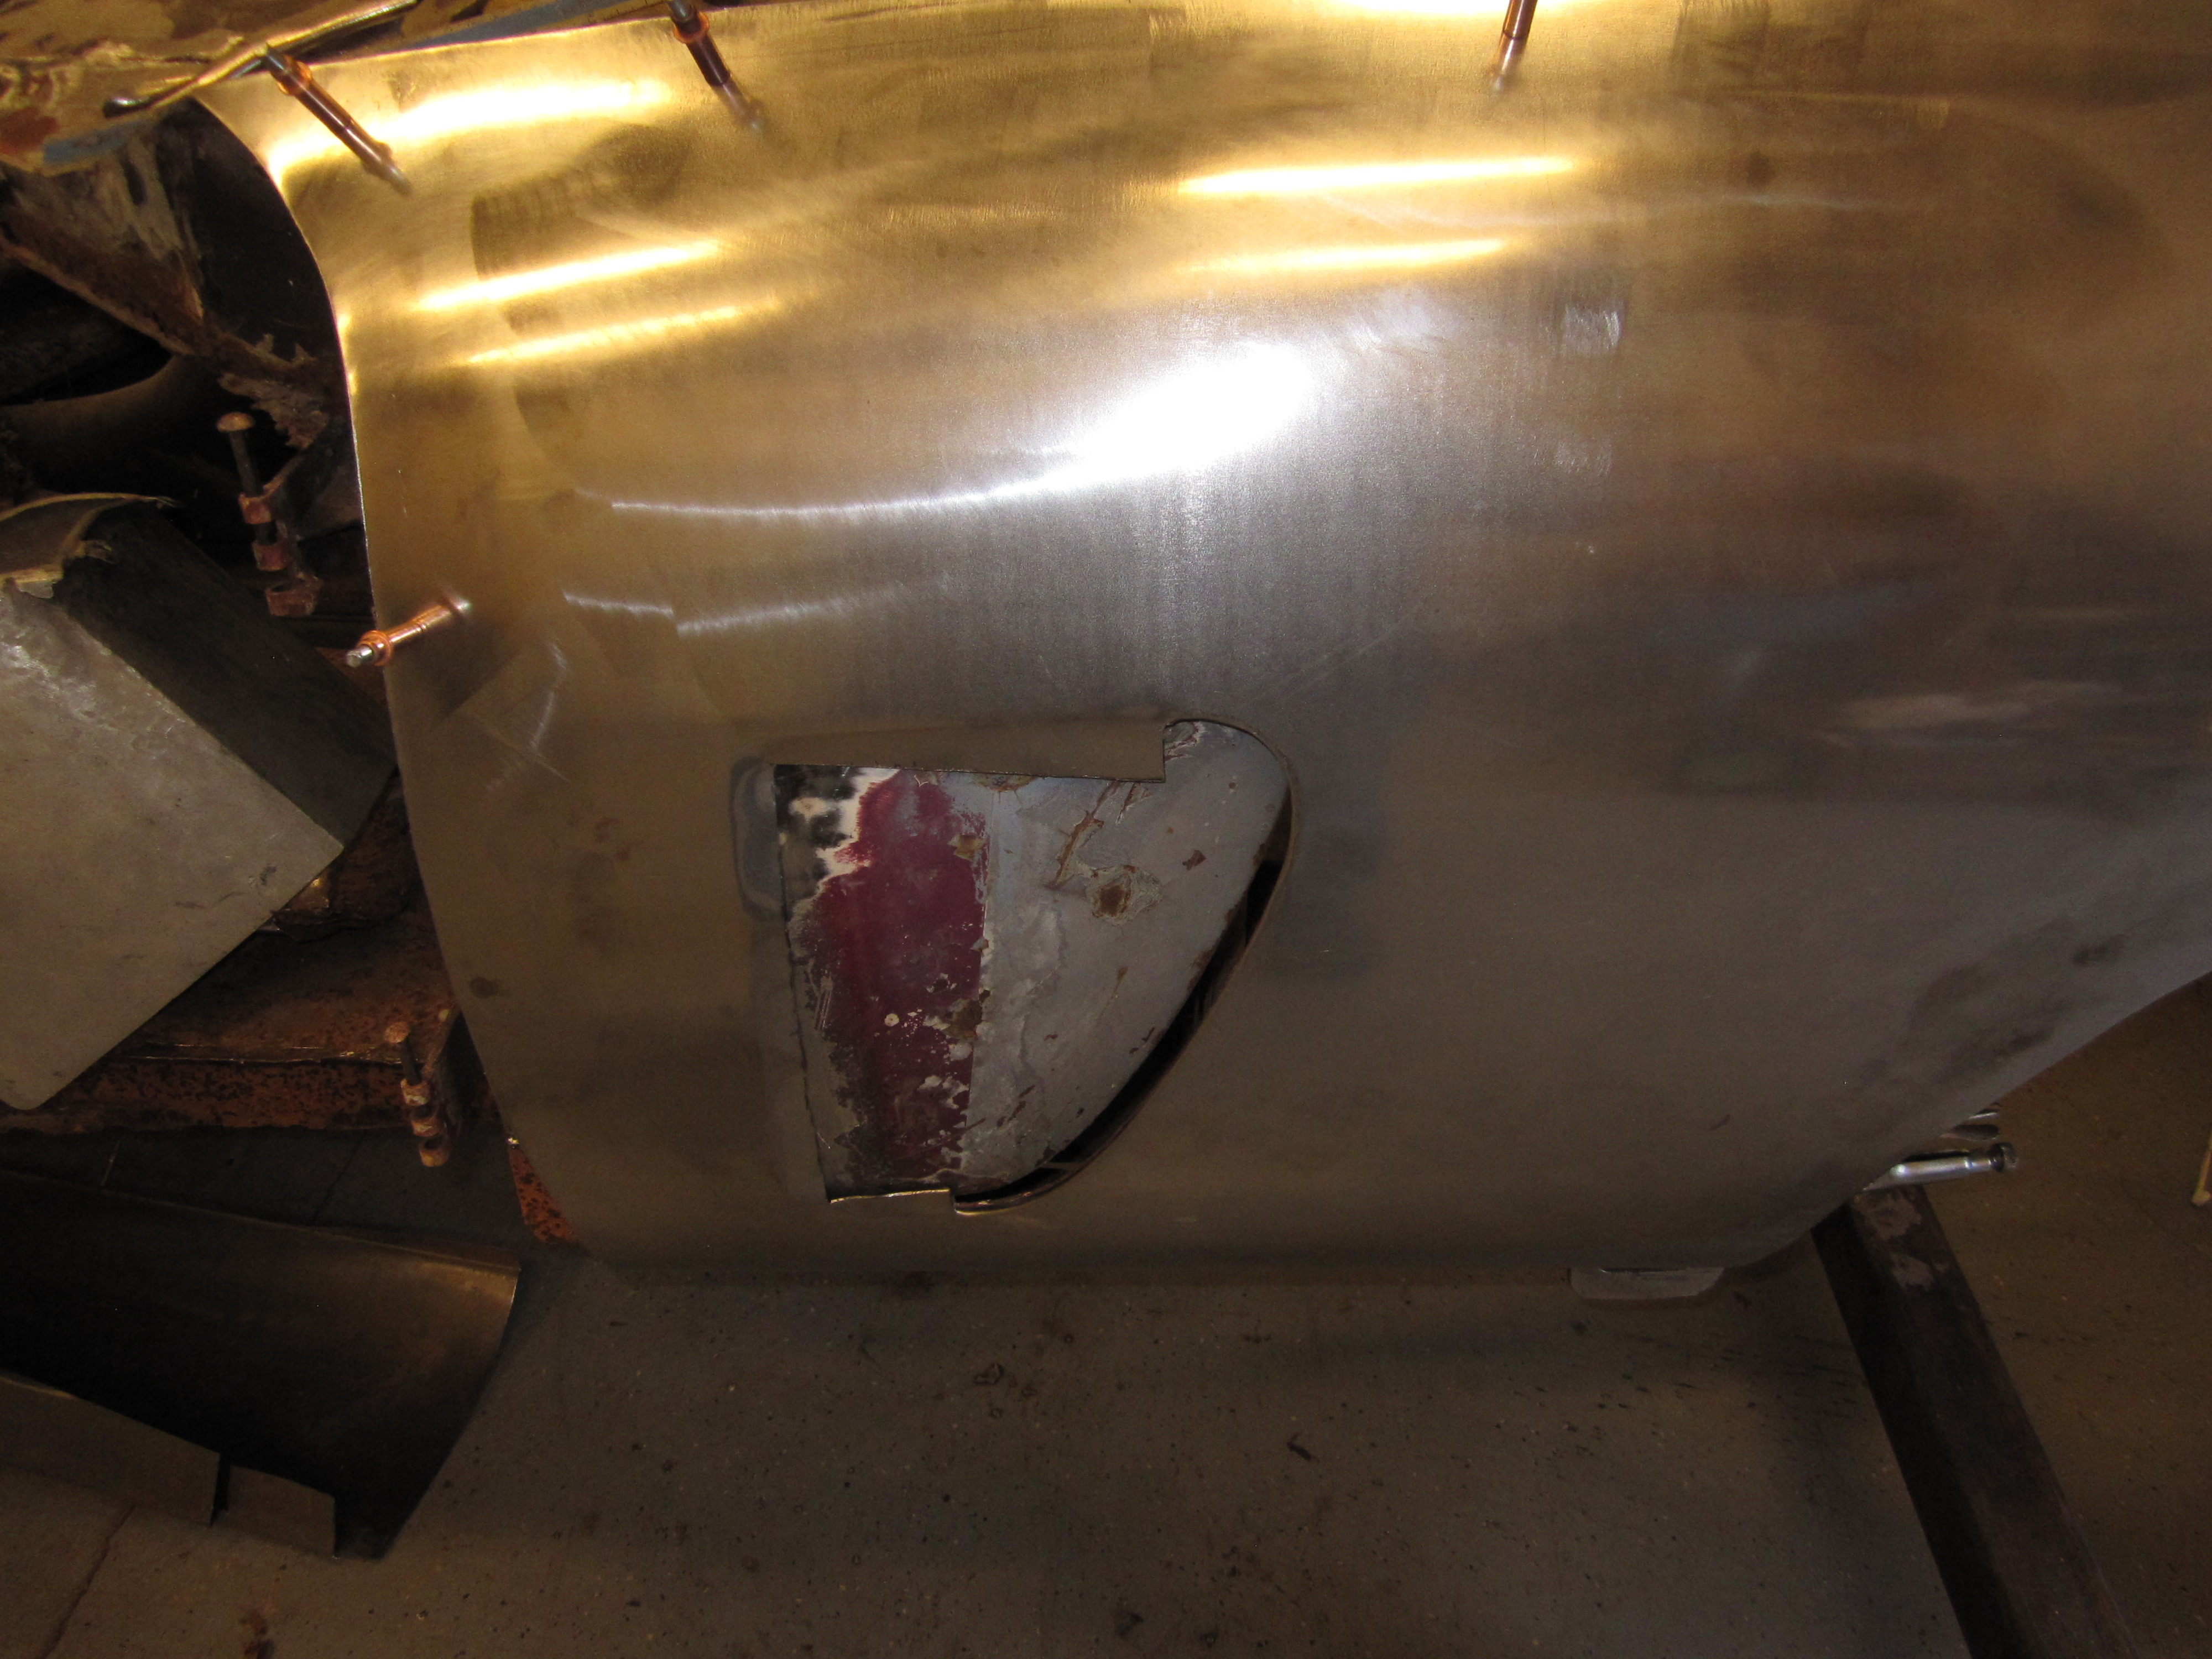
Taillight Recess
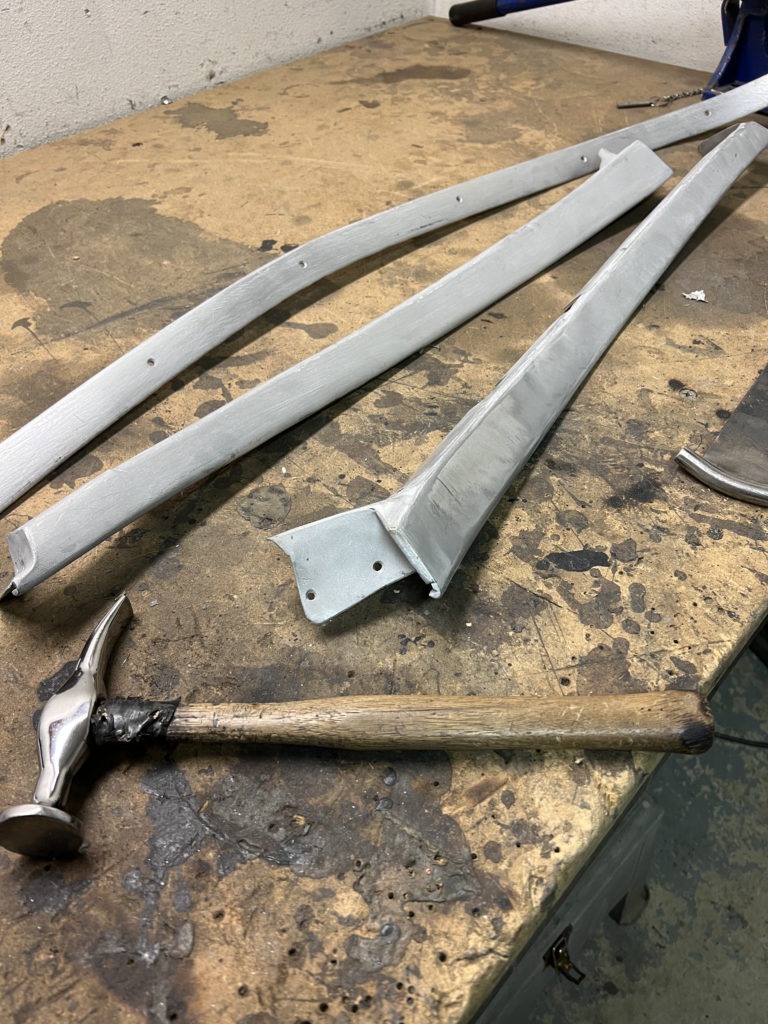
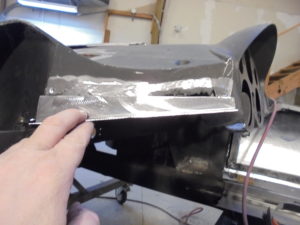
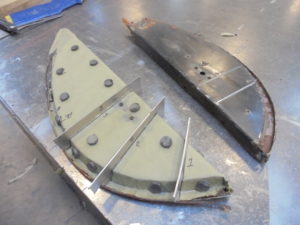
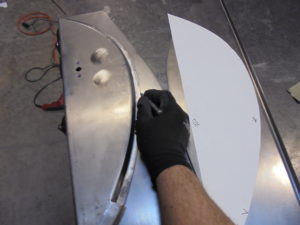
Pattern and trimmed from the bezel
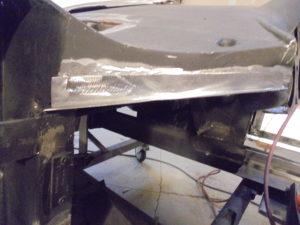
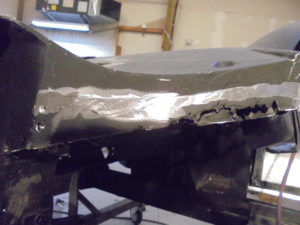
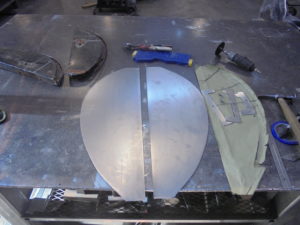
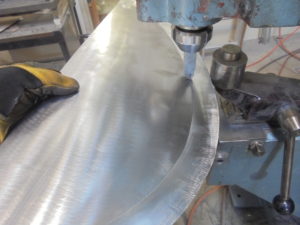
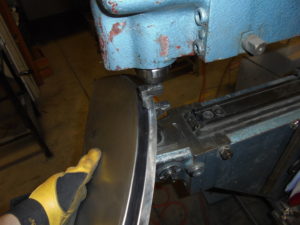
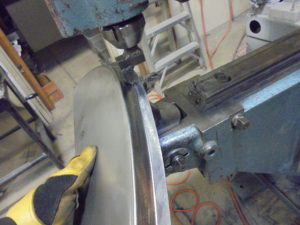
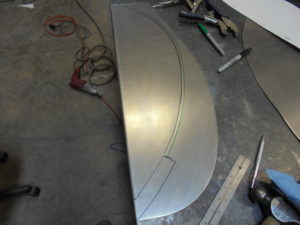
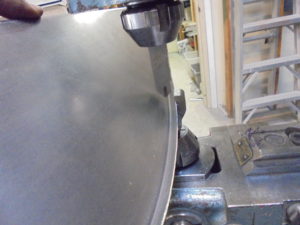
Top edge tipped and ready for install into the quarter panels
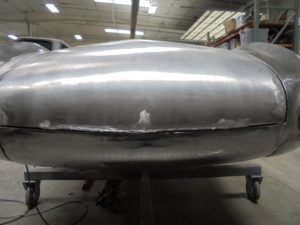
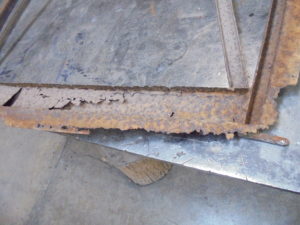
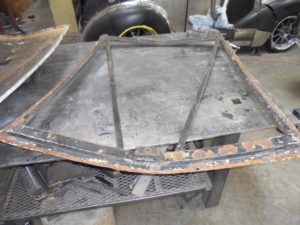
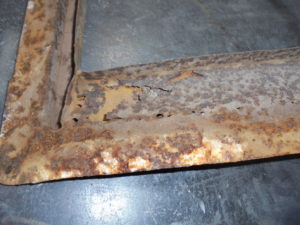
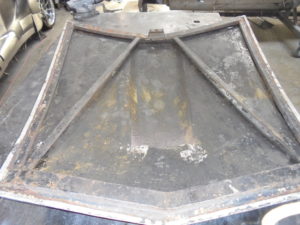
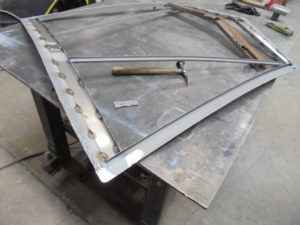
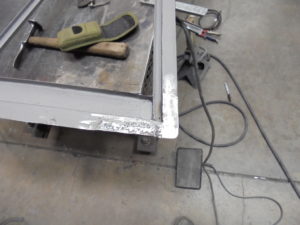
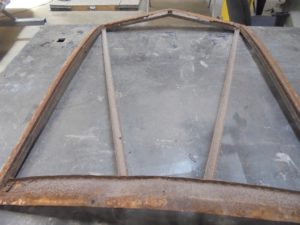
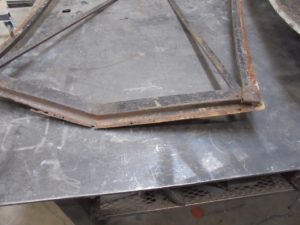
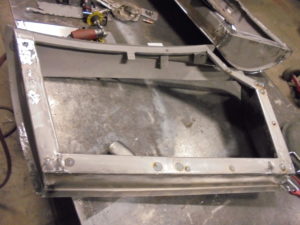
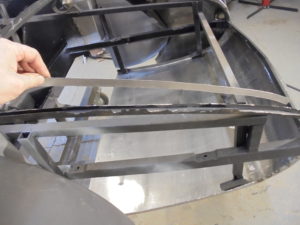
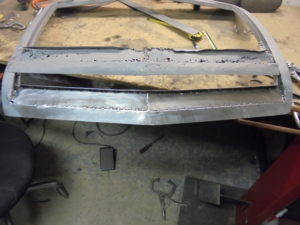
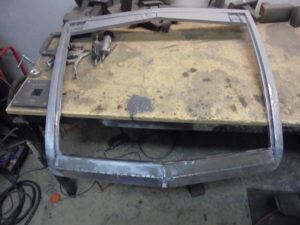
 Trunk lid Frame Repair
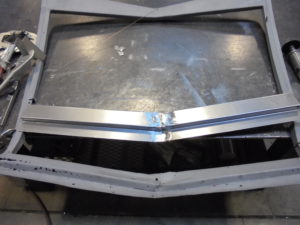
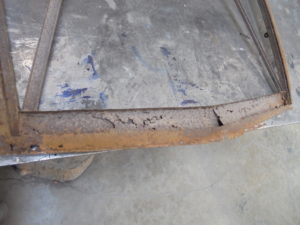
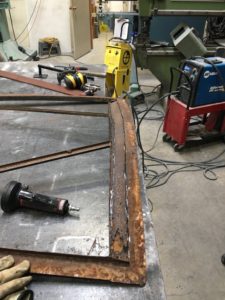
New lower section is fabricated fit and welded in place
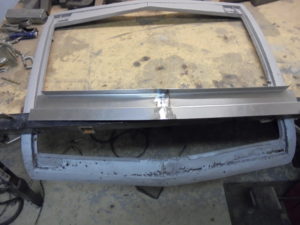
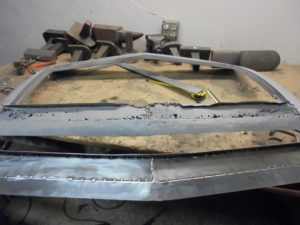
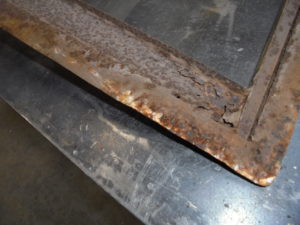
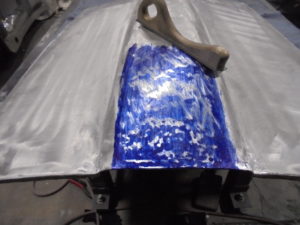
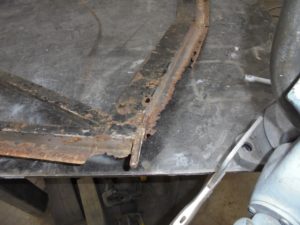
Pieces for the damaged areas on both sides are fabricated the area is then straighten and the pieces are welded in place.
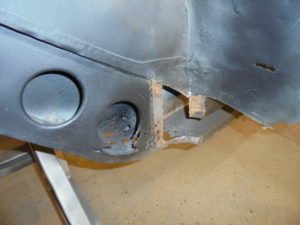
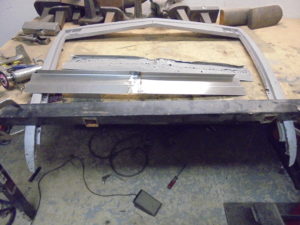
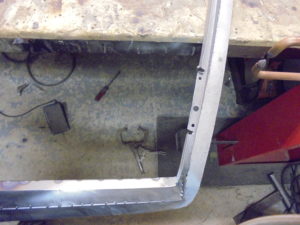
Multiple holes and cracks are filled welded and straightened
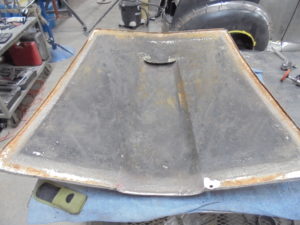
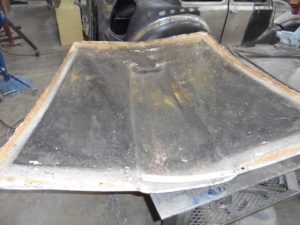
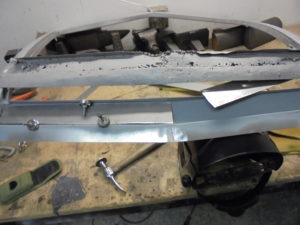
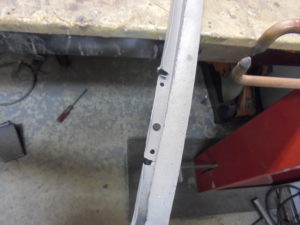
Completed repair ready for test fit.
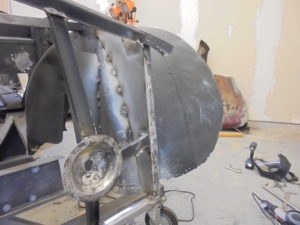
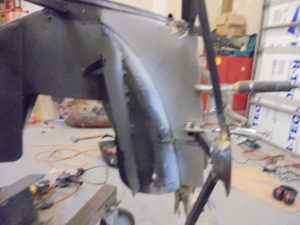
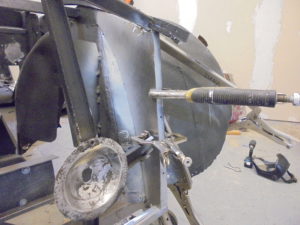
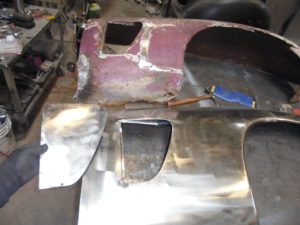
Quarter panels
The original rear section is hung and clamped back in place, then the new fabricated skins are trim and fit over the original and tack welded to each other.
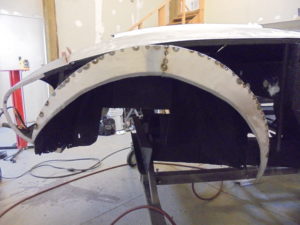
The sections are removed and fully welded
Tail light locations are marked and trimmed into the new quarters
Inside of the welded side section of a quarter with the wheel opening rough marked for the tipped in weld flanged. Special tooling will be made for the correct radius of the return on this flange.
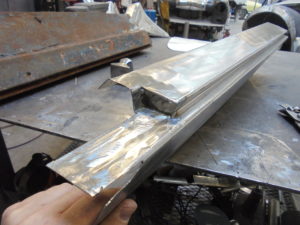
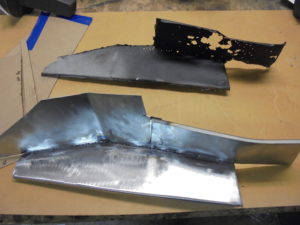
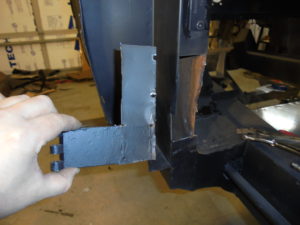
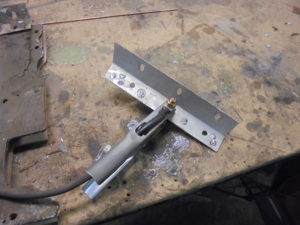
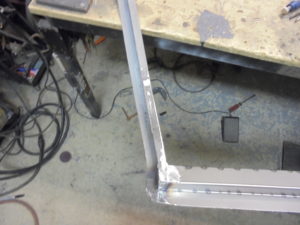
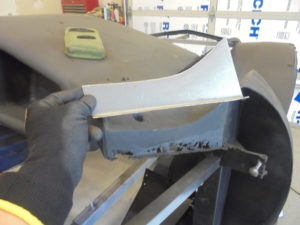
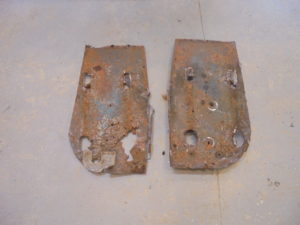
Striker Panel Fabrication
The angle of the jam section of the panel changes so profiles of the change are made to transfer to the new panel

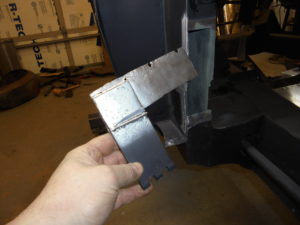
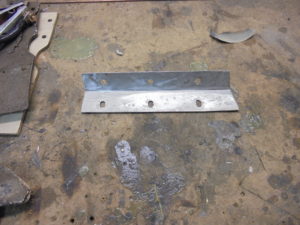
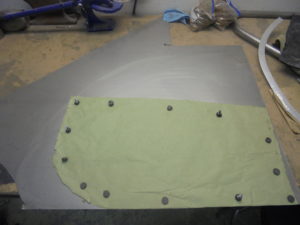
Pattern with profile info is transferred to metal and cut out.

The flange is tipped and shaped to the profiles
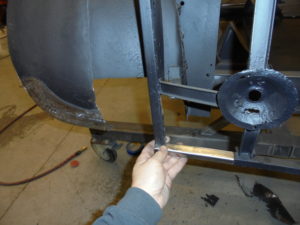
The second flange is marked, tipped and shaped to the pattern

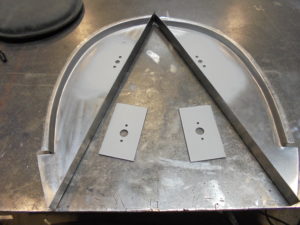
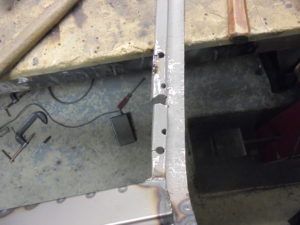
New nut plates are fabricated and installed
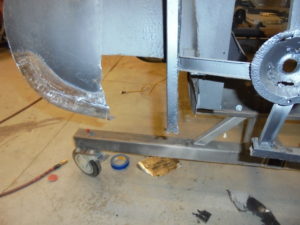
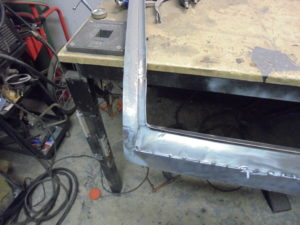
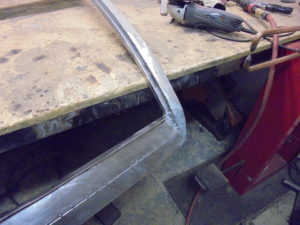
Inside rocker flanges tipped
Welded and prepped for primer

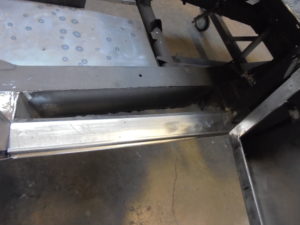
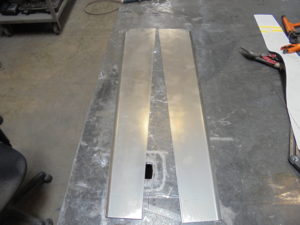
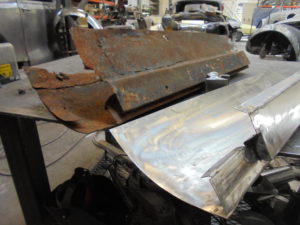
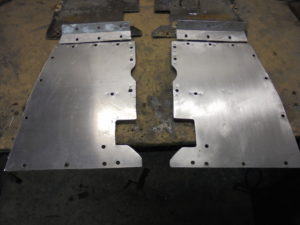
Fabrication of the rear boxing section of the panel
Pattern made and front piece used to transfer to the new rear blank
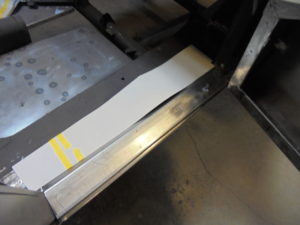
Correct height measurements for the flange are taken and then the flange is tipped and shrank to the correct shape.
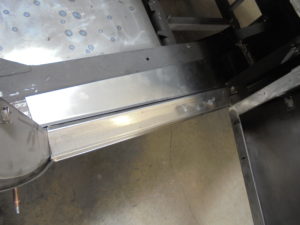
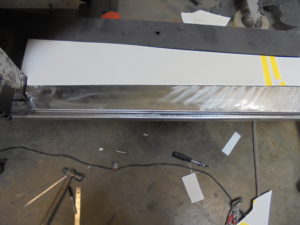
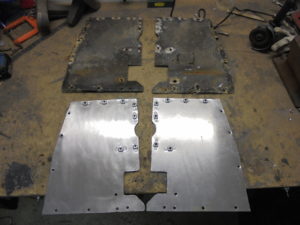
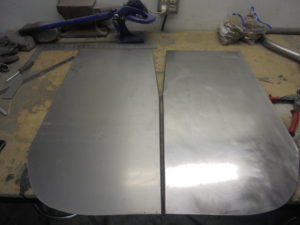
Pieces are primed and welded together

New panels ready for install.


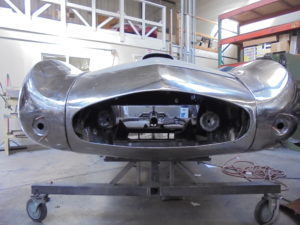
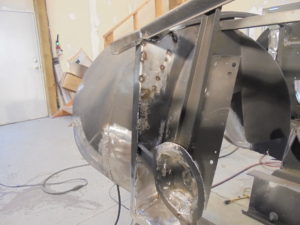
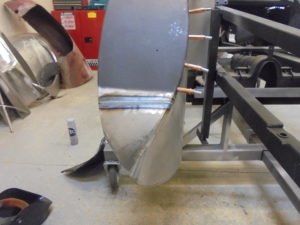
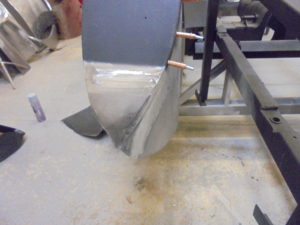
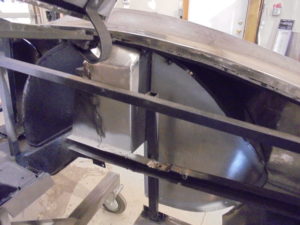
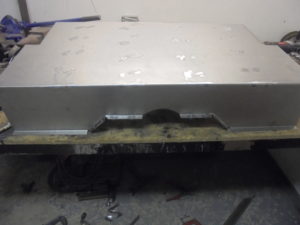
Outer wheel house
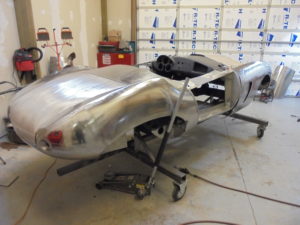
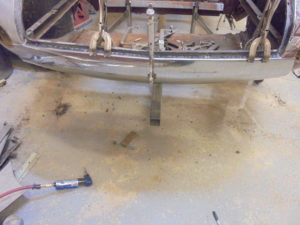
Body after blasting
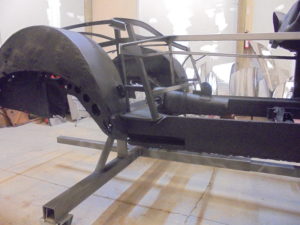
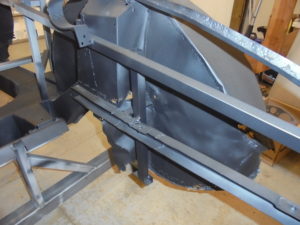
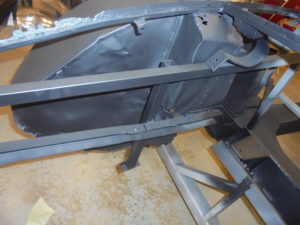
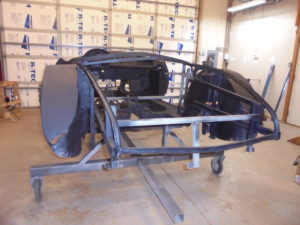
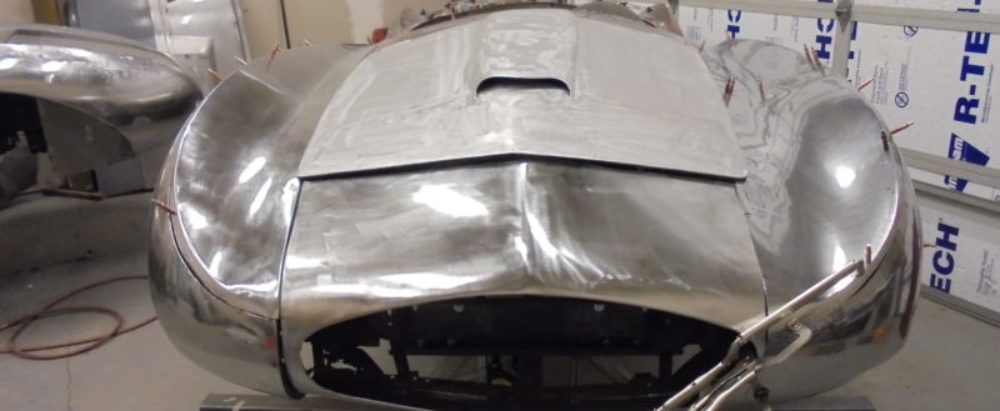
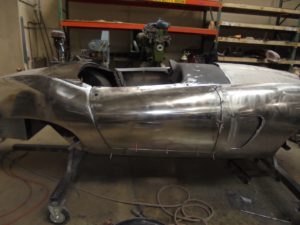
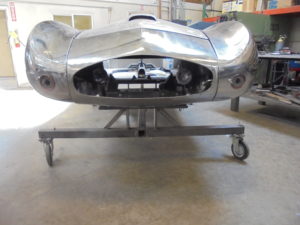
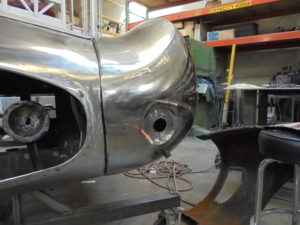
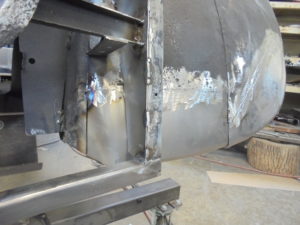
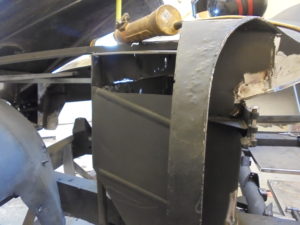
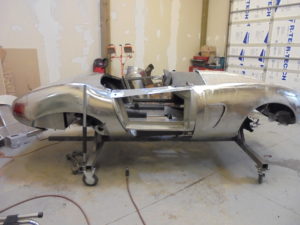
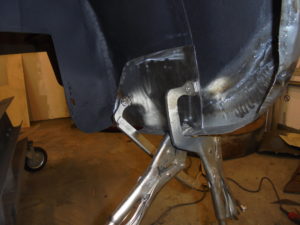
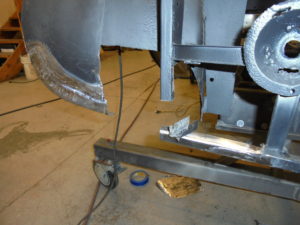
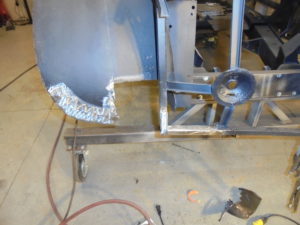
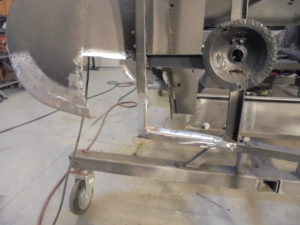
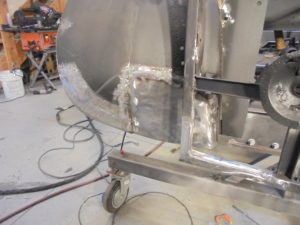
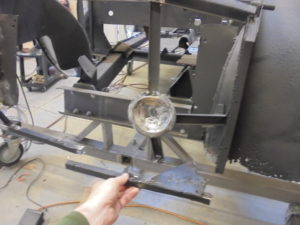
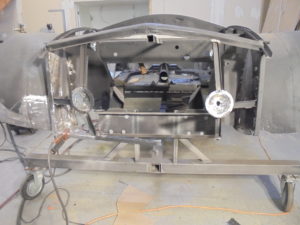
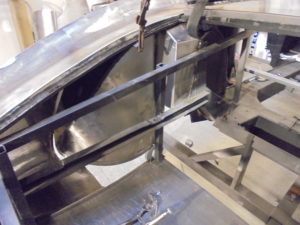
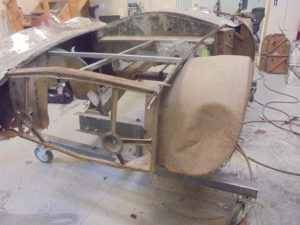
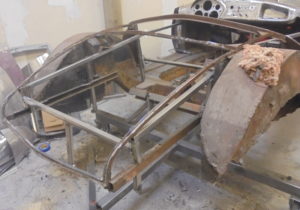
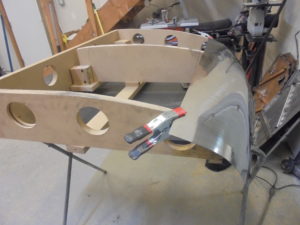
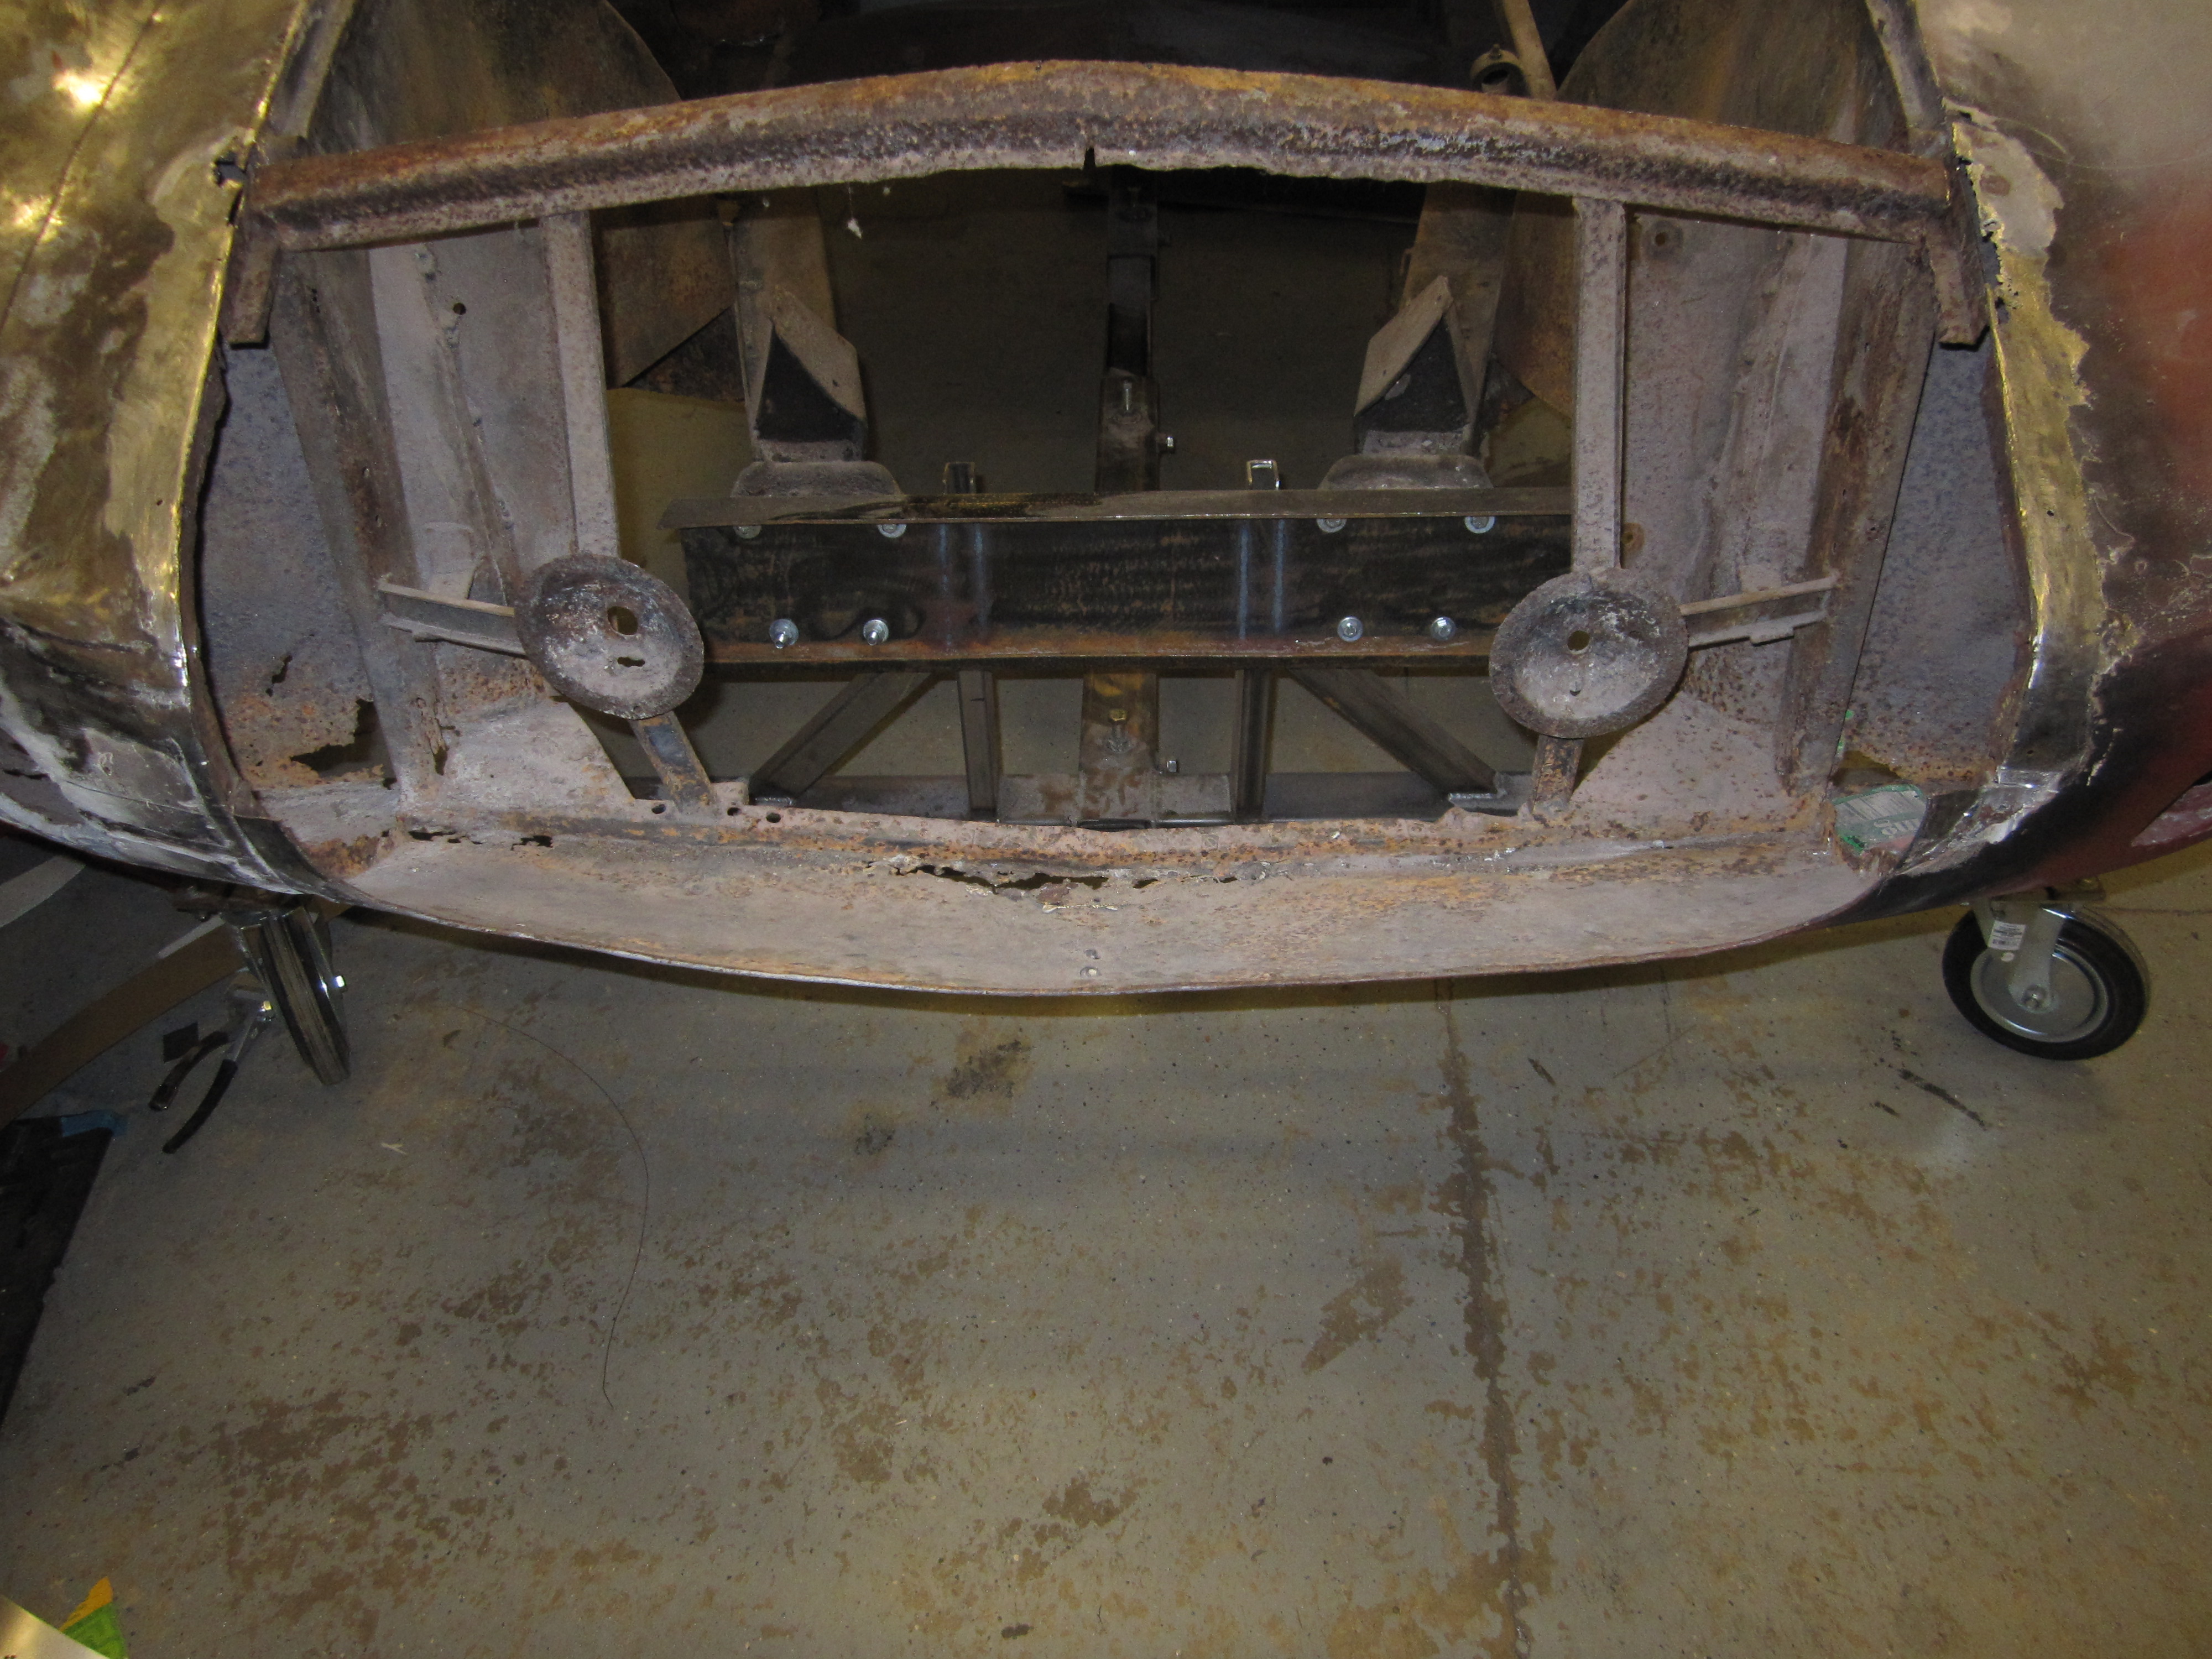
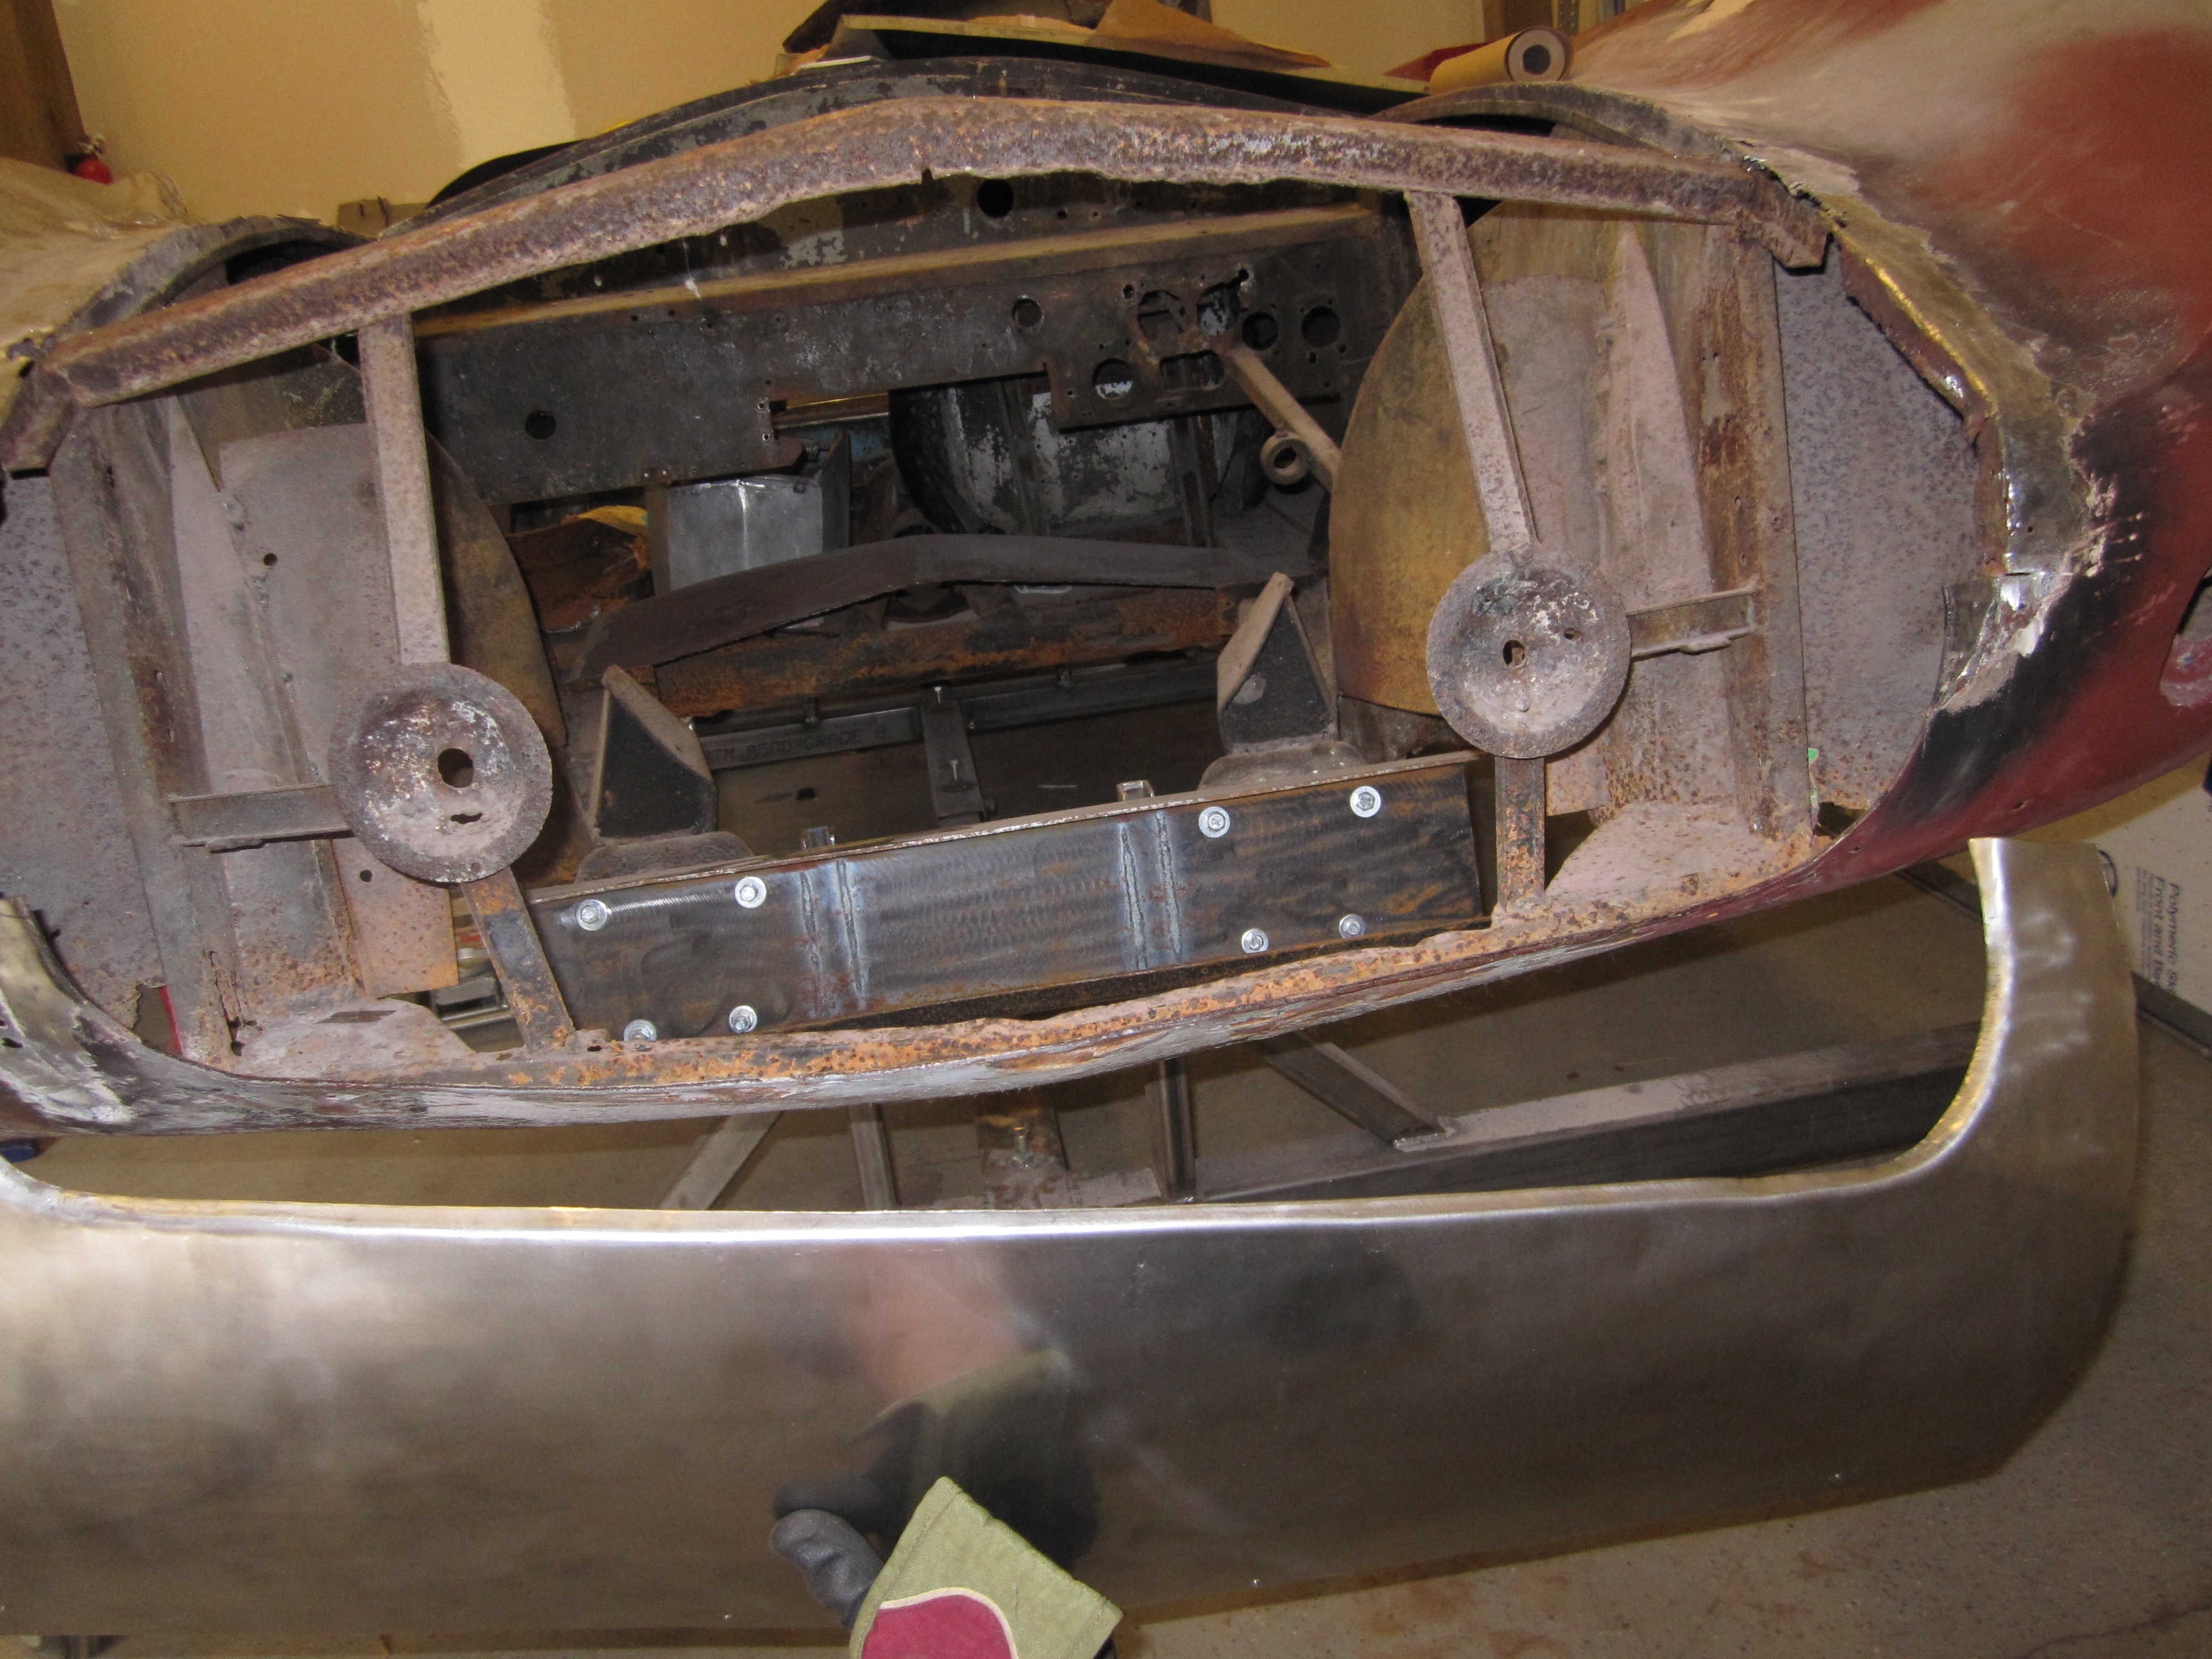
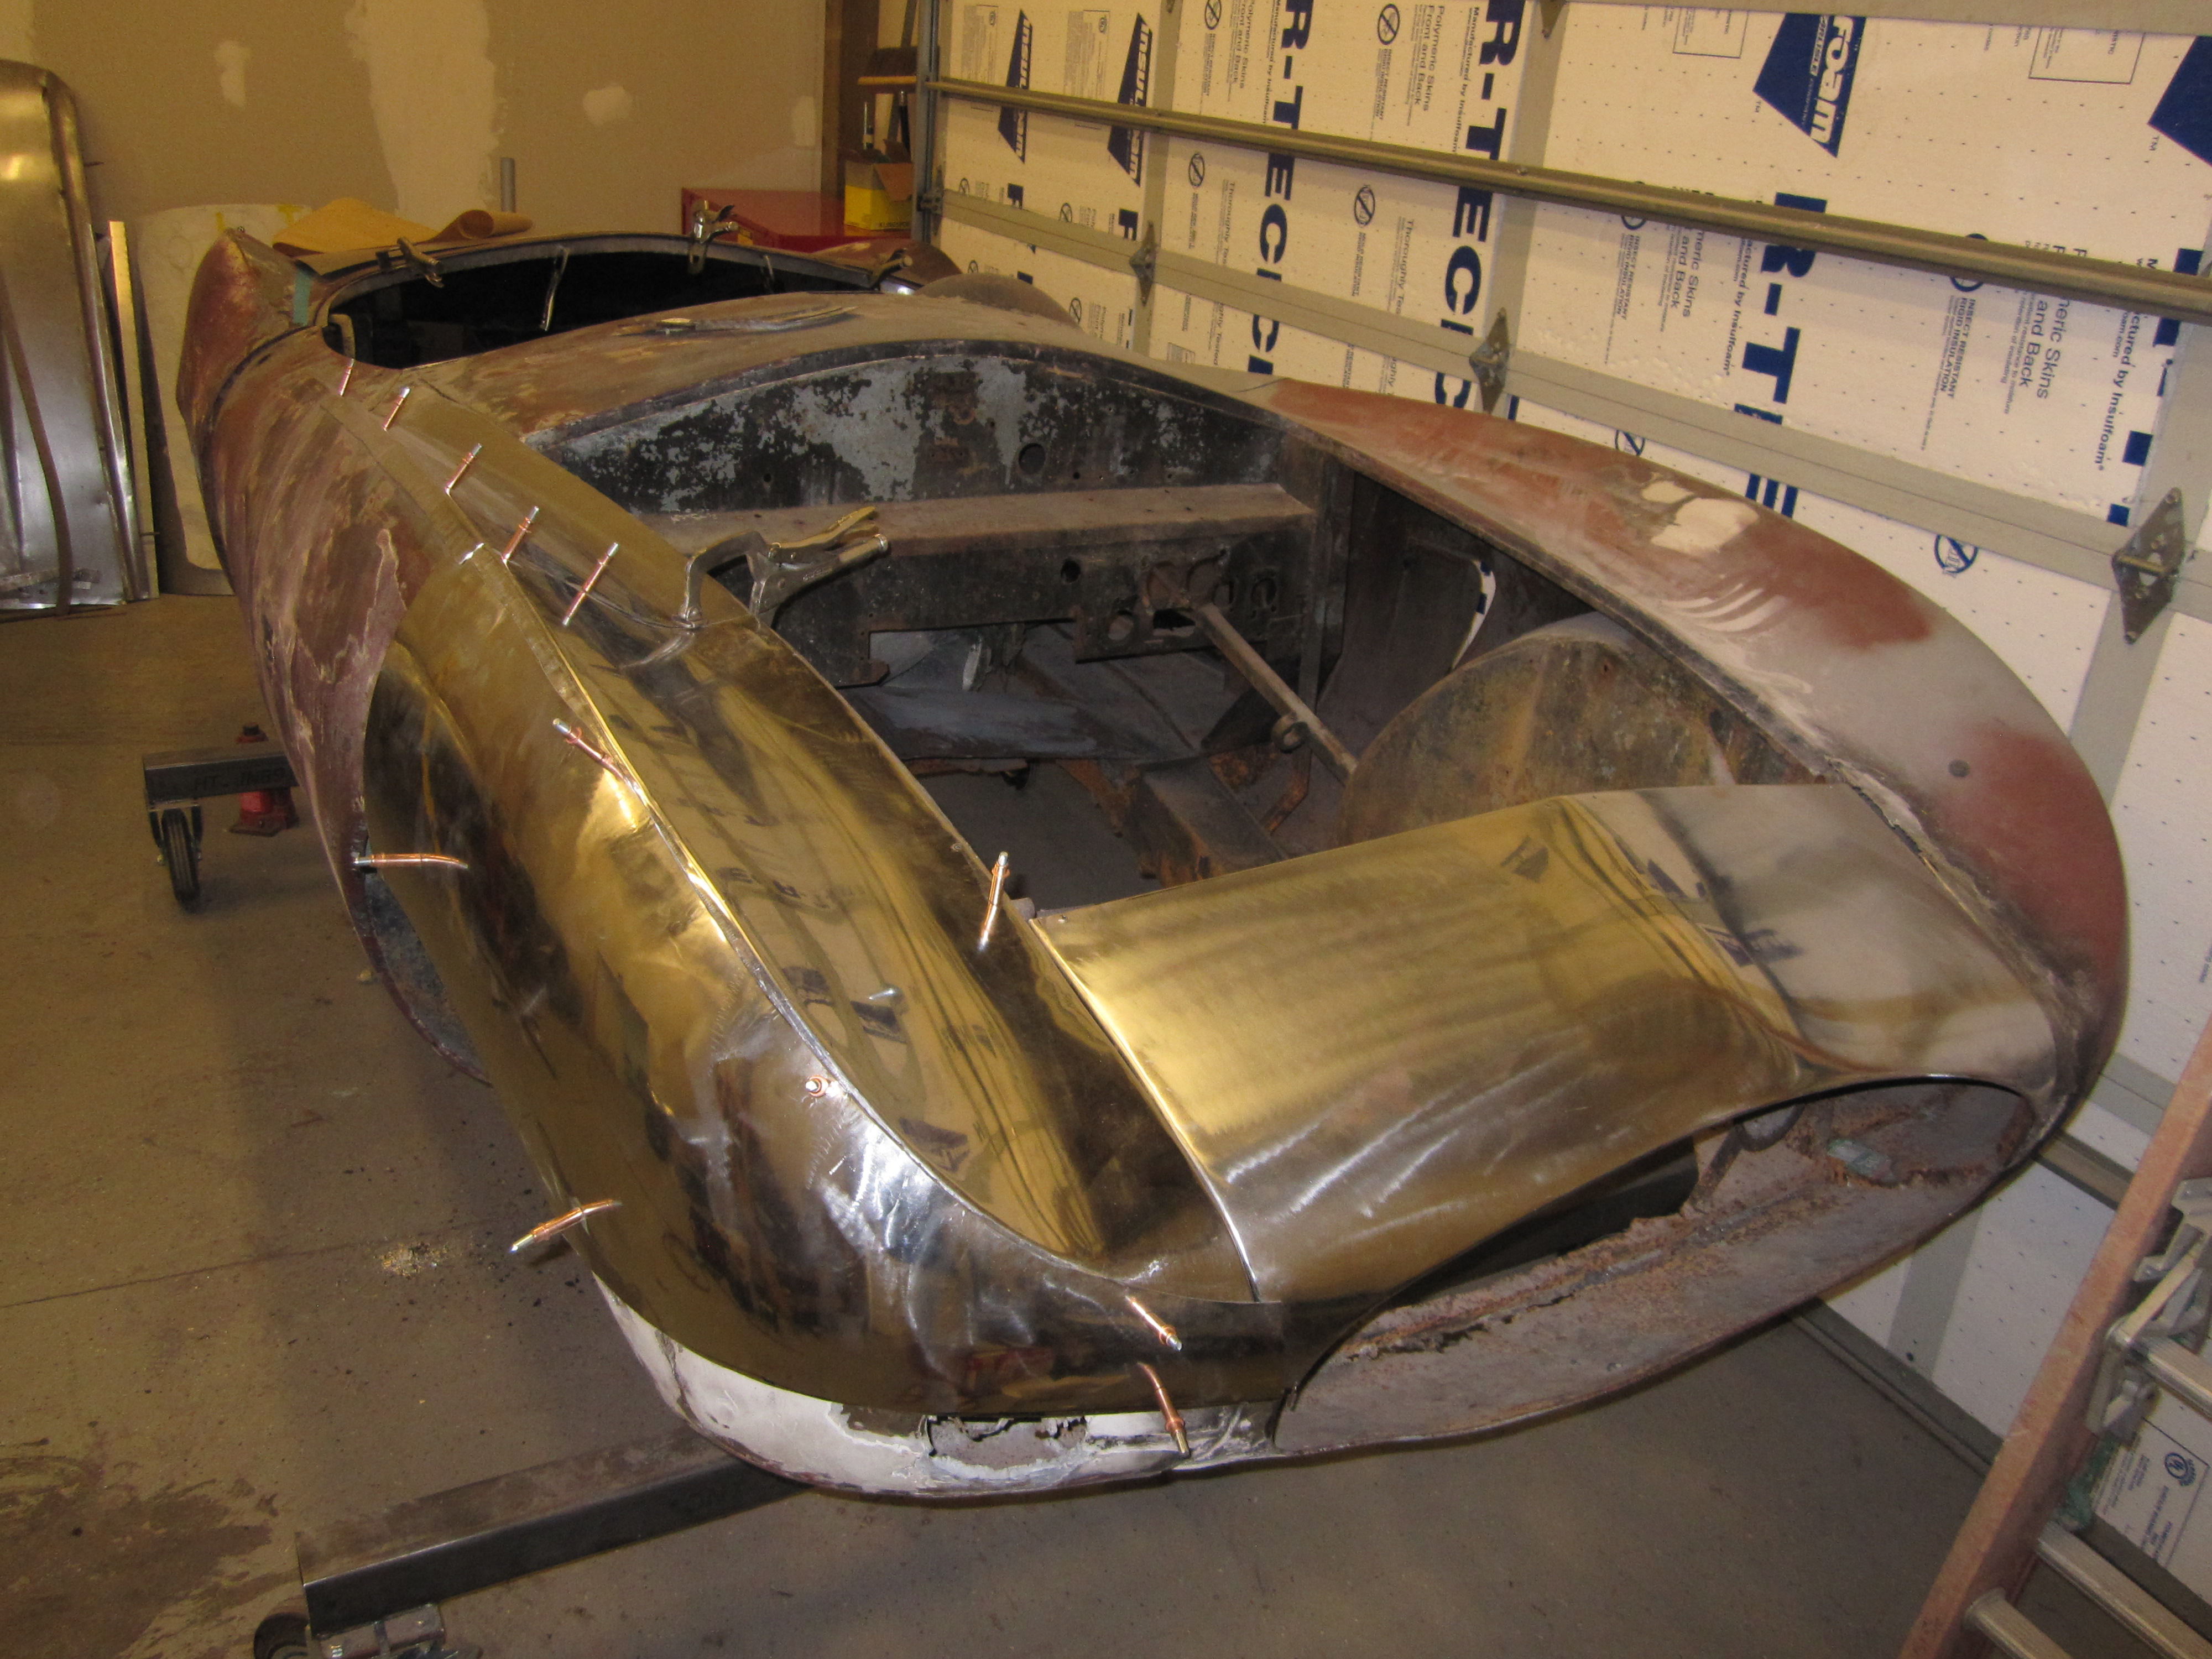
Supporting the body inner structures for removal of exterior skins
Prepped and braced with body panels removed ready for sandblasting.
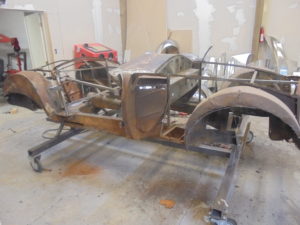
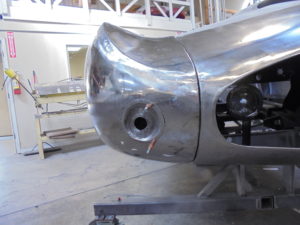
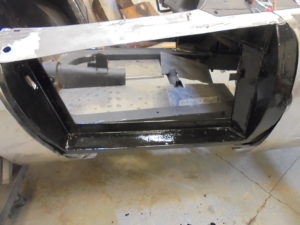
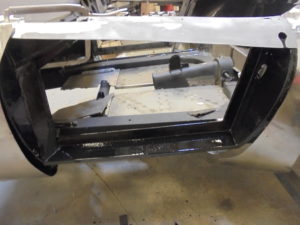
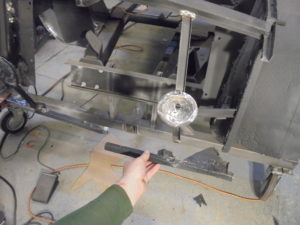
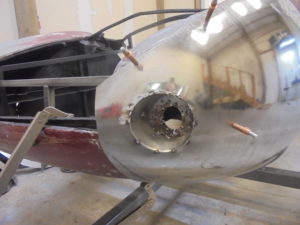
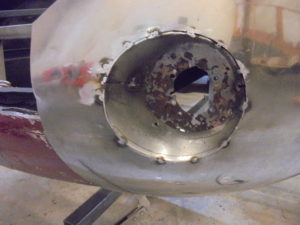
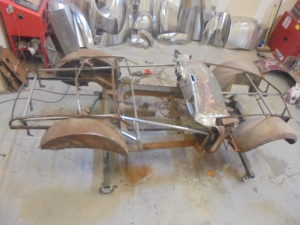
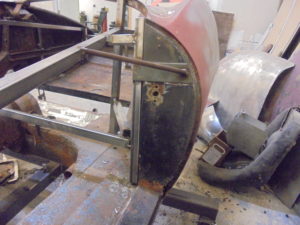
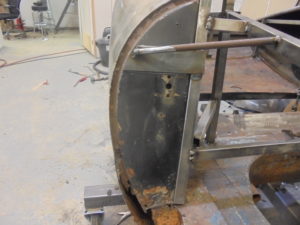
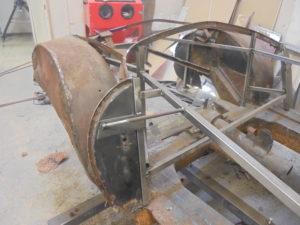
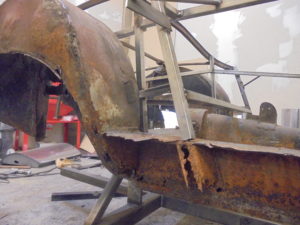
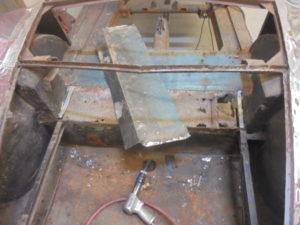
Various shots of the front sheet metal removed and framework braced showing the damage and rusted panels.
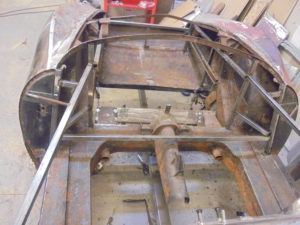
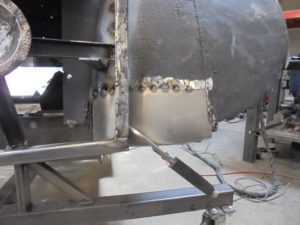
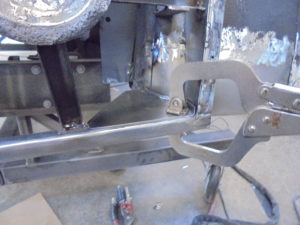
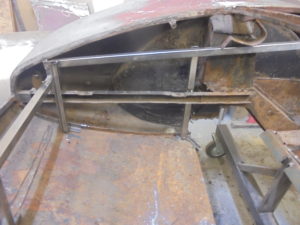
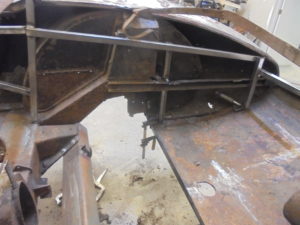
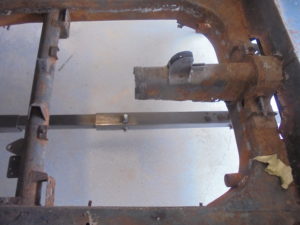
Braces welded in various places to hold everything that is not removed in the correct position.
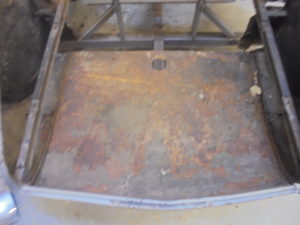
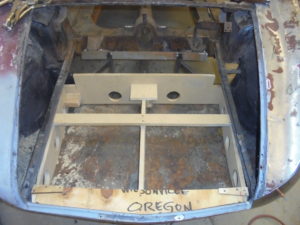
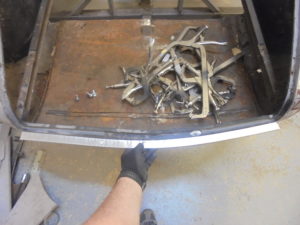
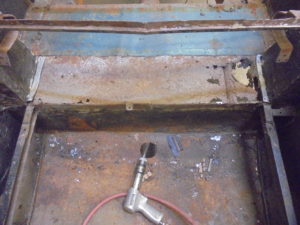
Braces to the trunk floor with points that show the position and are drilled through the new and old floors with a 1/8 in” hole and fastened together with cleacos.
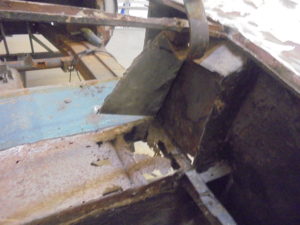
Plates are welded to the bracing to pick up the angle and position of the striker panel.
The rear skins were then removed
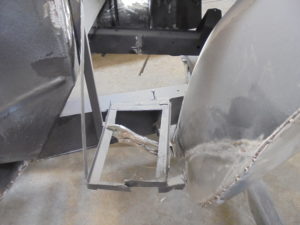
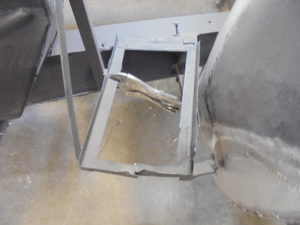
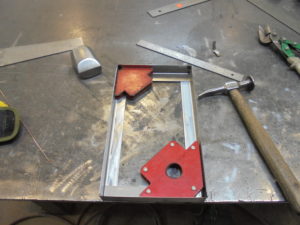
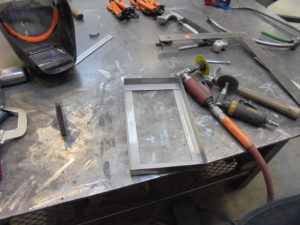
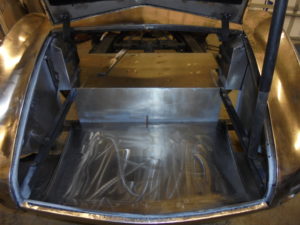
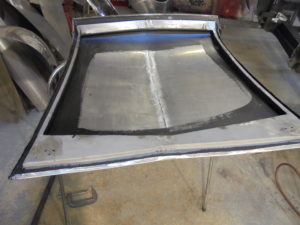
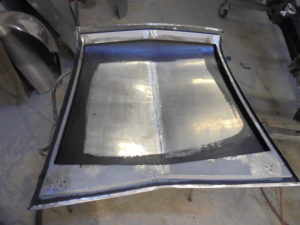
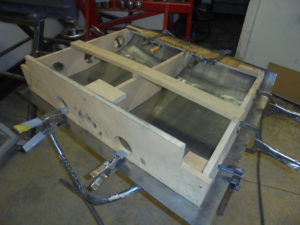
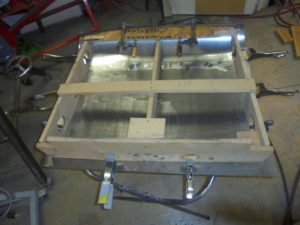
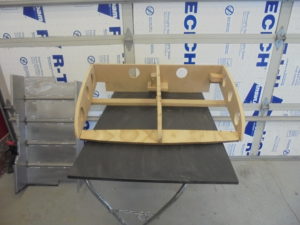
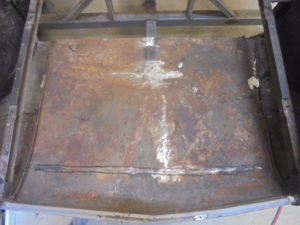
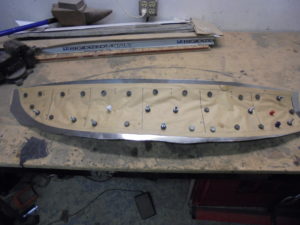
Trunk Floor Fabrication
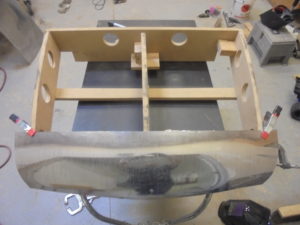
Build a buck to pick up the shape info and build the new panel over.
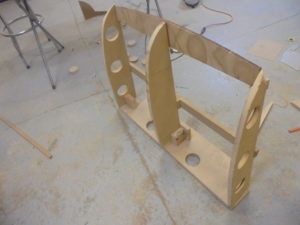
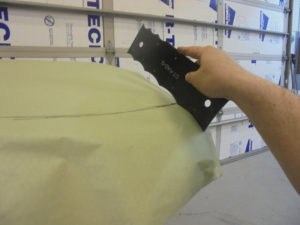
Pattern the buck and add the shape info. to the pattern.
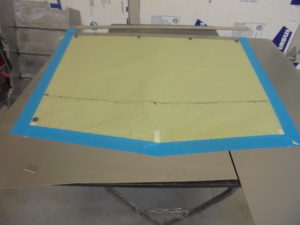
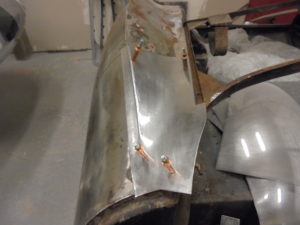
Transfer the pattern and cut out the metal to make the new floor.

Rough the metal into shape by shrinking in the appropriate areas.
Locate the factory weld seam of the original floor
Then pattern the section up to the seam.
Transfer the pattern and cut the roughed out metal to the factory size pieces.
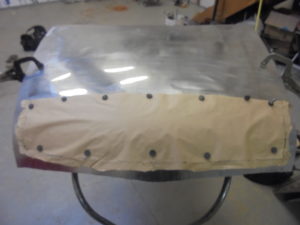
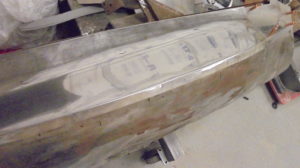
Shape the piece until its smooth and fits the stations of the buck with very little pressure.


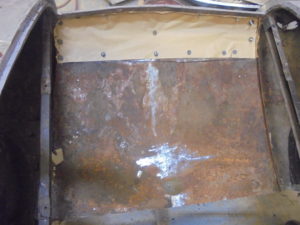
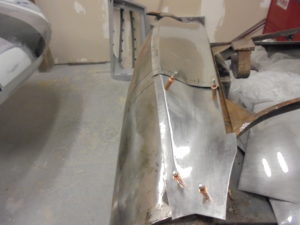
Fit both of the panels to the original and locate the position by drilling through both panels and attaching them together with Cleaco fasteners, mark the metal to be bent for the trunk jamb.
Bend over and shape the edge for the trunk jamb.
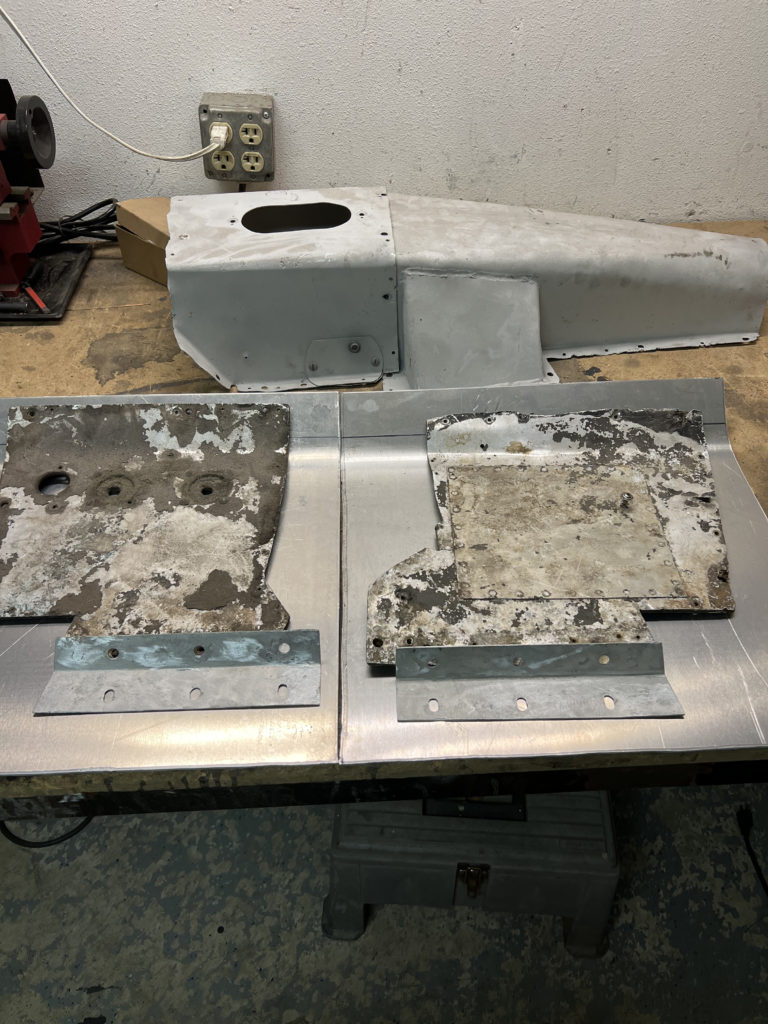
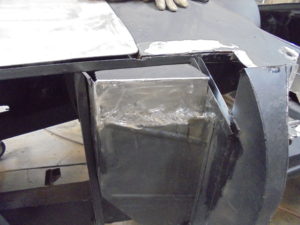
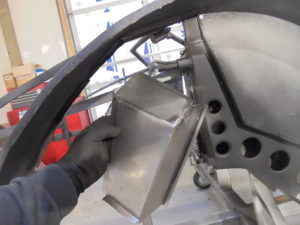
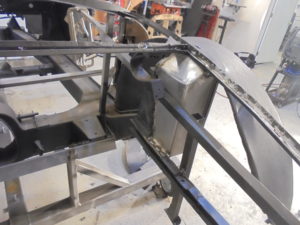
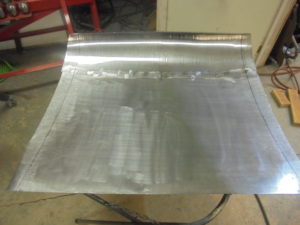
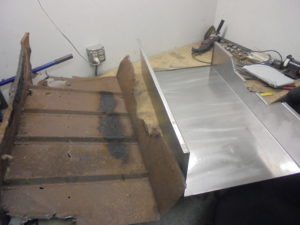
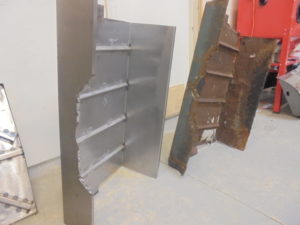
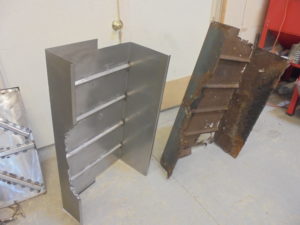
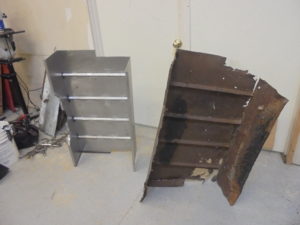
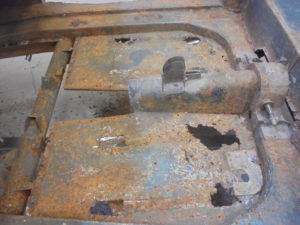
Center Floor Fabrication
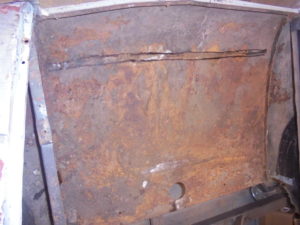
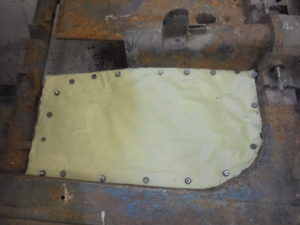
The floor section over the rear end and sheet metal up the frame uprights/ shock tower was rusted out and smashed so someone riveted galvanized material over it then covered that with very thick under coat/ tar to hide it all. Removal of the panels showed the true extent of the damage.

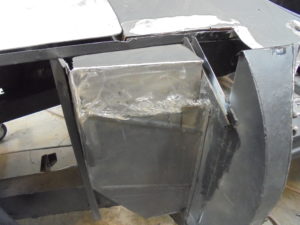
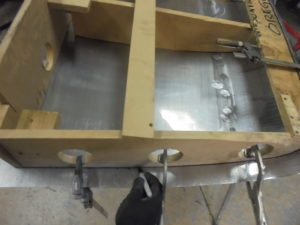
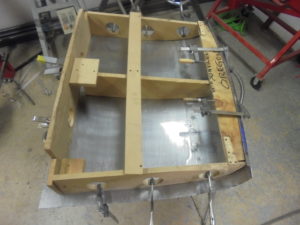
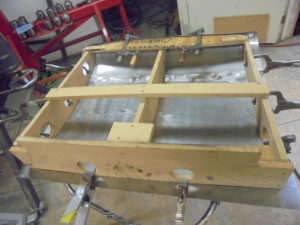
Center panel removed and measured for fabrication
Layout and fabrication of the center floor section.
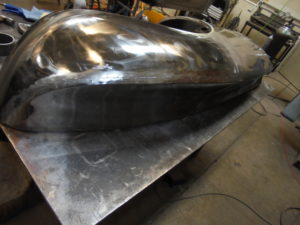
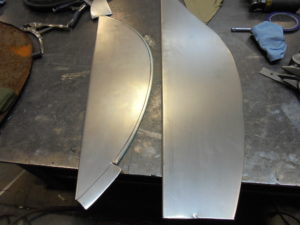
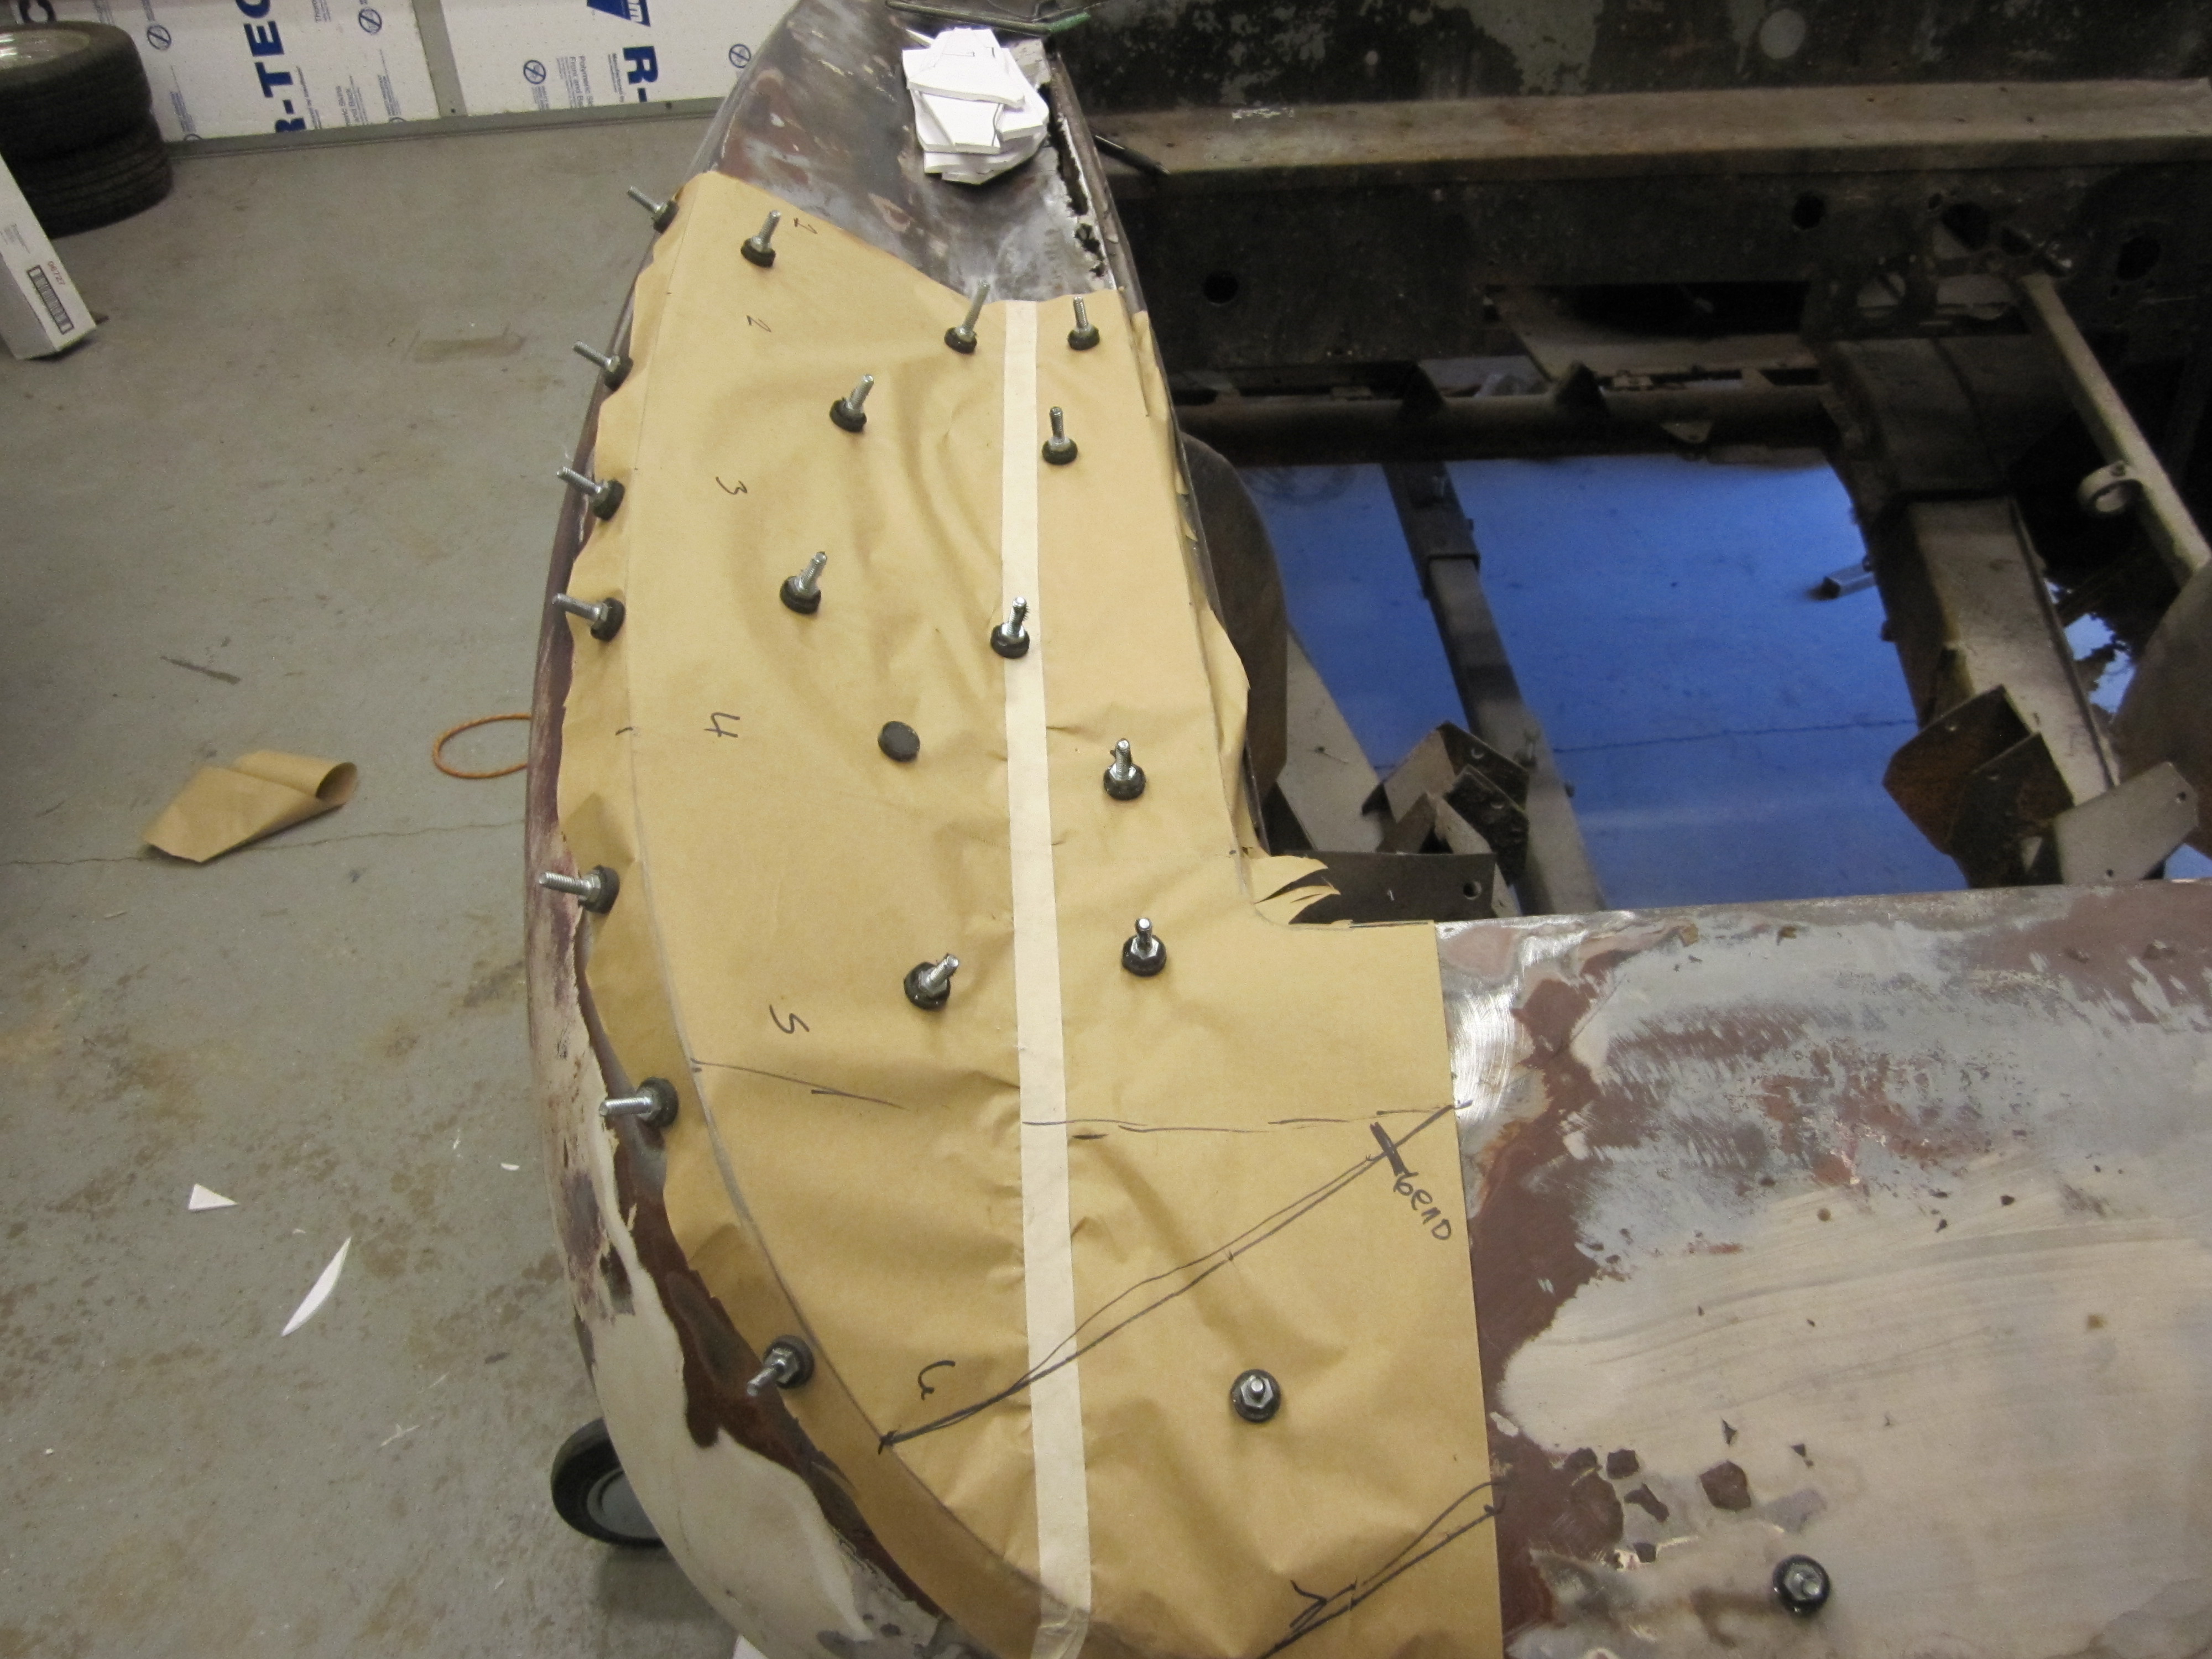
Quarter Panel Fabrication
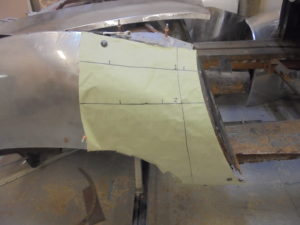
Pattern the section to be fabricated take profiles and mark the profiles on the pattern.

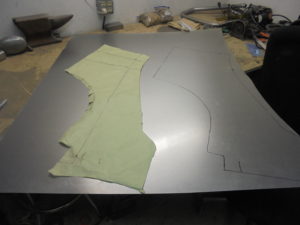
After the pattern is made transfer to the new metal including the profile locations and cut out.
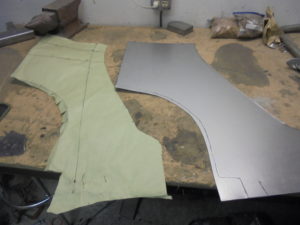
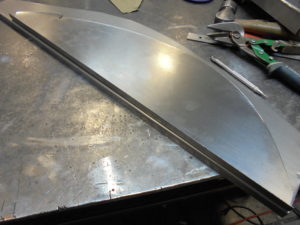
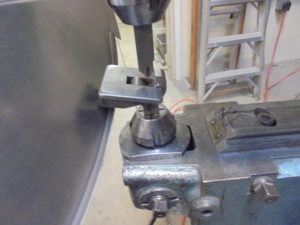
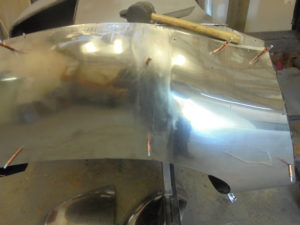
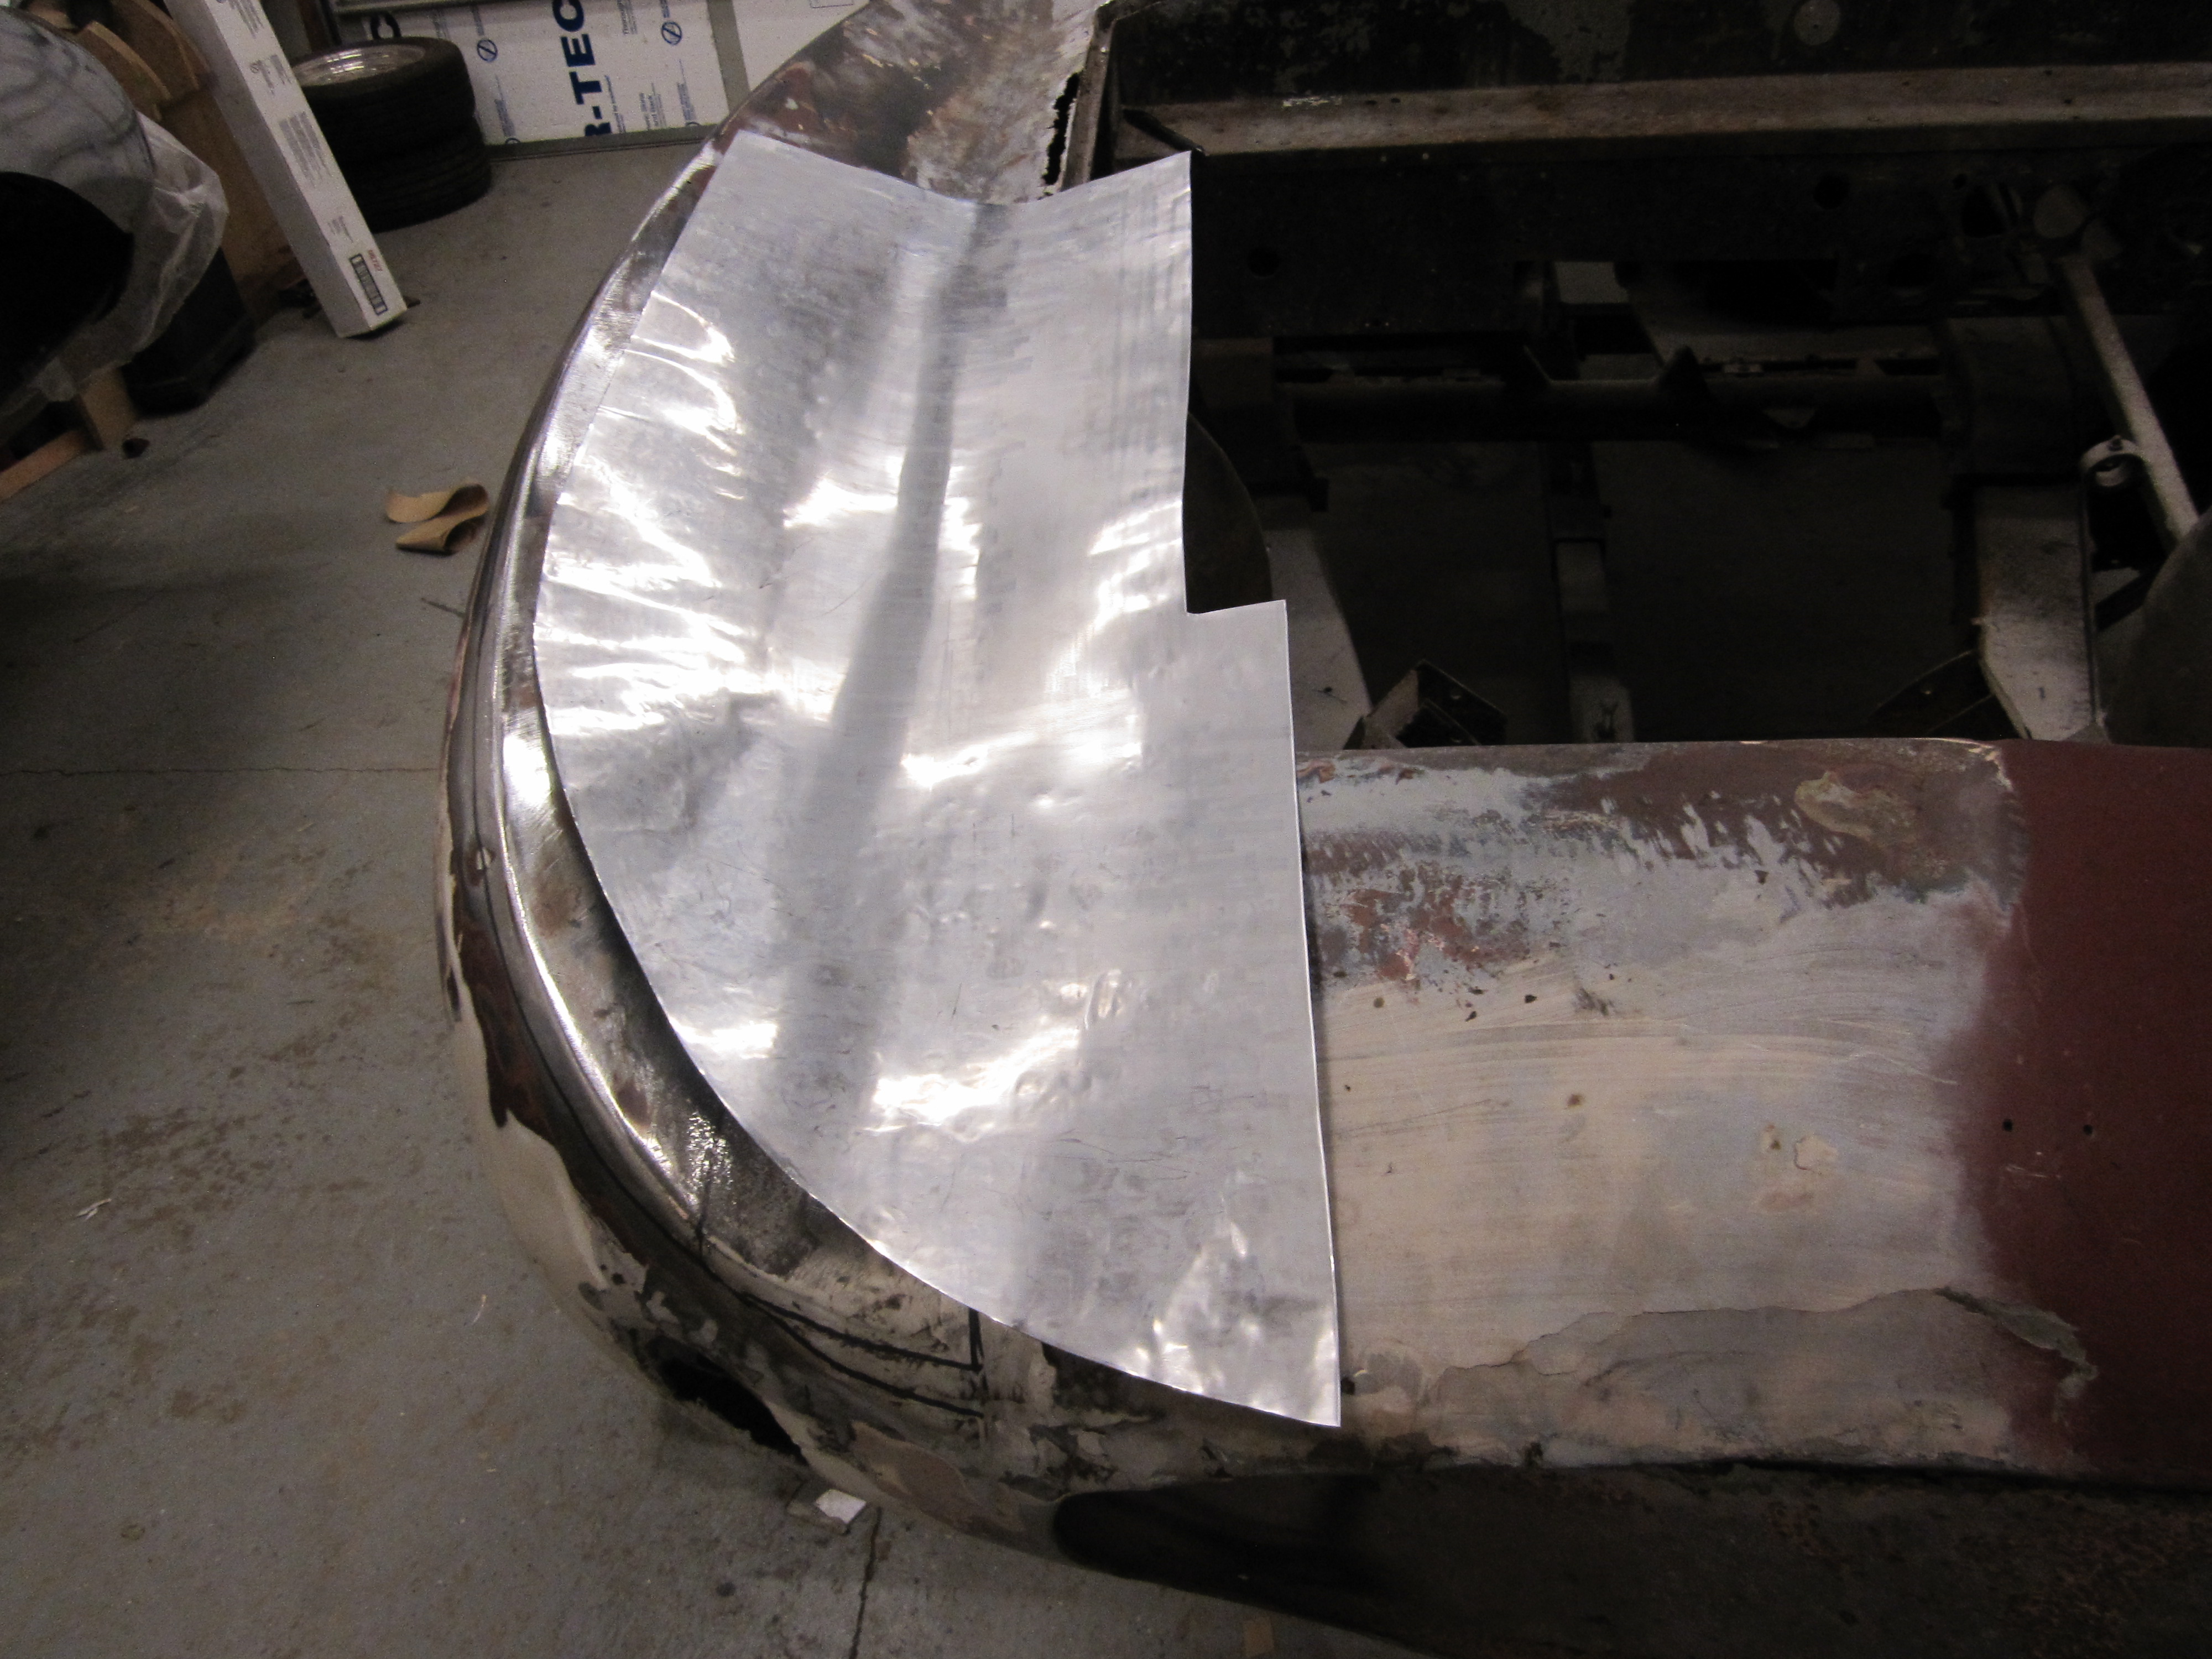
Shape the panel with various machines until the the metal fits the original piece, profiles, and is straight.
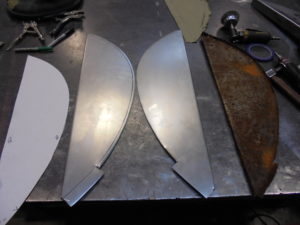
Repeat with the rest of the pieces that make up the quarter panel skins.
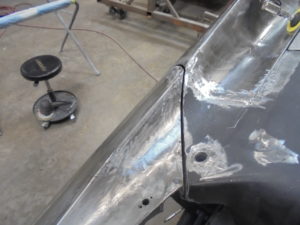
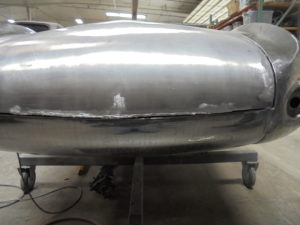
Scribe the cut line, trim, fit and tack weld the pieces together.
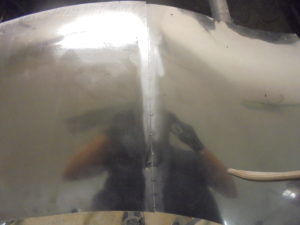
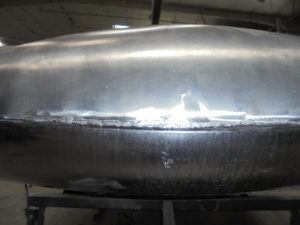
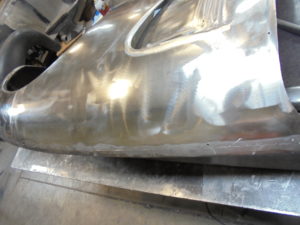
Clean and straighten the weld seam, then fully weld.
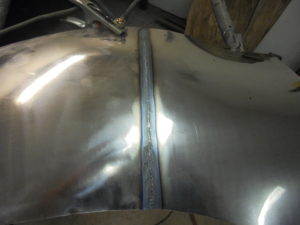
Planish and straighten the weld seam after welding.
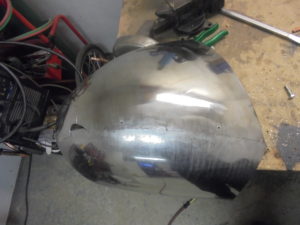
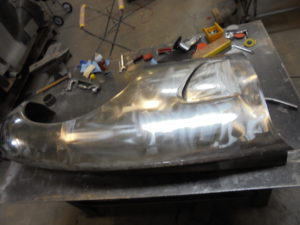
Repeat for the rear section
With the rear section fit up the weld flange to be tipped up is marked by drilling through the original panel at the bend into the new rear section.
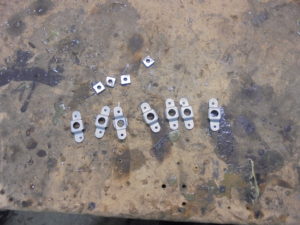
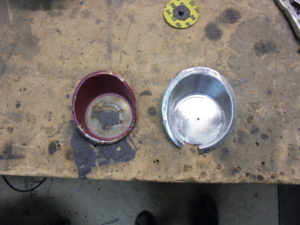
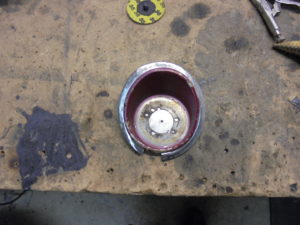
Original Style Cage Nut Fabrication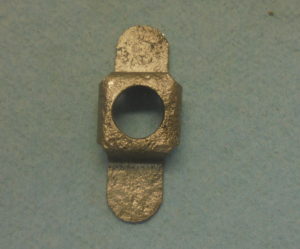
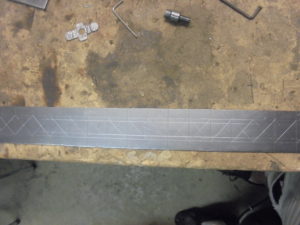
Layout, cut, and punch holes in the blanks.
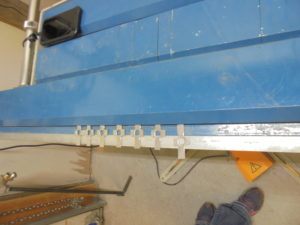
Set and brake the outer flanges.
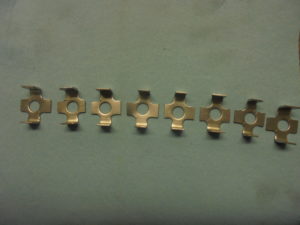

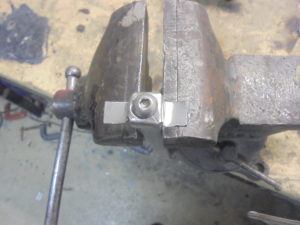
Make a form from the appropriate size square stock, tap the end, screw the cage nut blank and hammer the second bends into the cage.
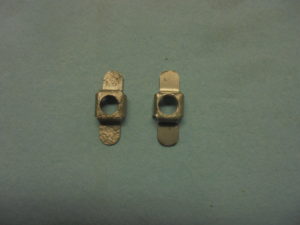
Grind the radius into the ends of the weld tabs.
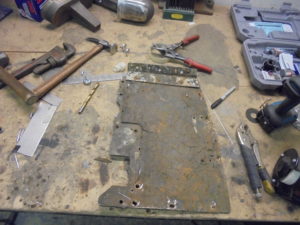
Mid Floor Fabrication

Mark and remove seat brackets
Pattern the floor
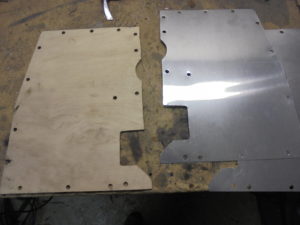
Floor is removed
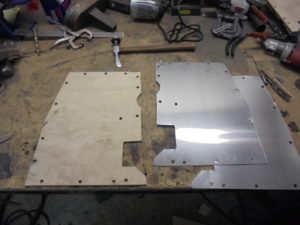
Mark and cut out the blanks for the new floor, then mark and bend the inner weld flanges.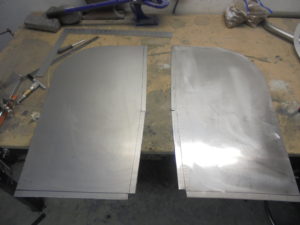
Fabricate new bottom braces and outer weld flanges.

After fitting to the car to locate the outer weld flanges the braces and flanges were welded to the new floors.
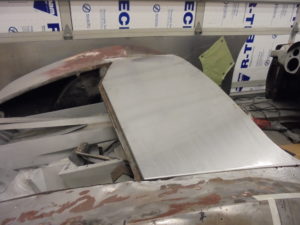
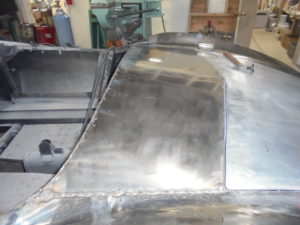
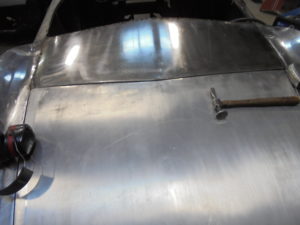
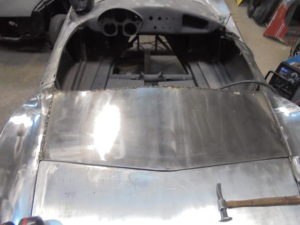
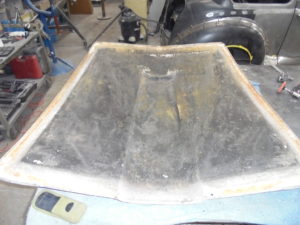
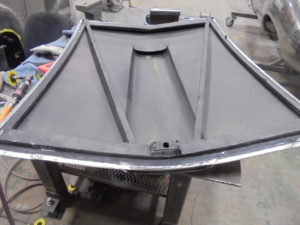
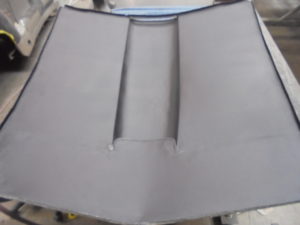
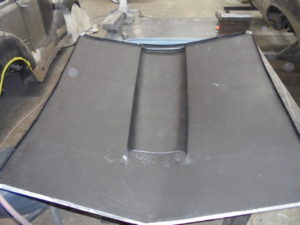
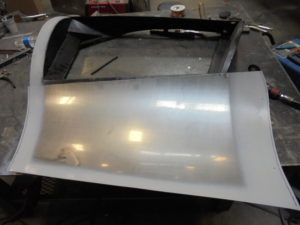
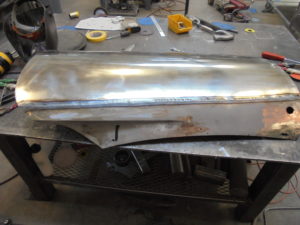
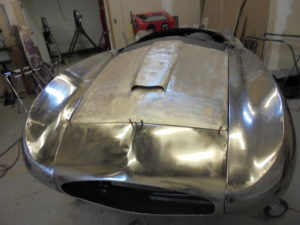
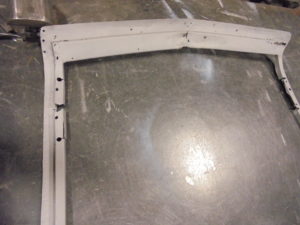
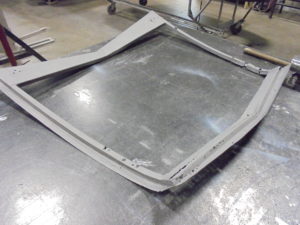
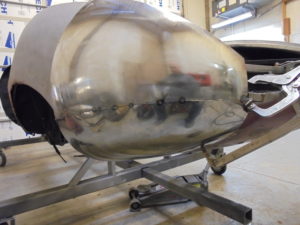
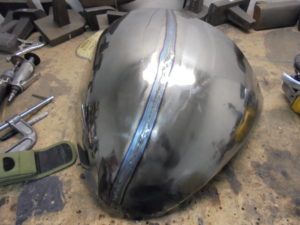
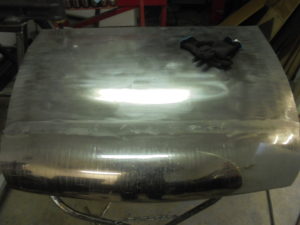
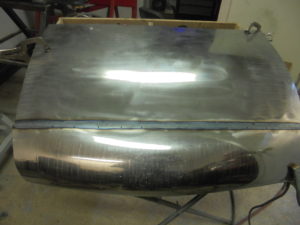
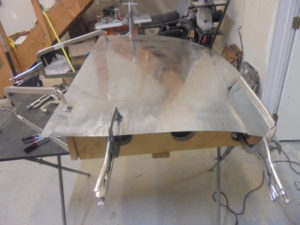
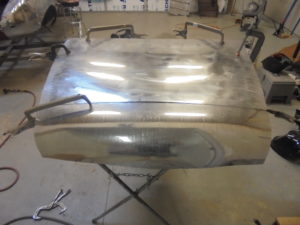
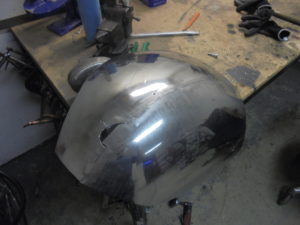
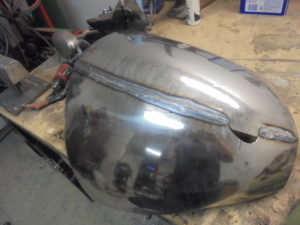
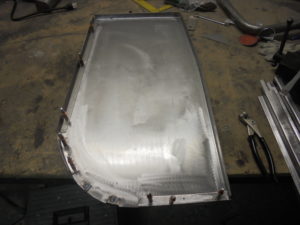
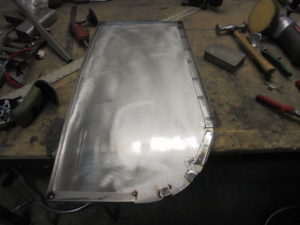
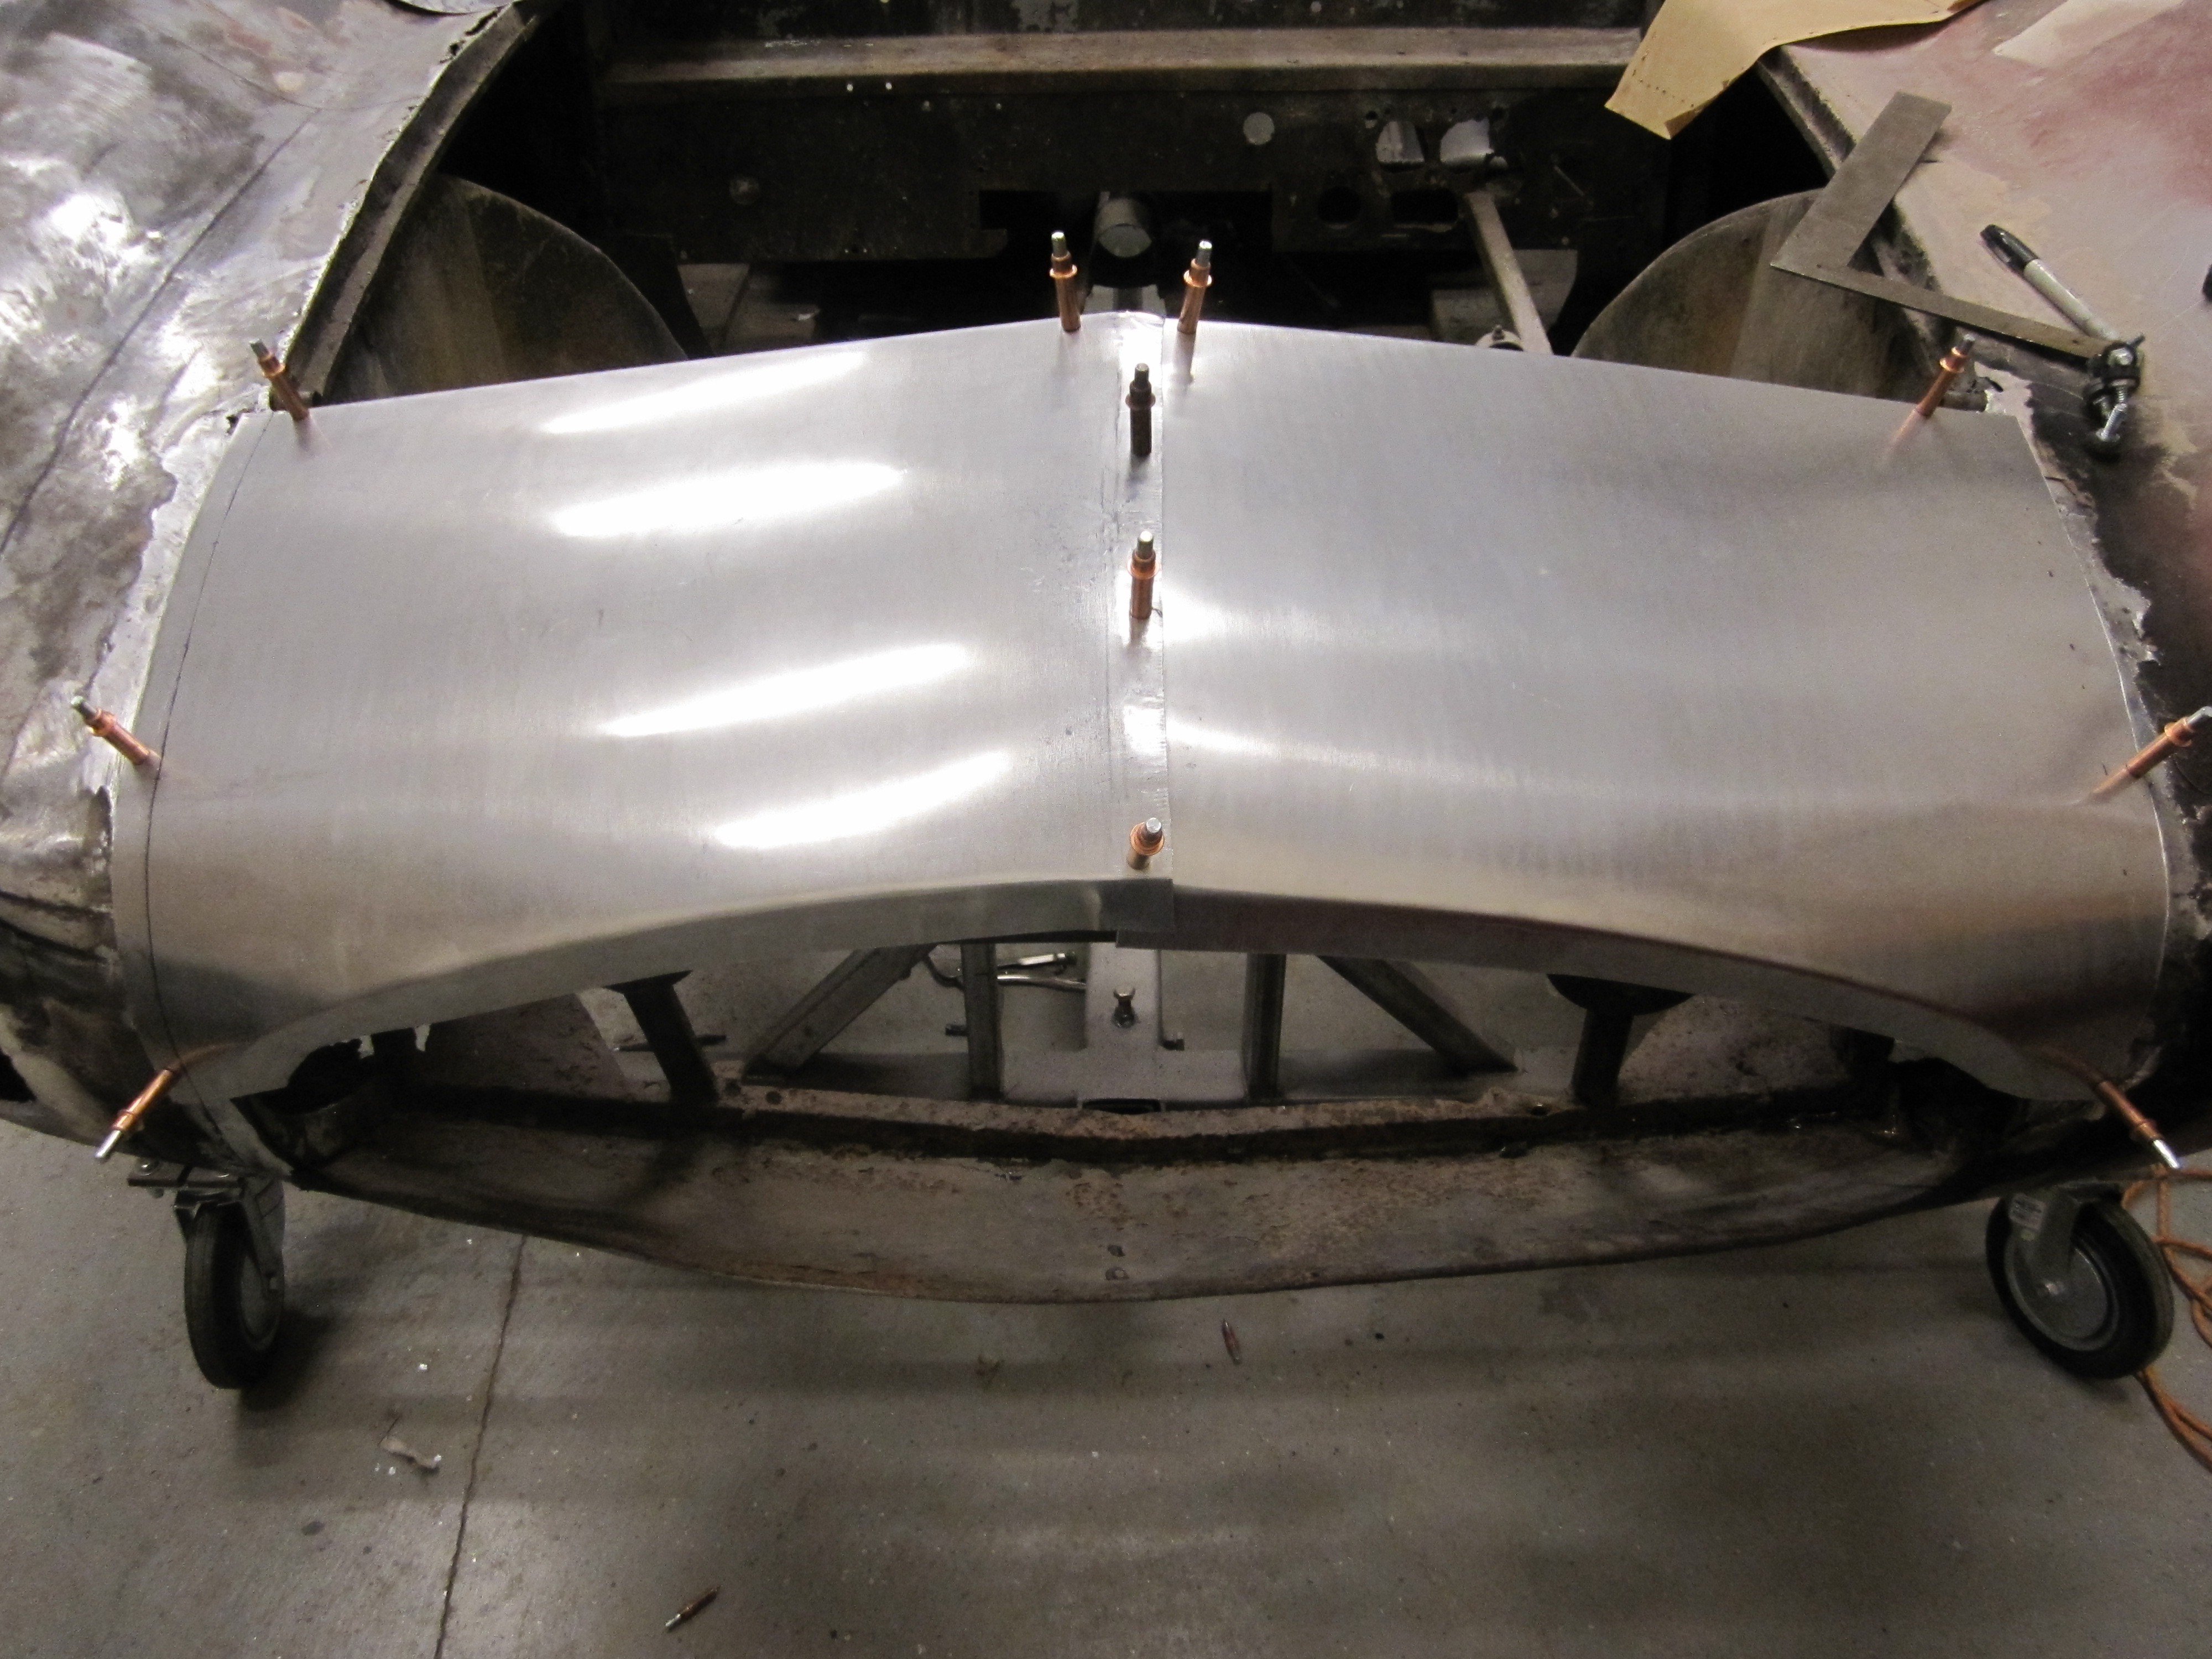
Trunk Lid Skin Fabrication
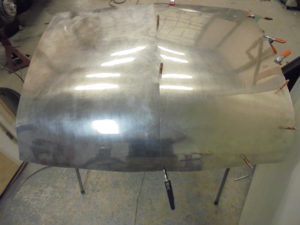
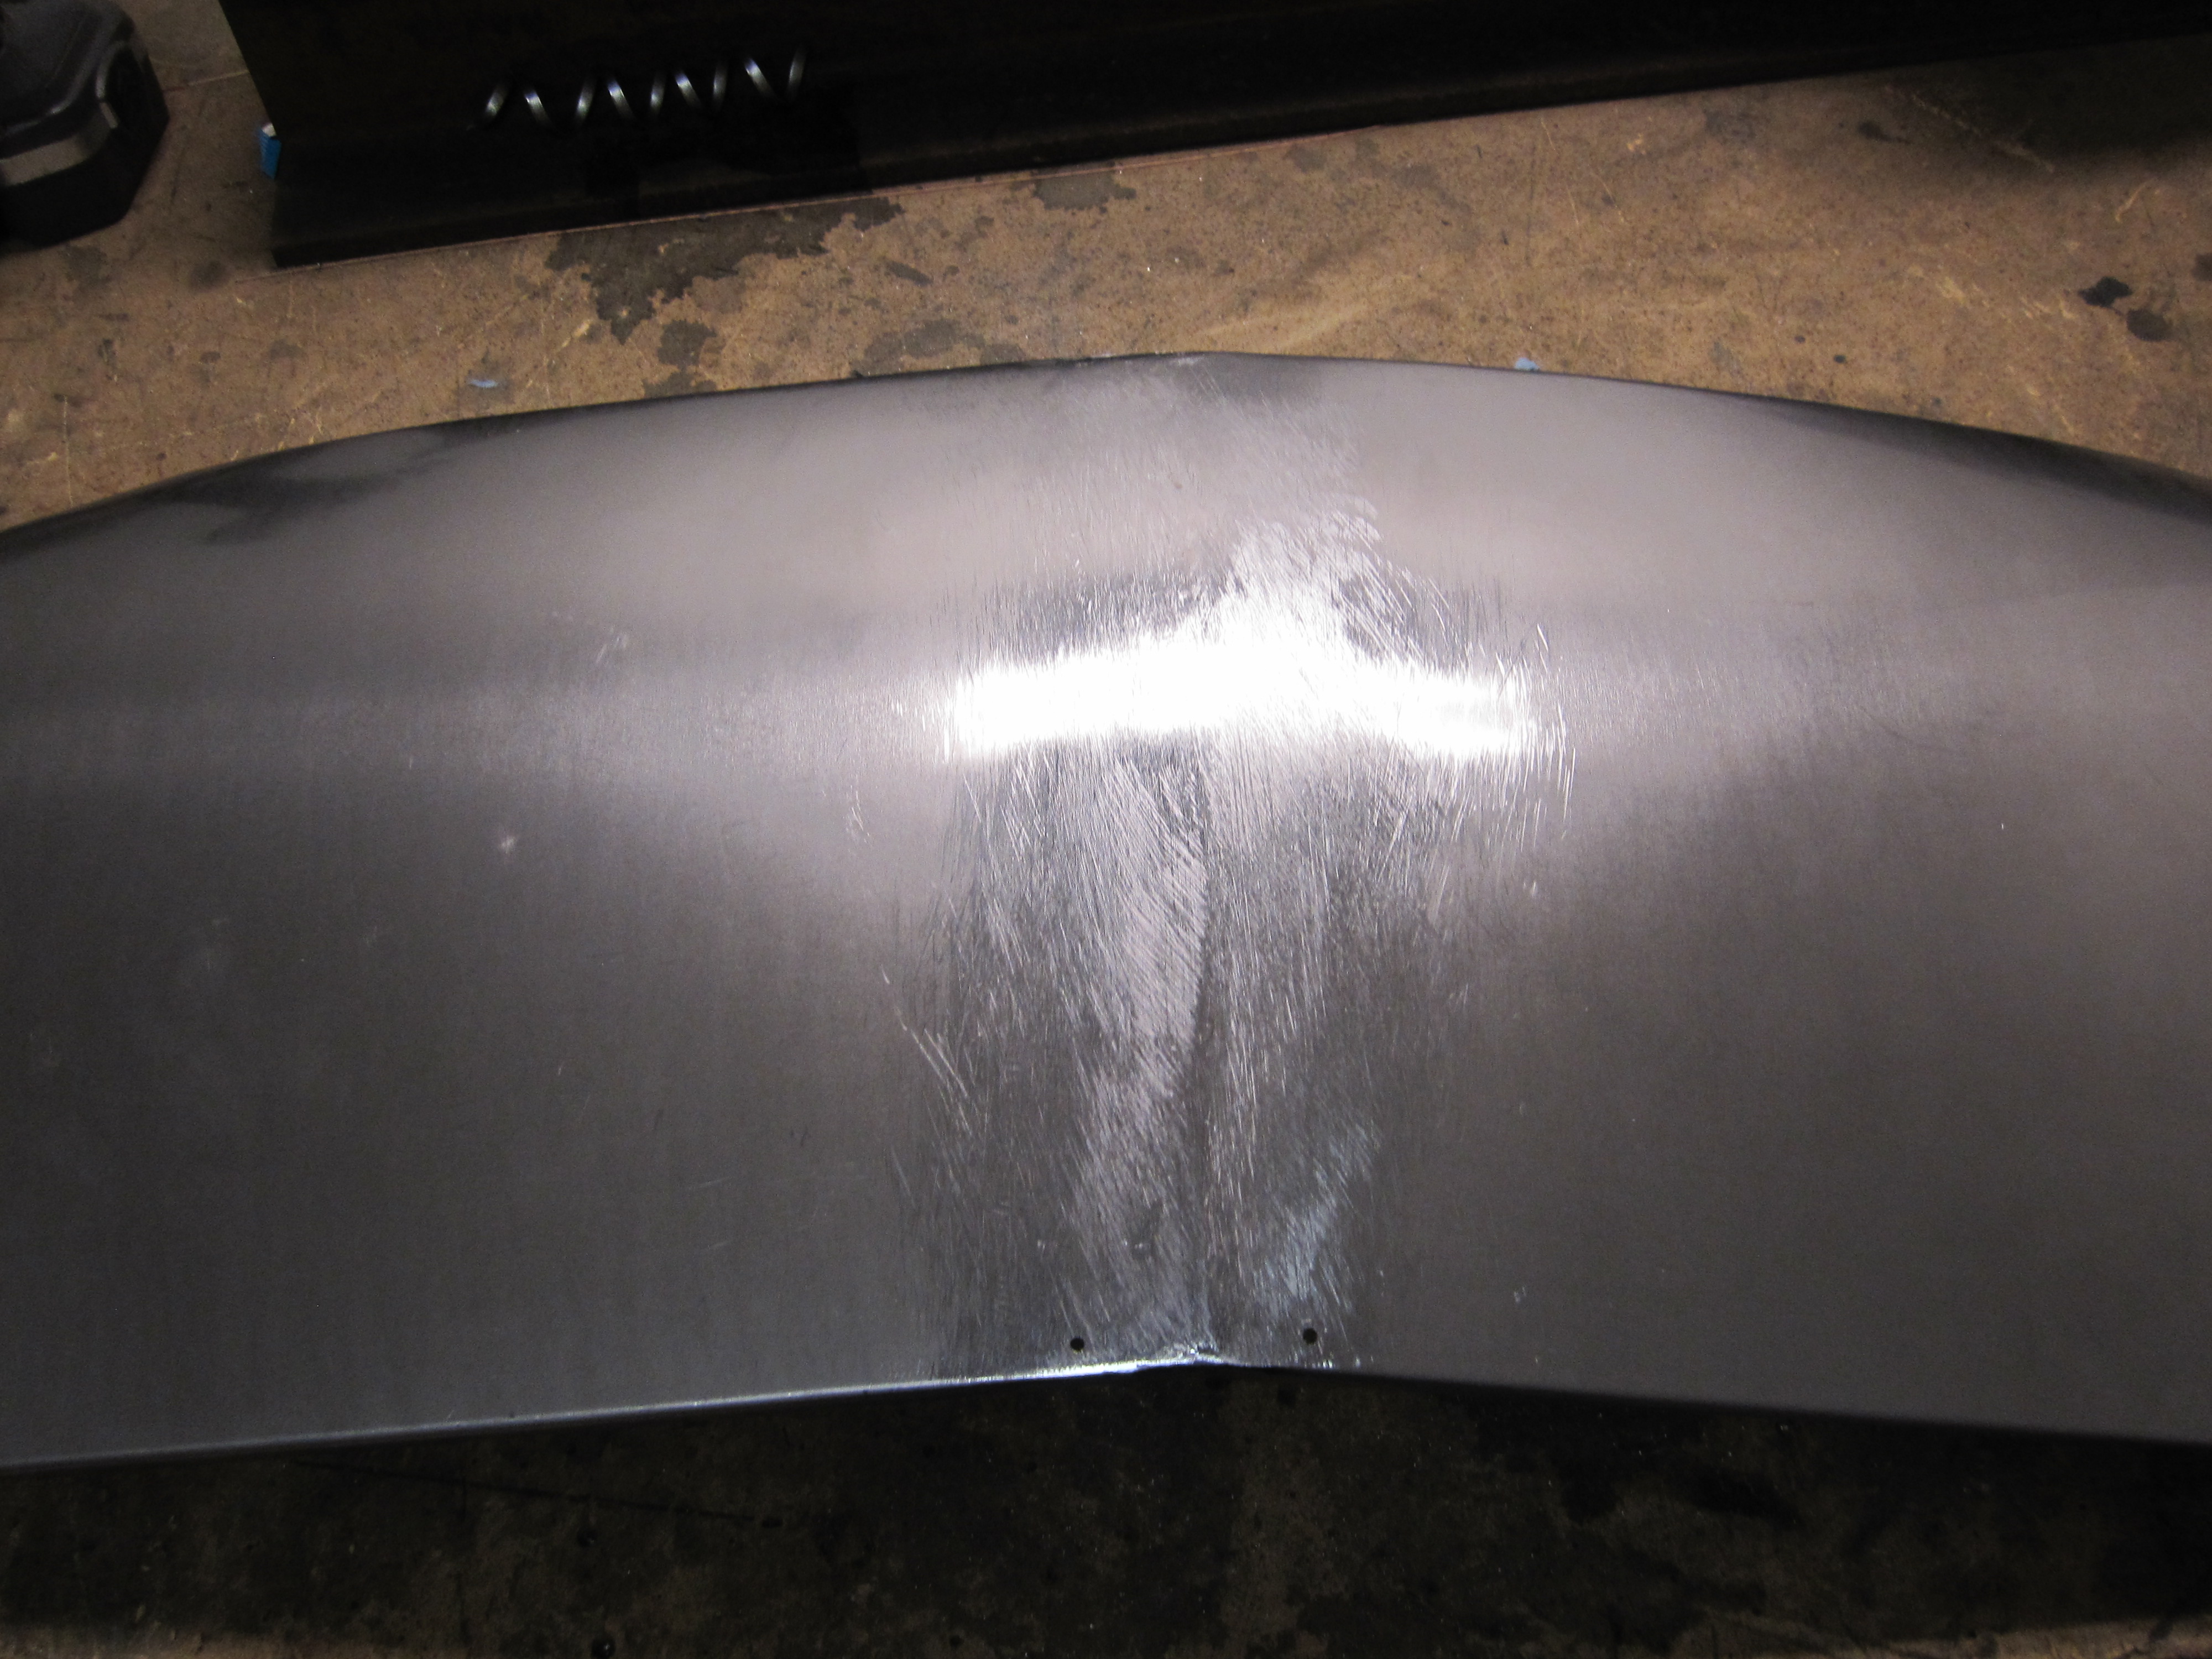
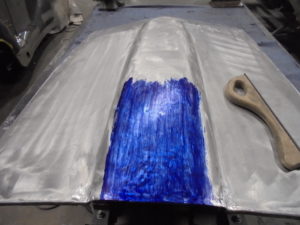
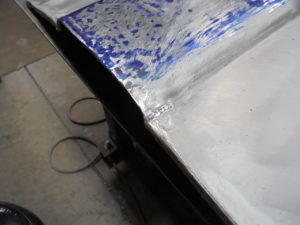
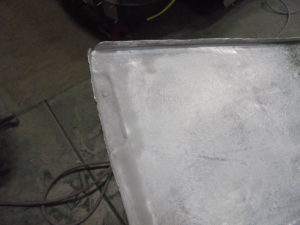
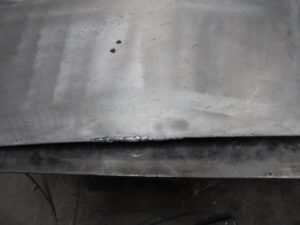
Weld seam after planishing and file
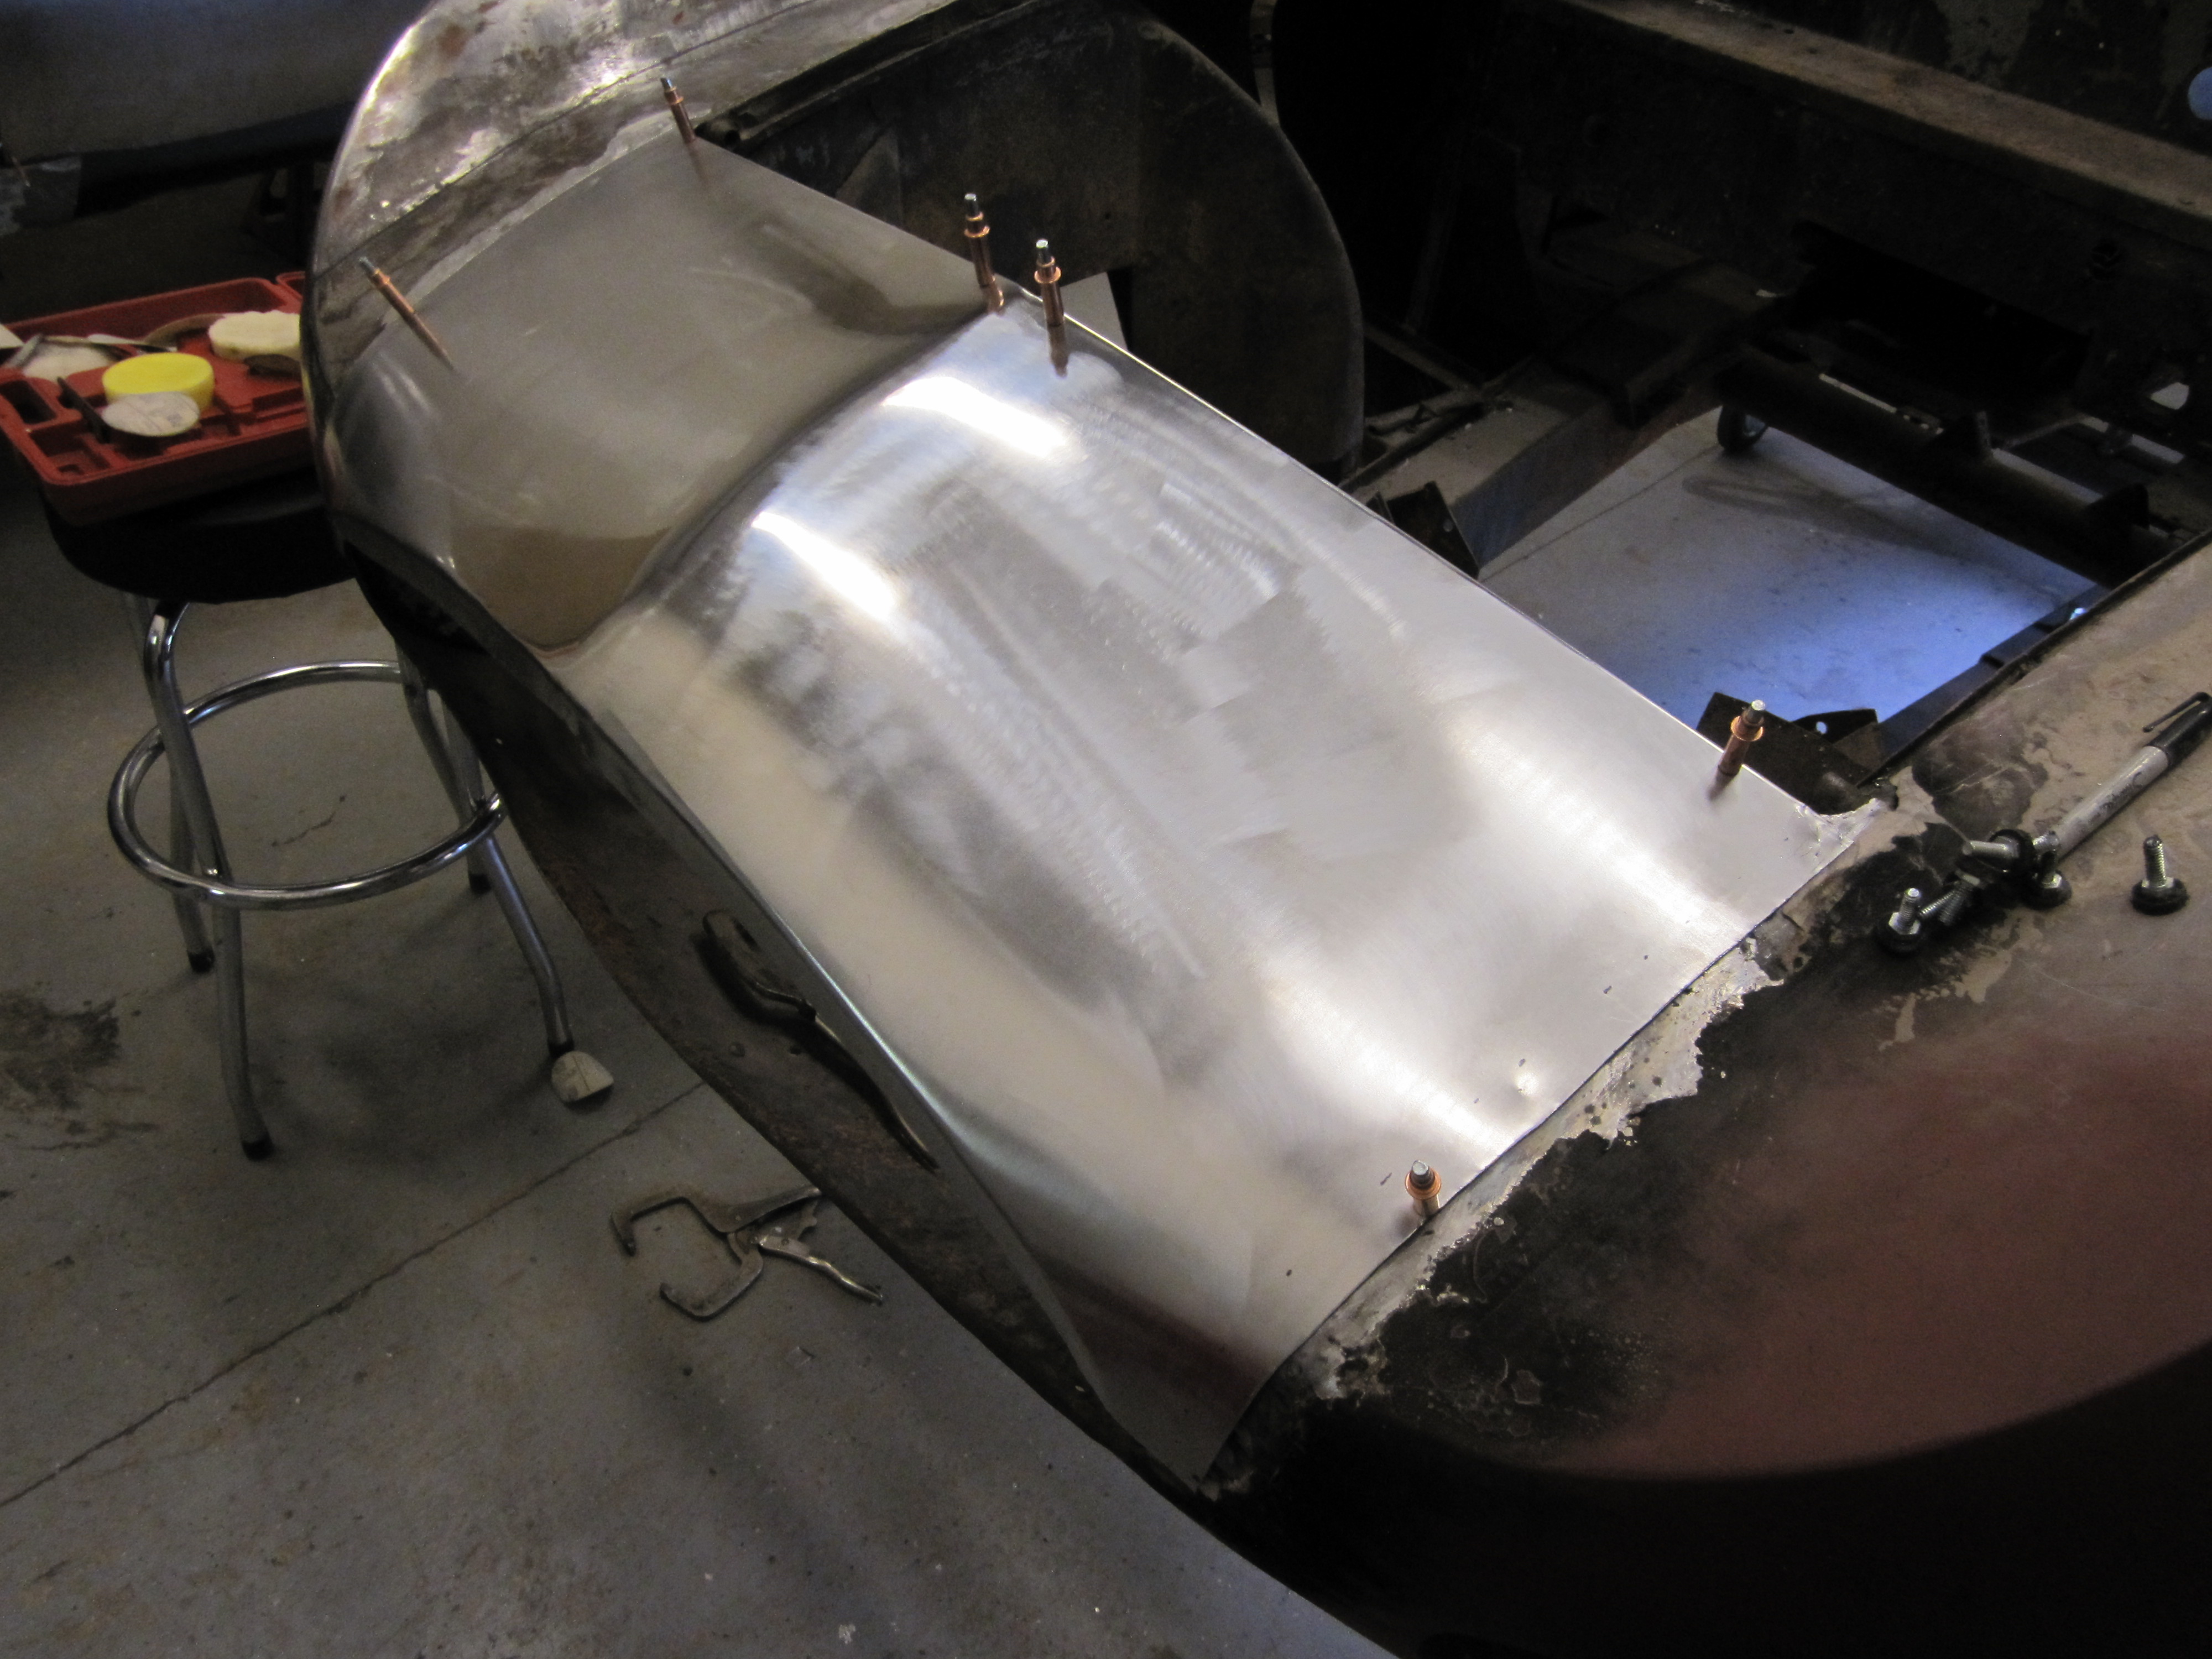
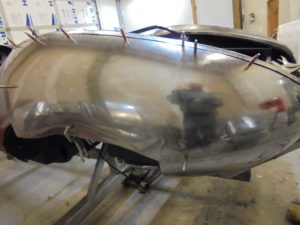
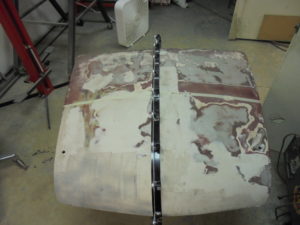
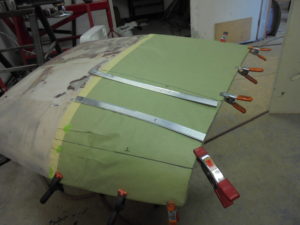
A quick polish to the weld seam to make sure its straight, and a fit to the car to mark the outer edges for tipping.
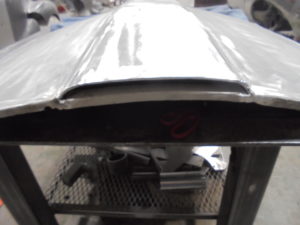
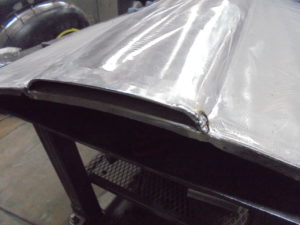
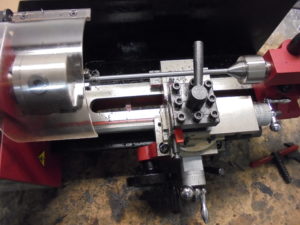
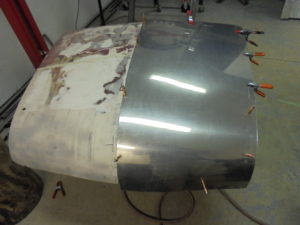
Preparing the front edge for wired edge
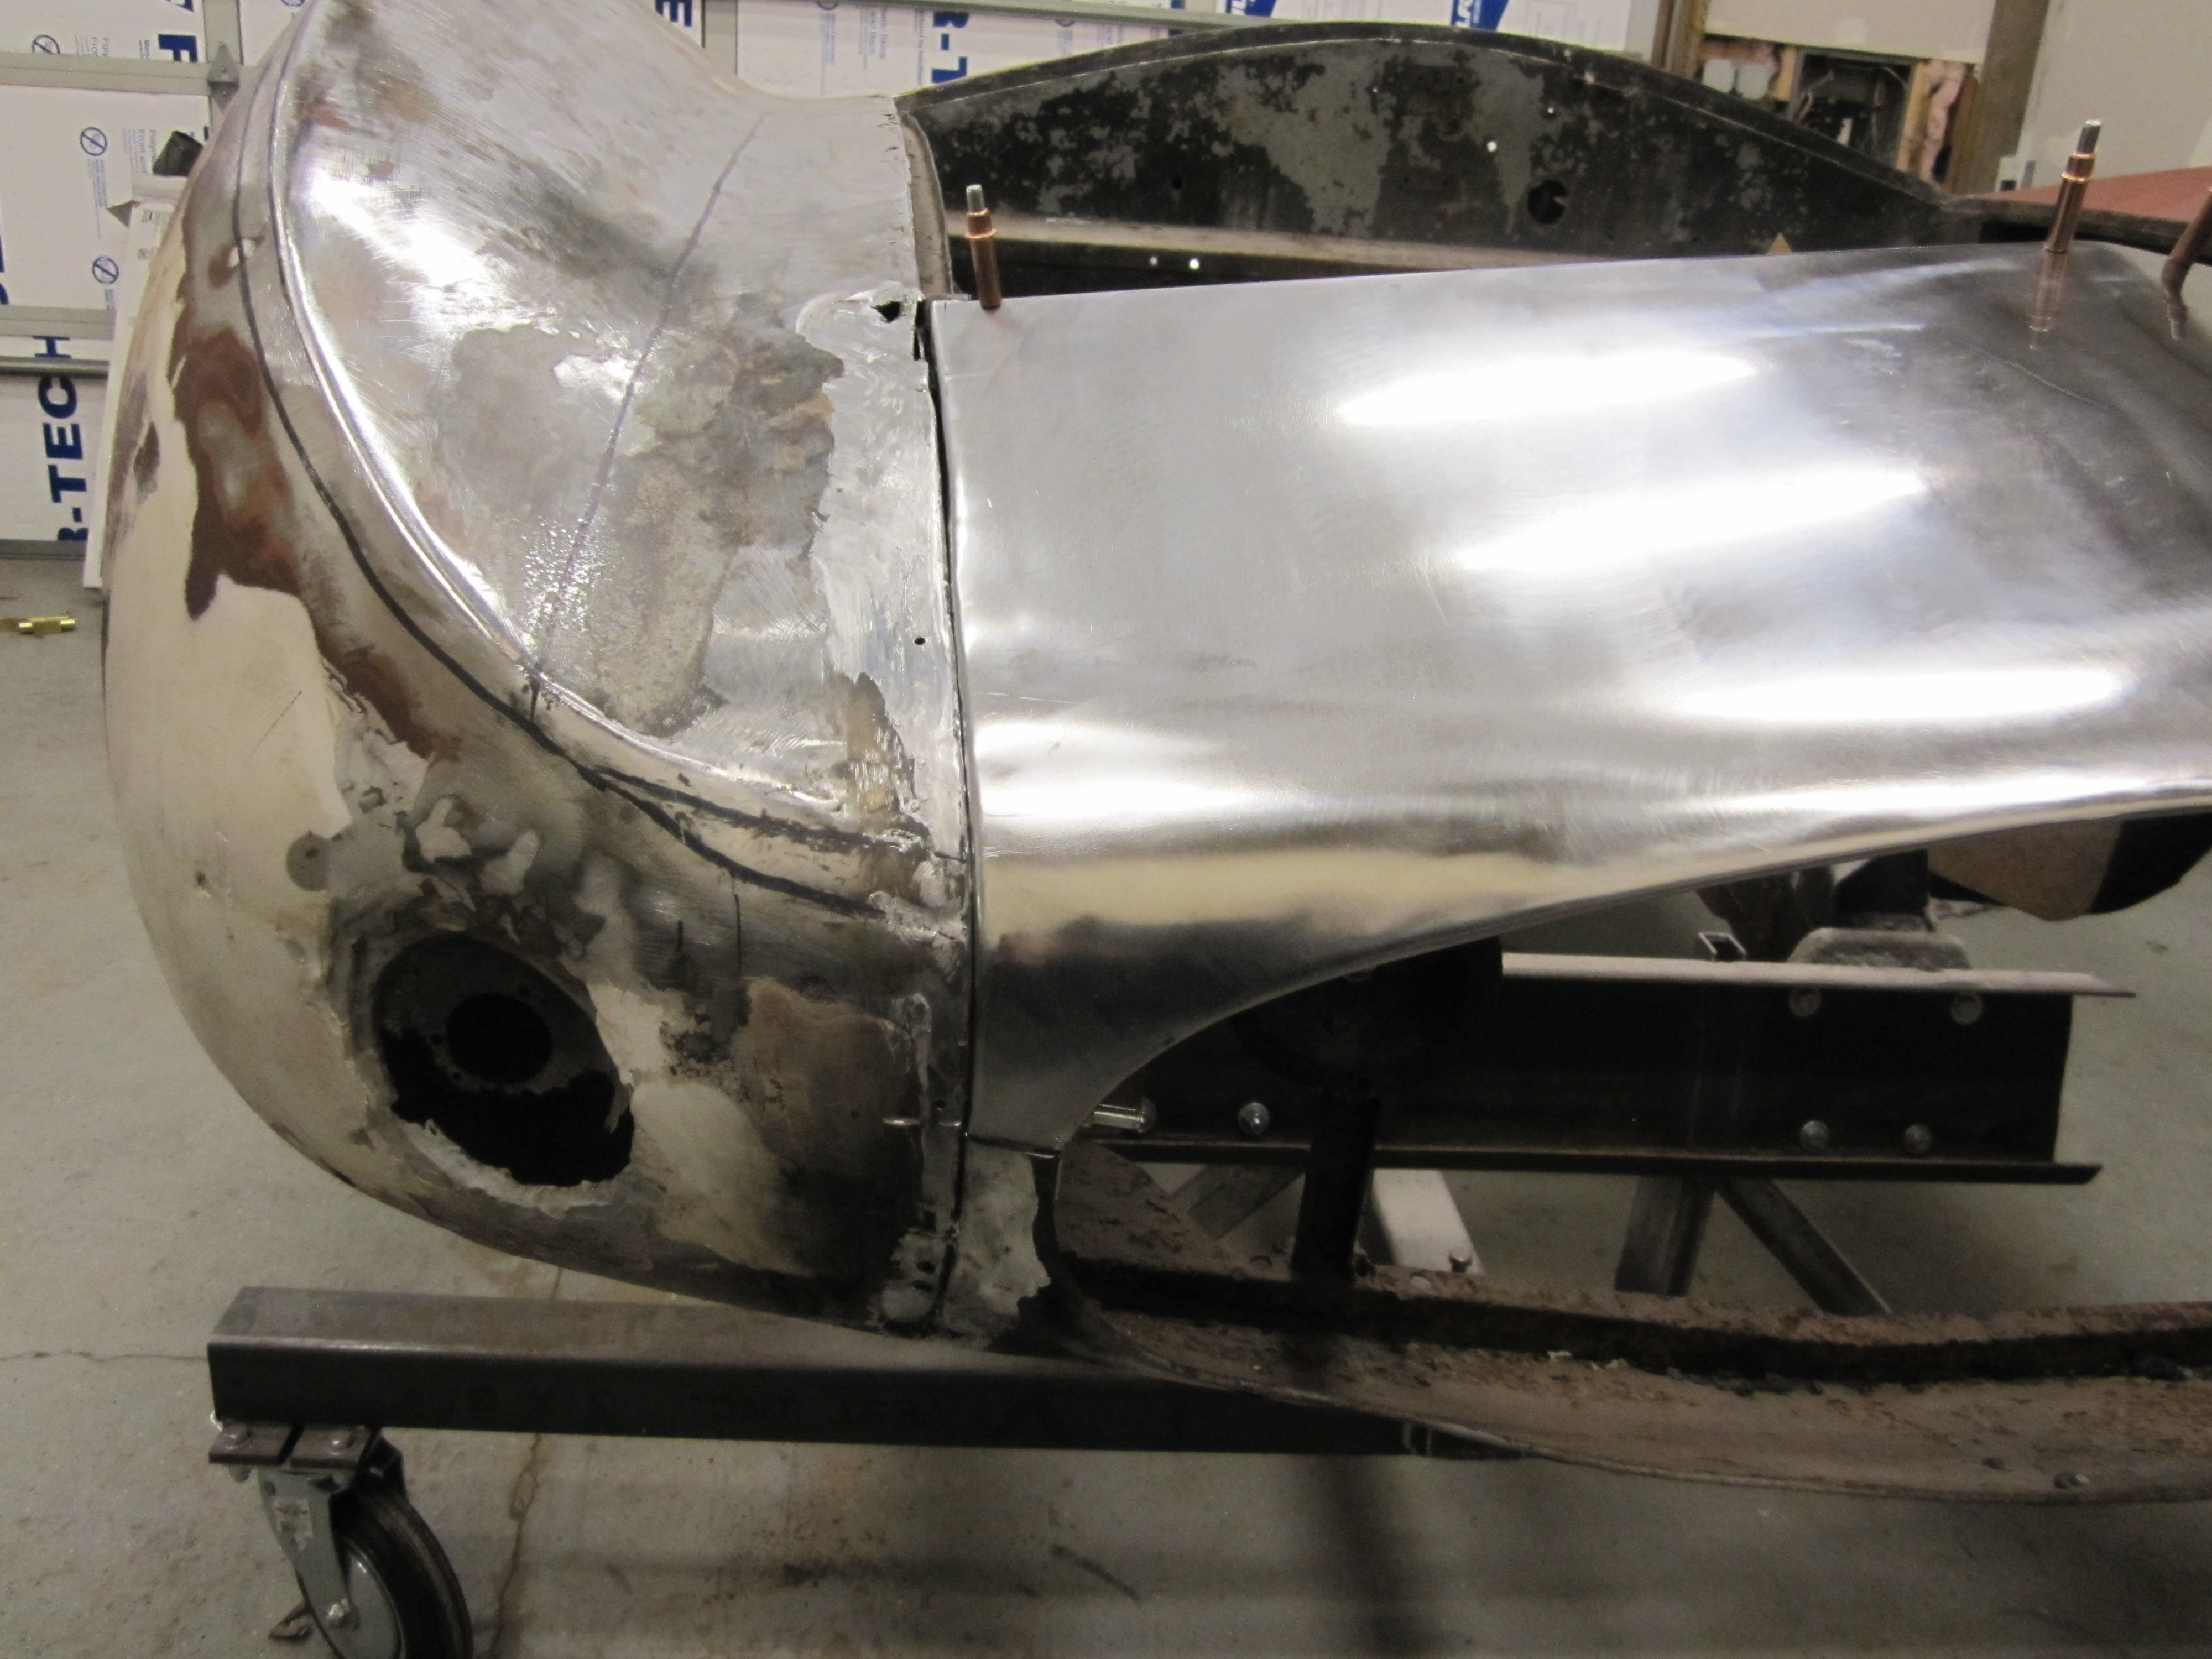
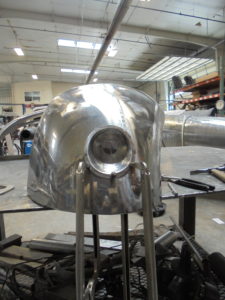
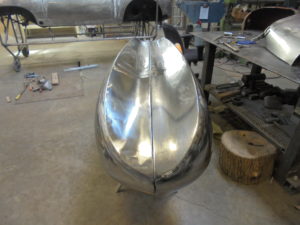
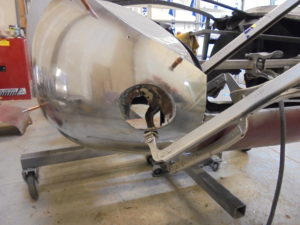
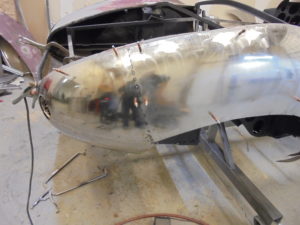
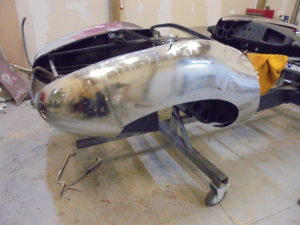
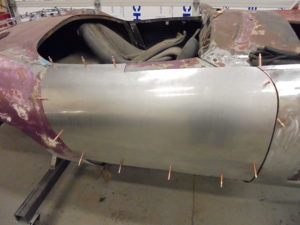
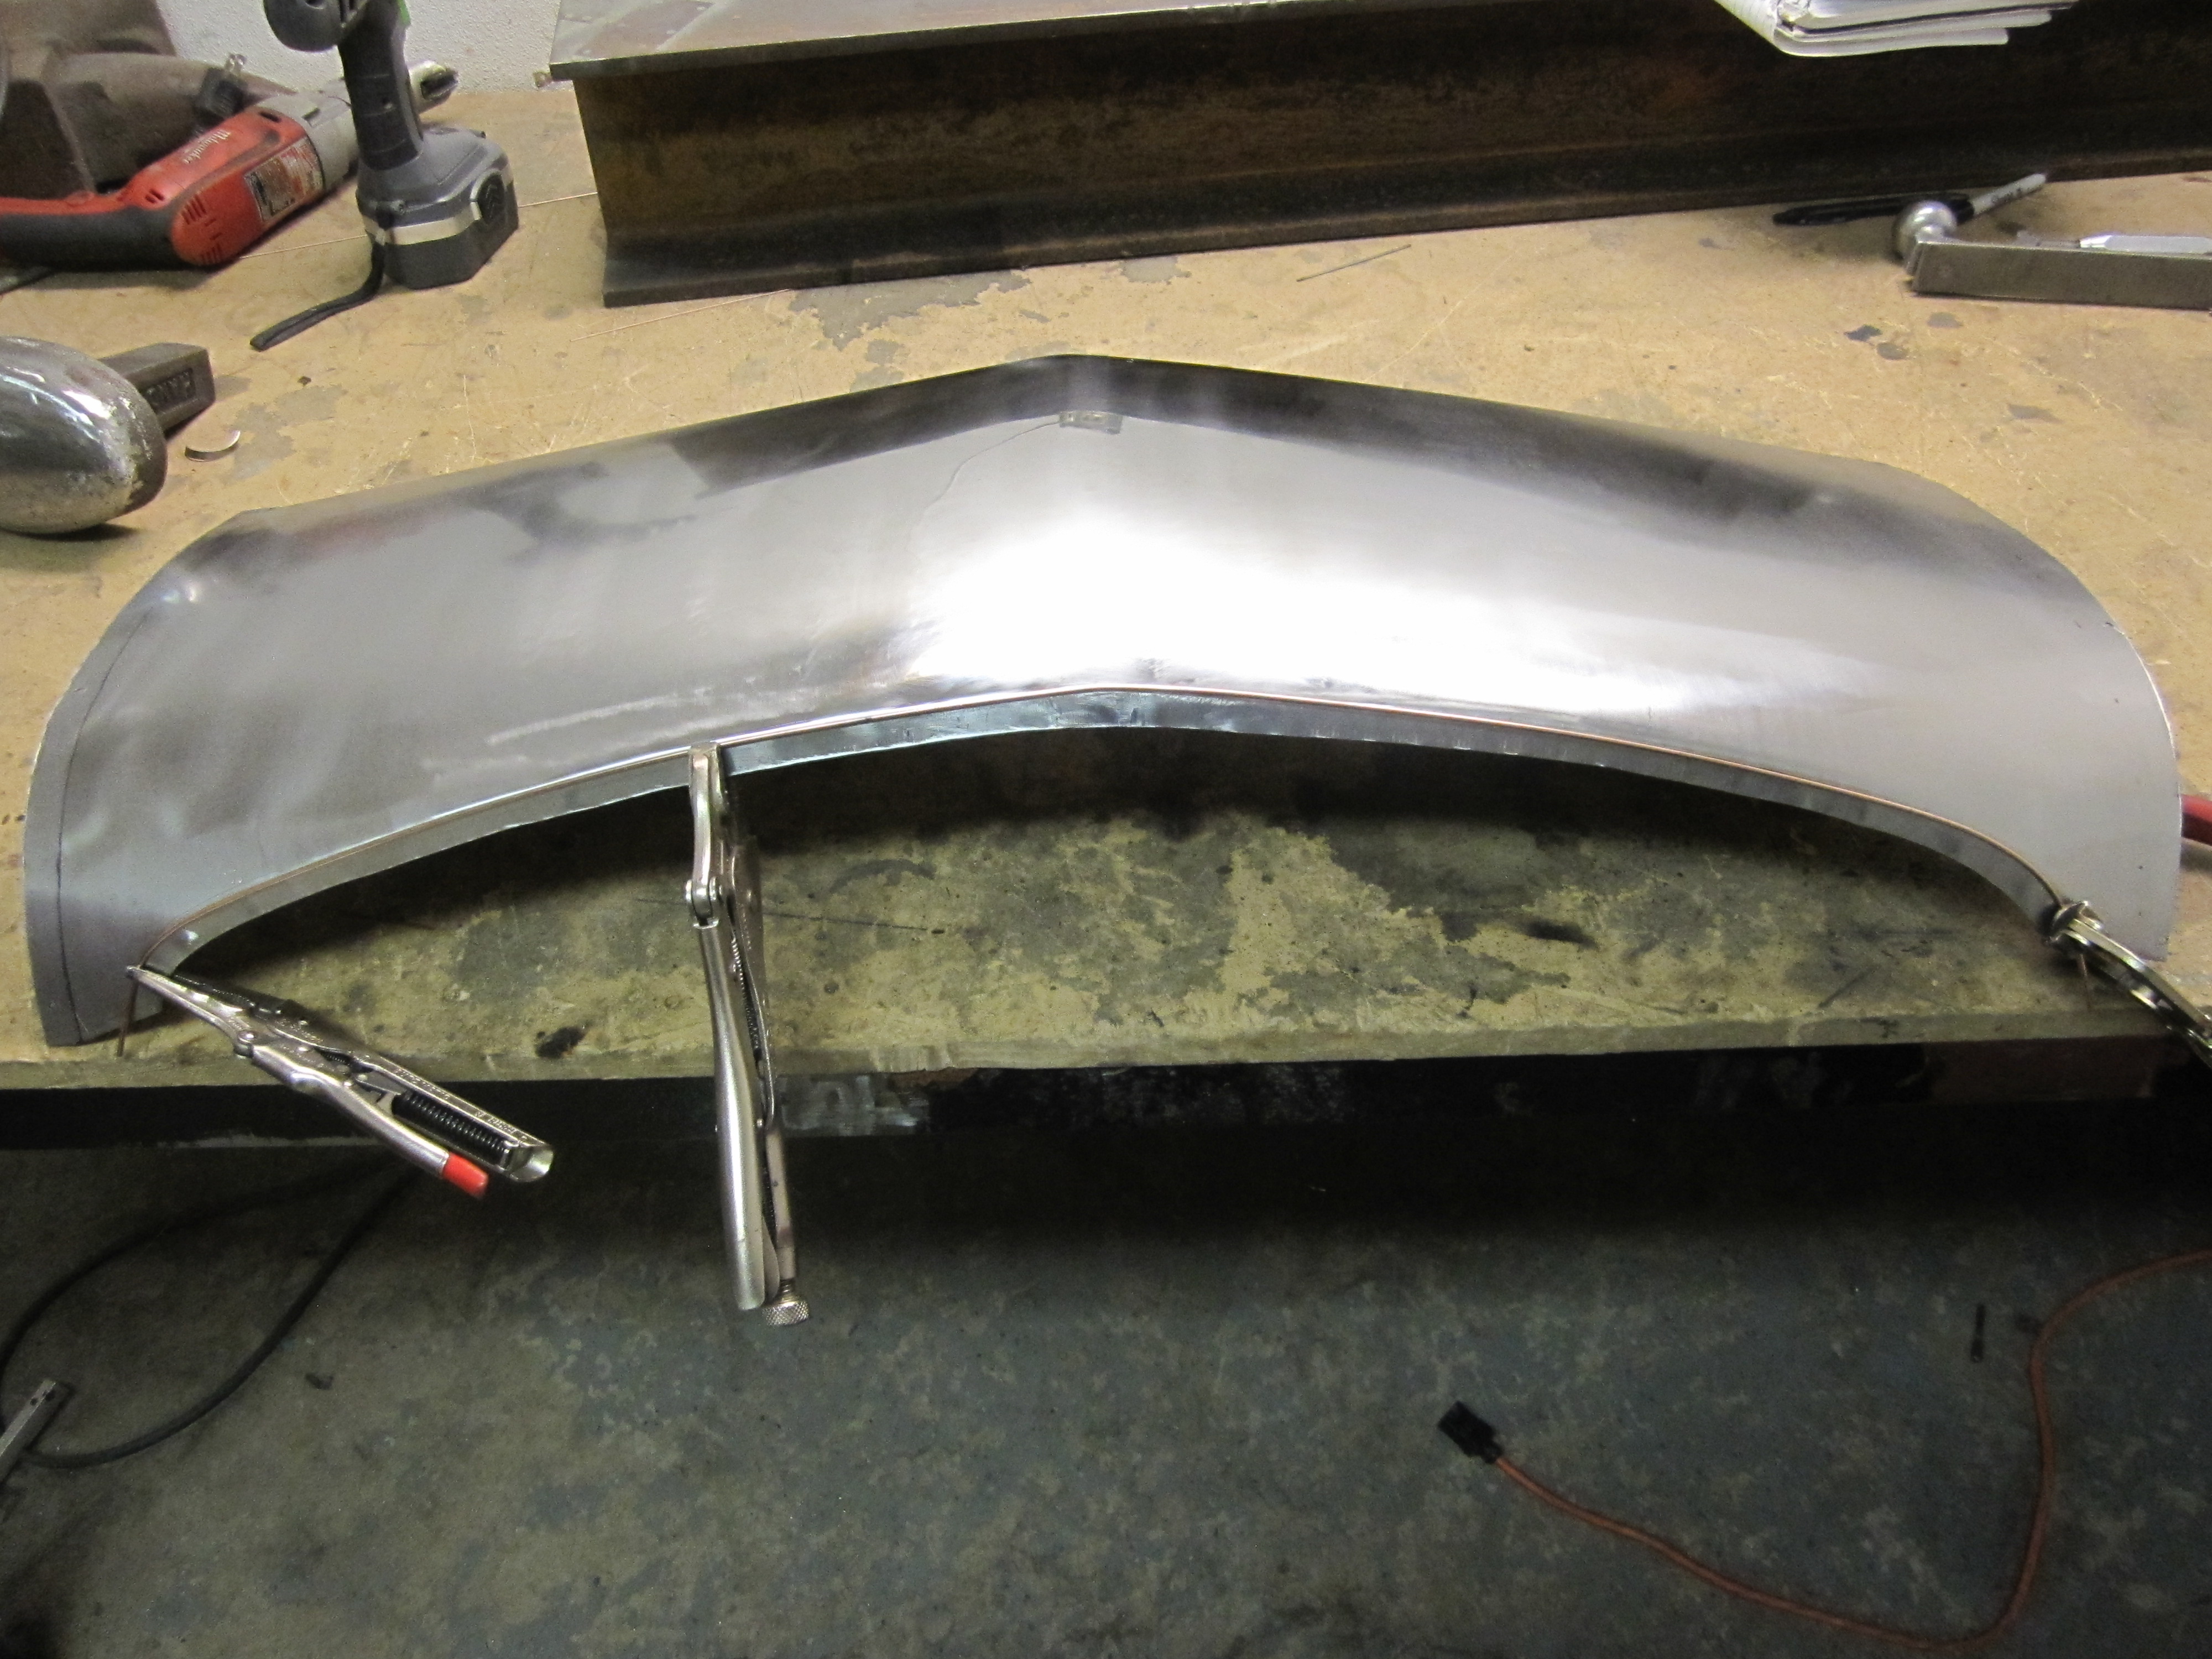
Lower nose panel fabrication
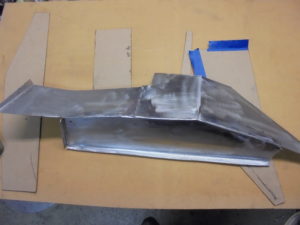
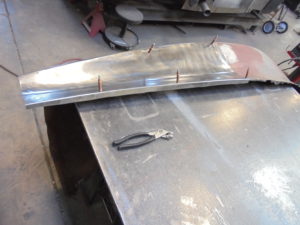
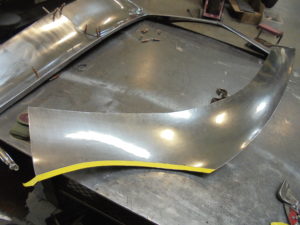
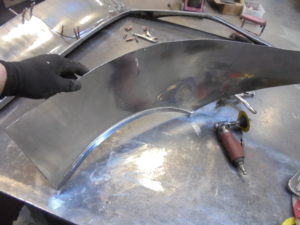
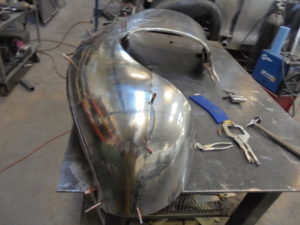
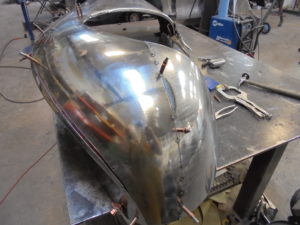
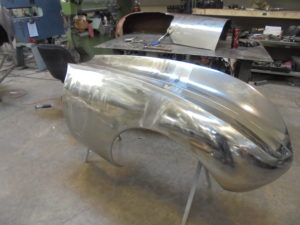
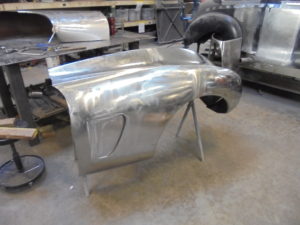
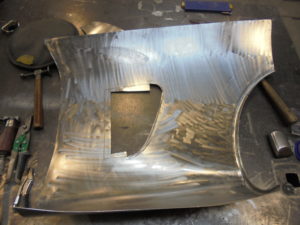
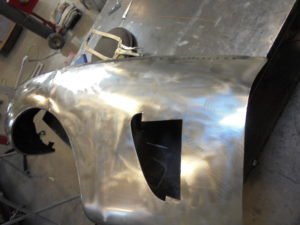
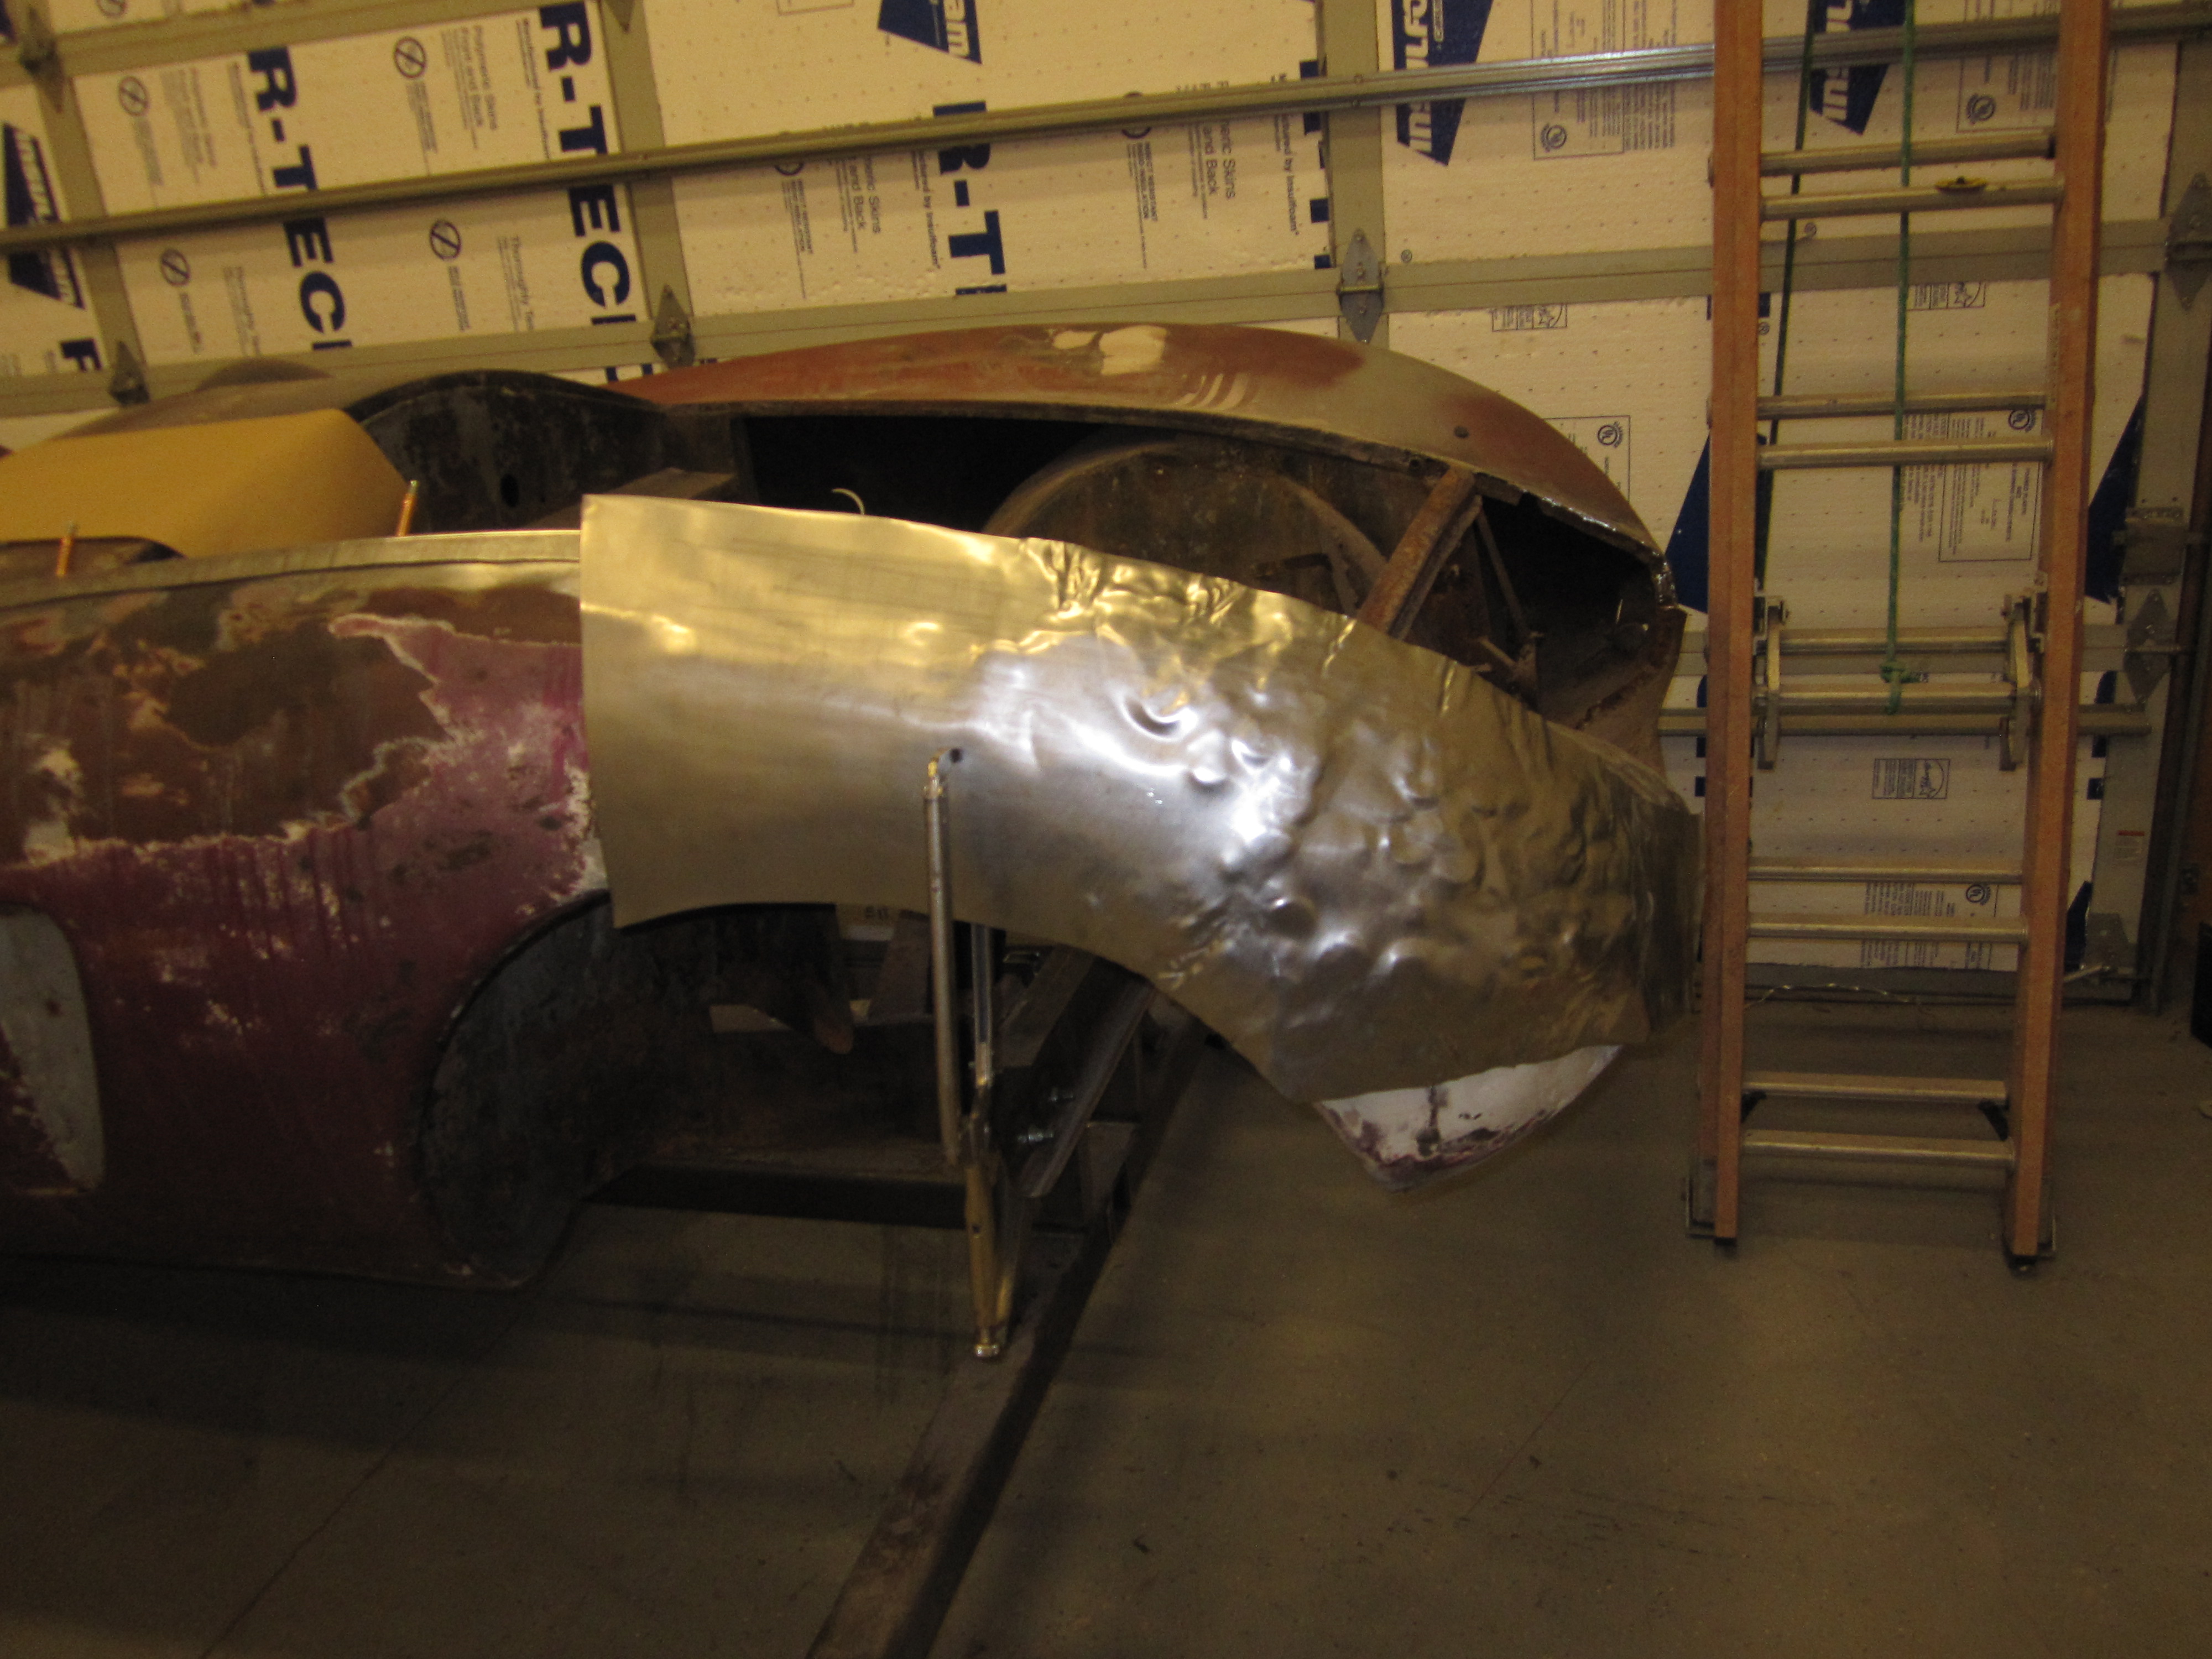
Right front fender fabrication
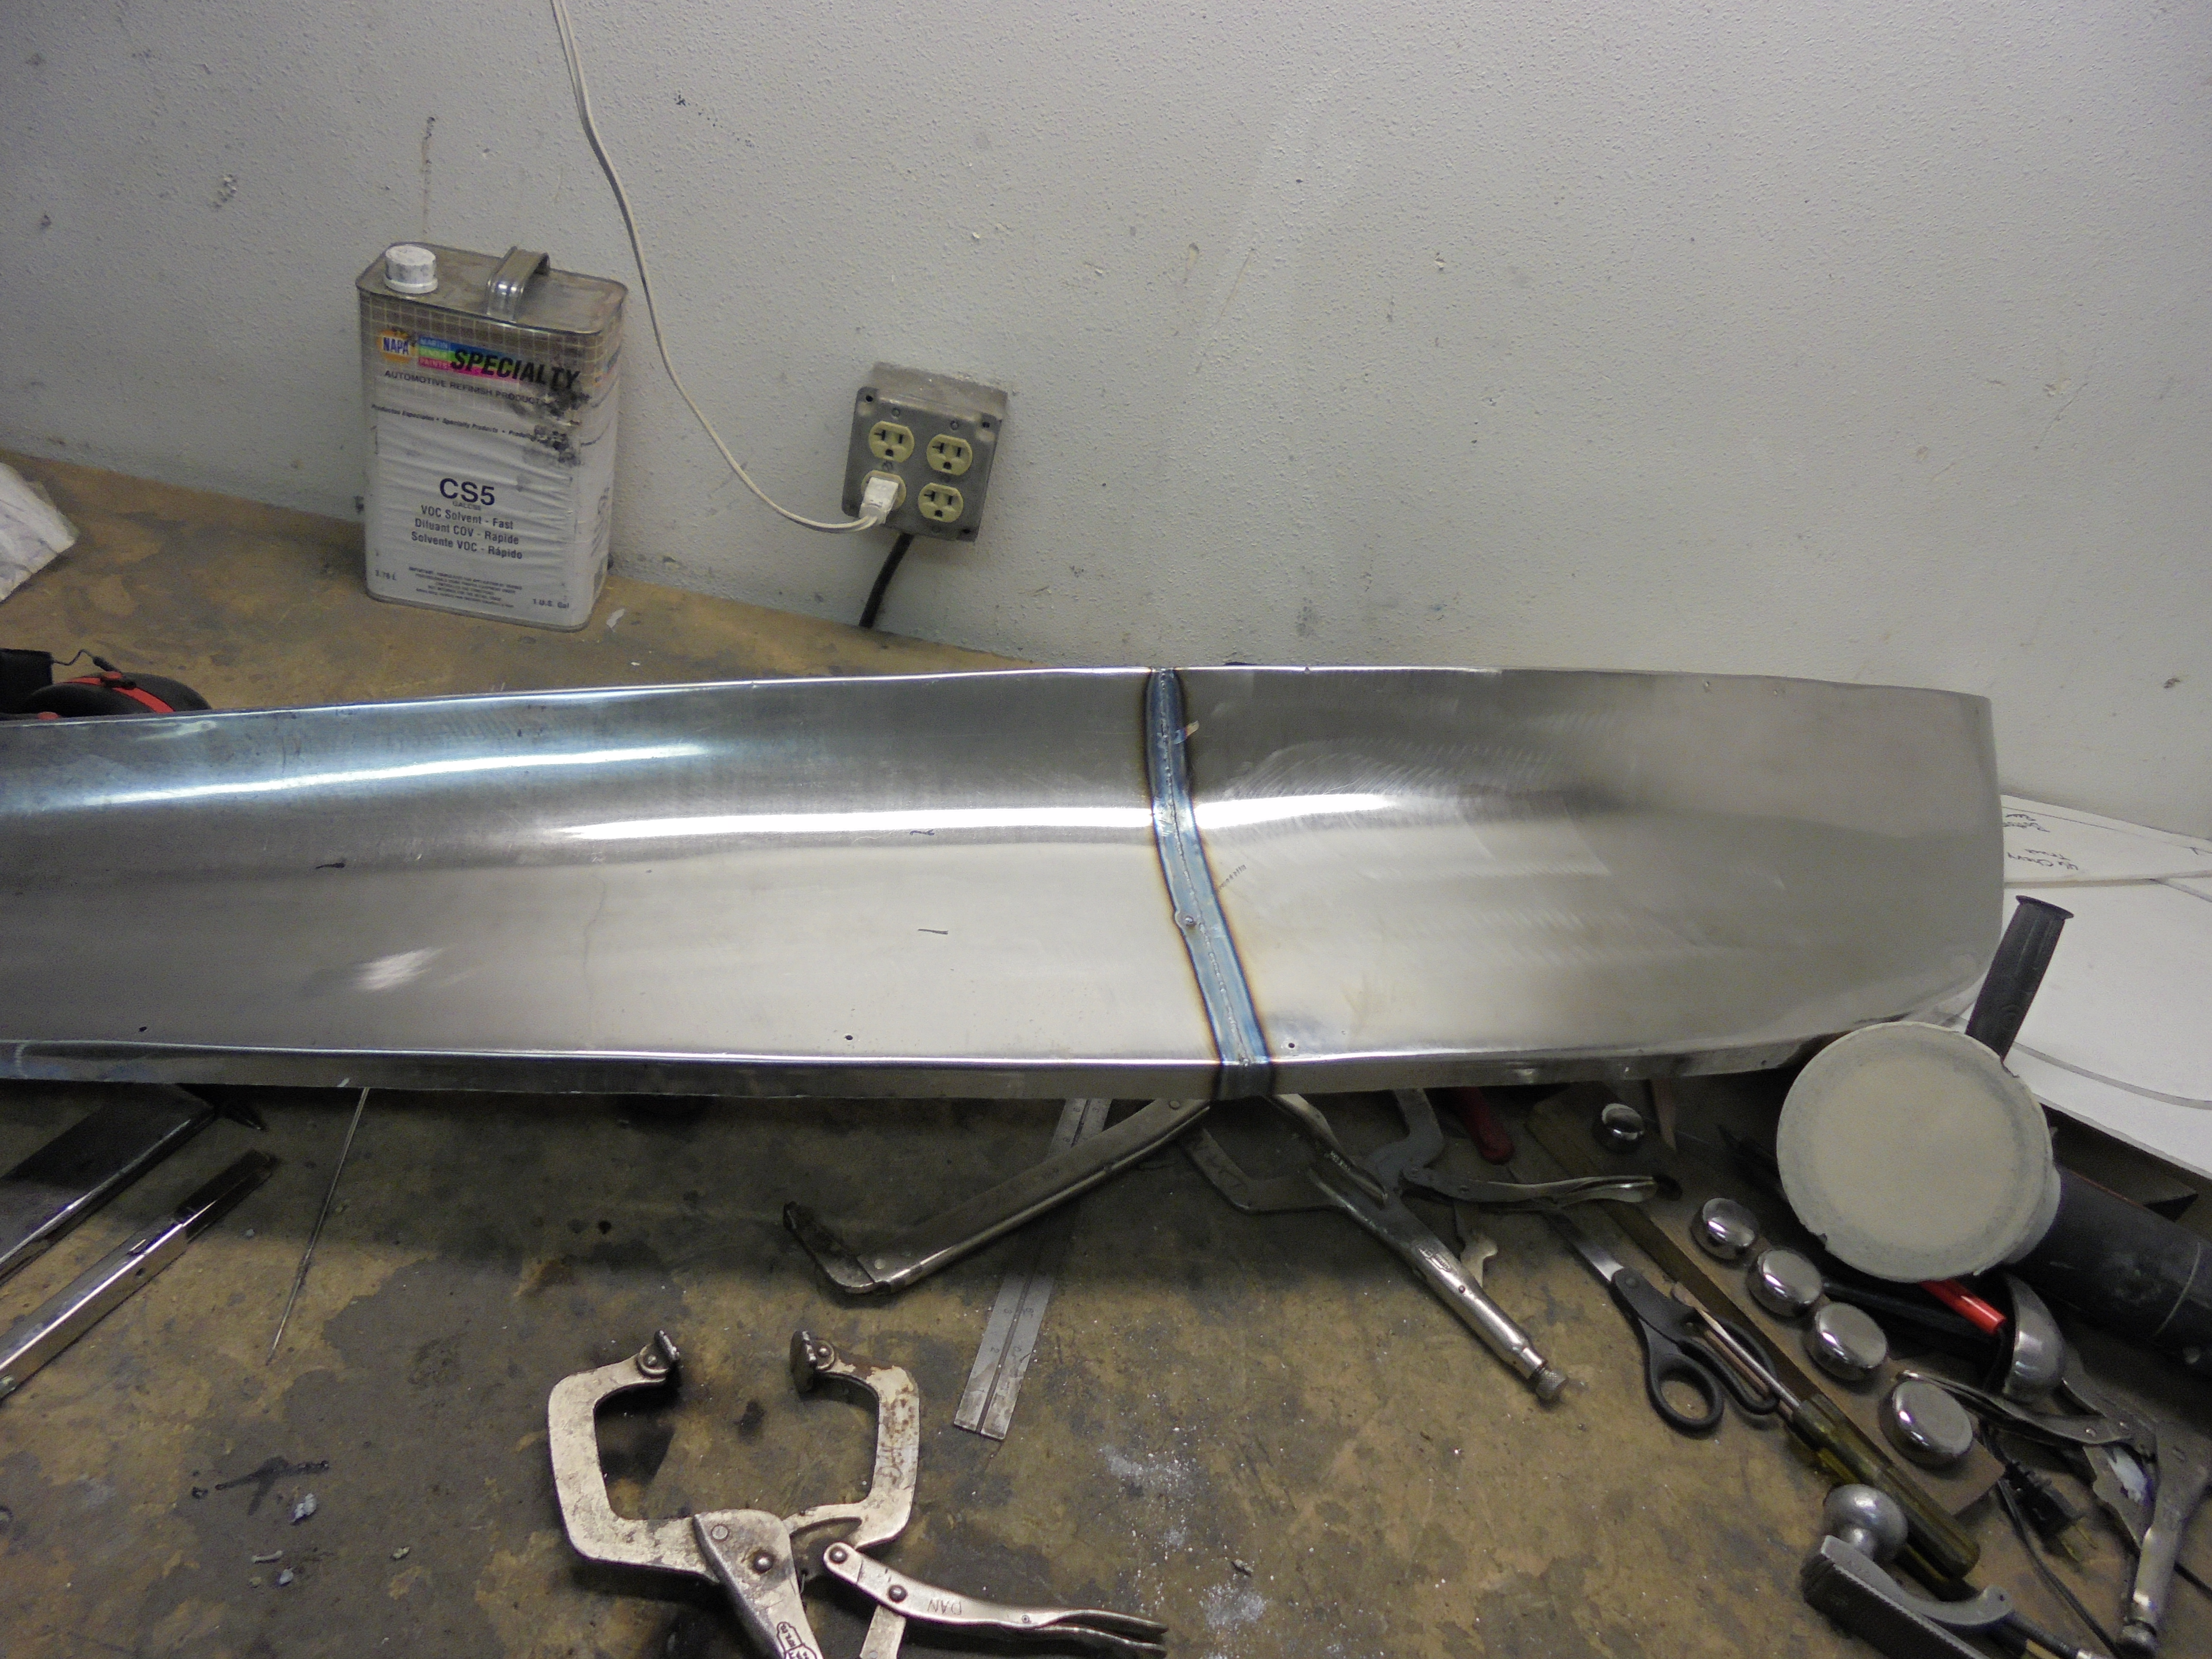
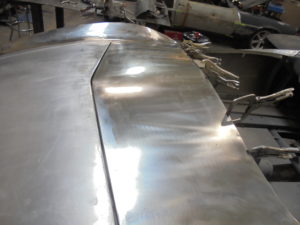
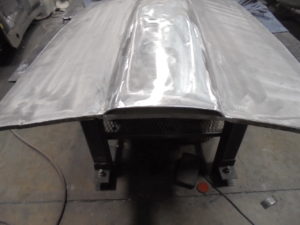
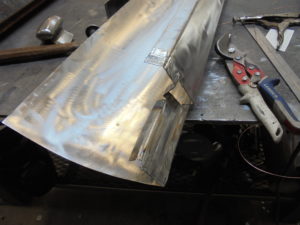
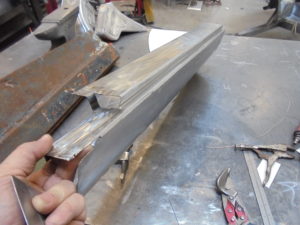
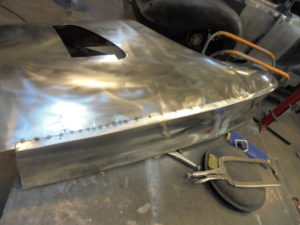
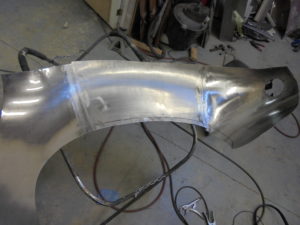
Side panels welded and planished